Owning a car isn’t all about the good things that come with it. There are also a lot of disadvantages that come with owning one. Especially, when it comes to car repairs, the car-fixing expense could only range from expensive to more expensive.
Even when a small mistake made, it can be a hole in your pocket. Having your side view mirror accidentally detached can be detrimental both for your safety and your wallet. Though you may think that this calls for an immediate expert’s attention, you can also do it yourself.
But it is suggested that you fox it immediately since side view mirrors do play a big role when it comes to road safety. Philkotse.com prepared the steps you need to follow:
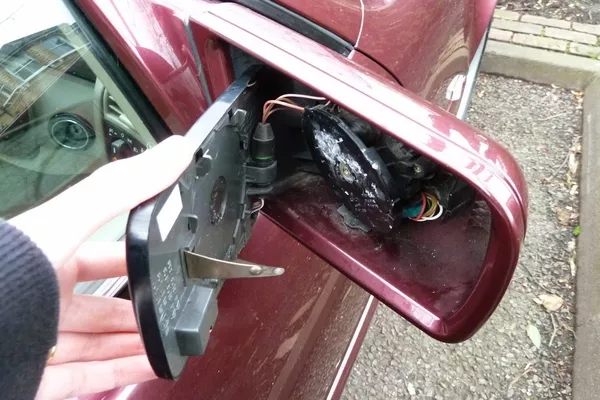
There are some minor car-related mishaps that you can do yourself like fixing a detached side mirror
Step 1. Pick up the necessary supplies
Before you get to the actual process, you first need to have the right tools. You first need to get your hands on a dependable rearview-mirror adhesive set. This should contain everything you need.
But you should still make sure that it comes with a super strong glue. It should also come with an accelerant. This will make sure that the super glue dries faster. These are usually retailed in vials, so they are easy to apply. If you need a bit of assistance, the packaging of the kit should provide you with all the info you need.
You should also get yourself a razor-blade scraper and an Allen wrench that can fit on the lock screw of your rearview mirror’s base plate. Don’t forget the grease pencil or perhaps some masking tape. Depending on the circumstances, you can also get a hairdryer or a heat gun and a tape measure.
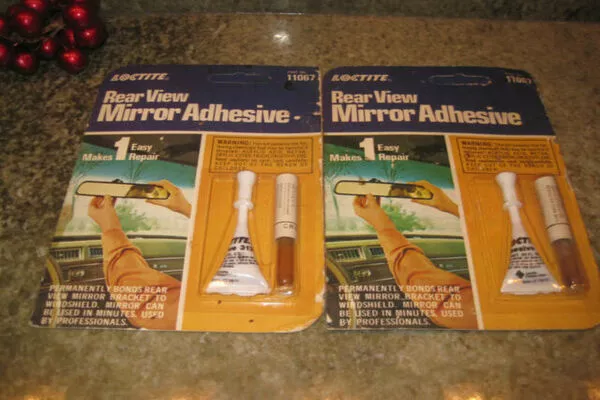
You first need to get your hands on a dependable rearview-mirror adhesive set
>>> Check out: Essential tools needed in a car tool kit for DIY car maintenance.
Step 2. Ready your workplace
Now, you need to get an ideal space before you start working. It should be well-lit so you will avoid making a mess using the adhesive. It should also be free from pets and kids so you won’t be bothered by getting them into accidents.
Lastly, it should be spacious and well ventilated. A lot of adhesive products and side view mirror repair kits in the market are made with methacrylic ester, acrylic acid, and trichloroethylene. These aren’t very harmful unless ingested. However, inhaling them in large quantities or a prolonged period of time may also cause side effects.
You can also perform the procedure just outside your garage if it’s a sunny day. Heat is necessary to make the adhesive cure faster and doing it in warm weather will make your job faster. If the weather isn’t friendly from where you are, don’t worry. The hair dryer or heat gun can help you out as a substitute.
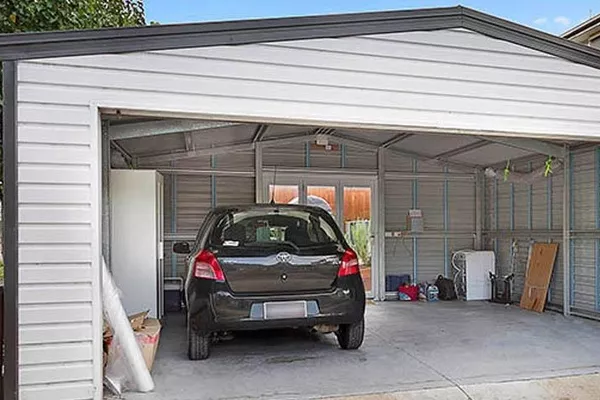
An ideal space before should be well-lit so you can avoid making a mess using the adhesive
Step 3. Start the remounting process
Mark the outside of the broken car window using a grease pencil where the old adhesive was. You can also cordon off the specific area using masking tape. Now start scraping at the old glue using your razor-sharp scraper.
If you’re happy with what you’ve got, you can wipe it down with your preferred brand of isopropyl alcohol. Don’t forget to do the same thing to the back of the mirror’s baseplate.
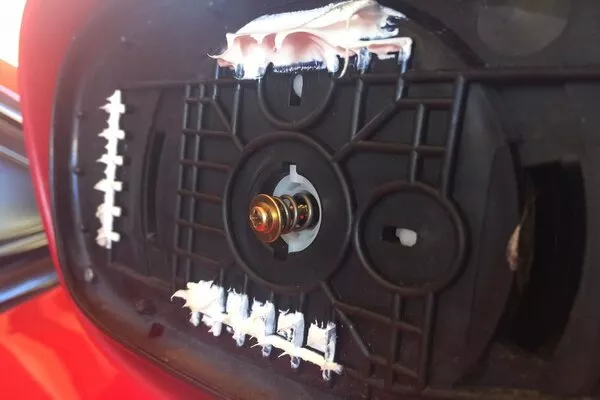
Now start scraping at the old glue using your razor-sharp scraper
Step 4. Applying the primer
Start applying the accelerating primer on the base. Don’t worry if you think you applied too much. The more generous you are with the accelerant, the faster your adhesive will dry. Once you open the product’s vial, just smooth it neatly over the area. Then wait for about two minutes.
While you’re waiting, get the Allen wrench you prepared earlier. Use this to undo the lock-screw on the mirror. You should be able to release the mirror from the baseplate. The procedure will be easier to do if you stick the baseplate first. You can just put the mirror back after.
>>> Also check out: 10 Must-have car care products.
Step 5. Applying the adhesive
Put the adhesive on the back of the baseplate and press it into place. Move it around a wee bit, so the friction heats up the adhesive. Remember to keep applying pressure as you hold the mirror in place. Keep it in place for at least two minutes. This will let the adhesive set while keeping the two elements stuck together.
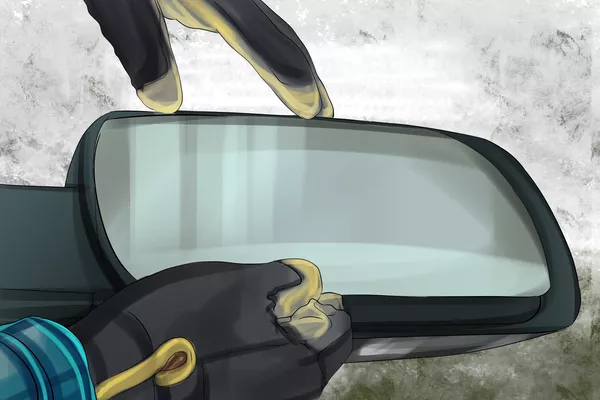
Put the mirror in place
Let it dry for another fifteen minutes. If the weather is cold from where you’re working, use a hairdryer. It’s best if you left the adhesive sit for as long as possible. That’s why it’s best to this on a Sunday or non-working day where you won’t have to use your vehicle.
If there are loose glue traces, you can trim them off using your razor blade. Then put the mirror in place. Once you’re sure the adhesive has snuggly hardened, you can readjust the side view mirror to the position you see best.
Recent posts
- 5 essential tips for choosing the right Auto Repair Shop Aug 16, 2022
- Car maintenance & repair: How to have it done in Banawe Street Jul 25, 2019
- All about auto-dimming rearview mirrors and how they work Nov 30, 2022
- How to install a rearview mirror in your car: 7 easy steps Jan 23, 2019
- How to adjust rear-view mirrors for a safe drive Jul 06, 2018


