Having electric (power) windows is all fun and comfortable until you realize that it suddenly stopped moving even when you’re already pushing the right buttons. You don’t need to worry however, we prepared two ways for you to fix your electric windows.
The first solution will fix a defective electric assembly, while the second one will teach you how to restore control if the window gasket is the problem. To walk you through the whole process, read this article from Philkotse.com.
I. Changing a Fuse
It’s not an uncommon event to have an electrical part of your car give up on you. When this happens you can try replacing the fuse.
Step #1. Locate the fuse box
The fuse box is usually placed near the dash. You need to look for this so you can change the fuse. Check the car’s manual if you don’t know where to find it.
Step #2. Find the fuse
Your fuse box will contain the fuse for tons of different vehicle operation. You will need to locate the one that operates your electric windows. This can be confusing even if you already know your car well. That’s why it’s best to check your car manual first to determine the right fuse for the job.
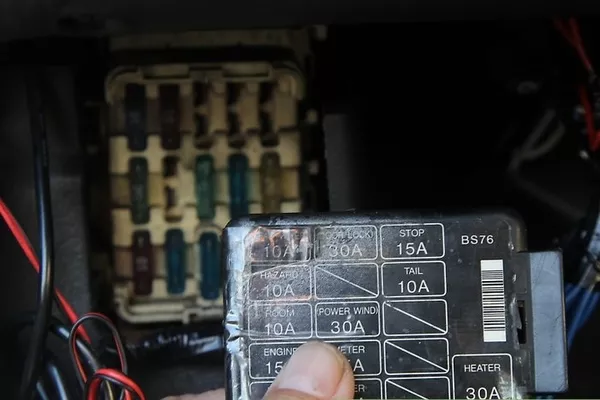
Your fuse box will contain the fuse for tons of different vehicle operation
>>> Related: Car power window: All about its advantages & disadvantages
Step #3. Pull the fuse out
Once you’re sure which fuse is the right one, you will need to remove it.
Note that you will have to this with care. You may end up damaging the cradle or breaking the fuse that a portion of it remains in the cradle. Fuse tongs are available at auto supply stores, but you can also use tweezers. Try not to use your hands or use too much force.
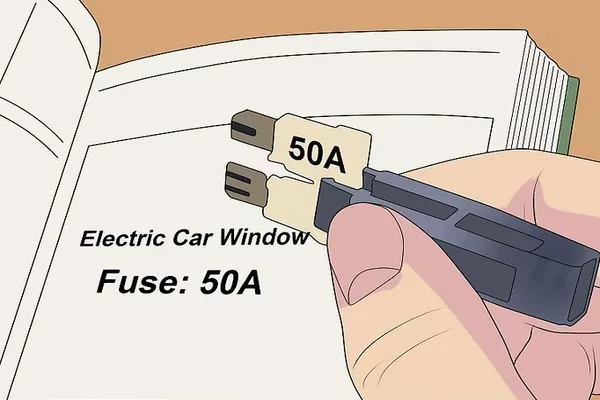
Fuse tongs are available at auto supply stores, but you can also use tweezers.
Step #4. Take your replacement fuse
Your new fuse should have the same amperage as the one that used to sit in the fuse box cradle. Amp ratings are usually printed on the fuse so you will easily recognize if you have the right one.
Do not attempt to use a fuse with an amp rating that’s higher than your old fuse. This may lead to damages to your vehicle’s electrical assembly.
>>> You might like to read: 6 tips for a DIY door lock actuator replacement
Step #5. Install the new fuse
Take your new fuse and put it where the old one used to be. The new fuse should be snug in place and shouldn’t wobble or feel loose.
Step #6. Use your car key
Turn your car key so it points to the “On” position. Your car is now providing power to its windows so you can test them.
Step #7. Test your windows
Push the buttons that control the movement of your windows. If the window is going up and down without restriction, congratulations! You fixed it!
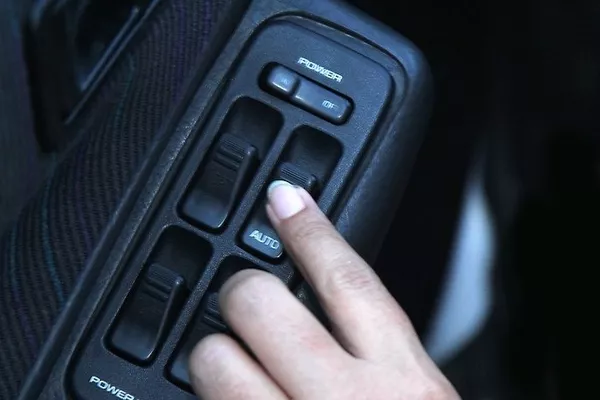
Push the buttons that control the movement of your windows.
II. Repairing the Window Gasket
The gasket is the part that keeps your window out of the way when it’s rolled down. If there’s a problem with your electric window, it could be caused by a faulty gasket.
Step #1. Inspect how your window seals and gaskets look
The window seals and gasket are responsible for keeping external weather elements like rain and fog out of your car. If one of these two things are faulty, then your window isn’t watertight anymore when rolled up.
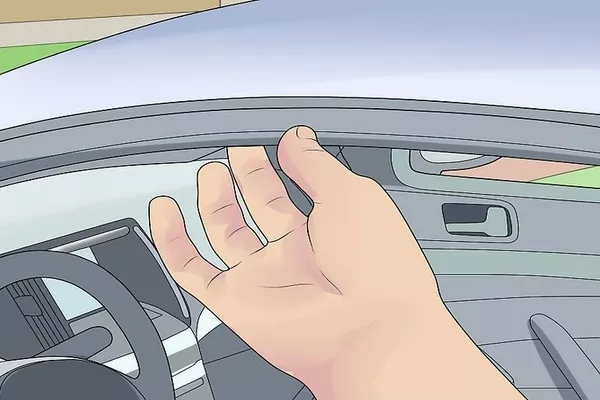
The window seals and gasket are responsible for keeping external weather elements out of your car.
Step #2. Check the gasket
Inspect the entire gasket channel if there is any sign of foreign objects that may have been caught in it. Any foreign object can act as an obstruction and prevent your electric windows from rolling up and down smoothly. Remove any signs of leaves, dirt, pebbles and anything else that shouldn’t be there.
Step #3. Clean the gasket
Cleaning the gasket will rid it of elements that may be inhibiting smooth operation of the electric windows. Take just enough amount of acetone and put it on a clean, soft rag.
Be careful not to spill the acetone on areas of your car where there are carpets or paint. Then use the damped cloth and wipe it on to the gasket directly. Remember to turn the rag over once the area you’re wiping with is already dirty.
How to Fix Power Window (Regulator Assembly) in Your Car
Step #4. Look for tears or cracks
After you clean the gasket, spot the area around it for leaks or cracks that could be causing the inconvenience. If you find cracks in the crevices, use some rubber adhesive or versatile glue to fill it.
Even a hairline crack could develop into a bigger crack so make sure you fill those up as well. Once the adhesive hardens, make sure to cut off any loose glue with a razor blade so the cracks are sealed well and would look neat.
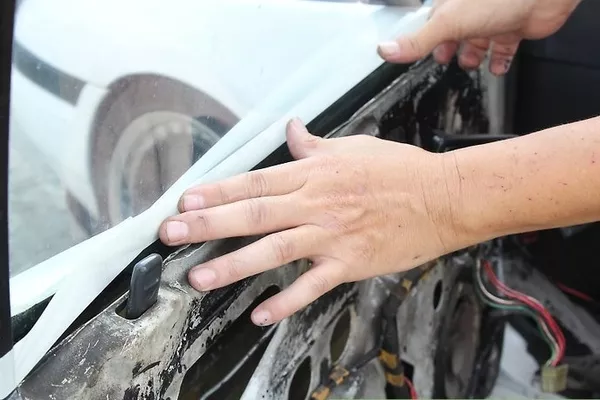
Spot the area around it for leaks or cracks that could be causing the inconvenience.
Step #5. Replace the gasket
If cleaning the gasket is no good, then you may need to replace it with a new one. Judge the condition of your current gasket by close visual inspection. If you notice that there are already large tears or even a heap of small tears and cuts, then you will need to buy a new one for your power windows.
Once you get your new gasket, follow the instructions on the packaging in regards to its installation. If there’s none available, you can follow the one we have here:
- If you have a trim removal tool, slide it between the gasket and the window.
- Then, hook your trim removal tool just underneath the gasket and pull it upwards to remove it.
- After successfully removing the old gasket, install the new one by fitting it along with the same place where the old one used to be. Simply line it against the panel while pushing it down with your fingers.
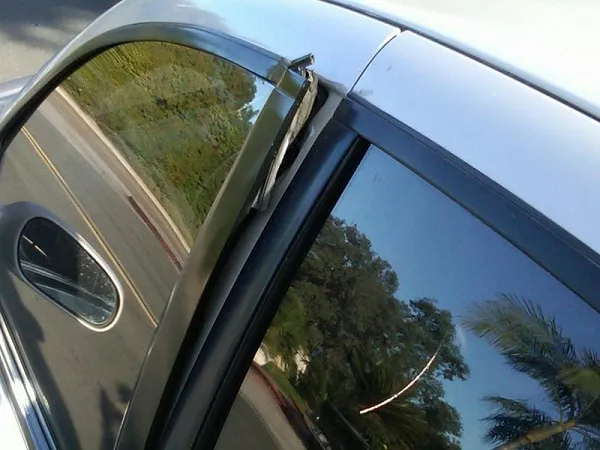
If cleaning the gasket is not enough, replace it instead
Step #6. Apply some lubricant
Your electric window may be having a hard time rolling up and down because the surface has gone rigid. To smooth things out, take a silicon spray (the one sold in aerosol cans) and follow the instructions on the can before use.
Then, spray the window channel with the dedicated distance as advised on the label. This should help your window slide up and down smoothly without jittering or pausing.
Step #7. Test your windows
Once you finally figured out the problem with the gasket, turn your key to the “on” position once again and give your power windows another try. If it rolls up and down flawlessly, give yourself a pat on the back for doing a good job.
Your car is in its period for maintenance? Check our handy tips and advice right now!
Recent posts
- Causes of a stuck car door & how to deal with it Nov 30, 2022
- Choose the best car window tint: Essential tips & tricks for Pinoy drivers Mar 07, 2019
- Smart driving: 8 useful methods to unlock your car doors without a key Sep 16, 2021
- How to remove stickers from your car’s windows and windshield Jan 21, 2021
- 7 tips to choose the right car window tint Aug 04, 2020


