No one likes to keep an aesthetically-challenged car, especially if it has started to develop rusts. Scratches and dents are displeasing to the eye but rust patches are something that you should definitely worry about. Which is why Philkotse.com prepared a DIY rust-removal guide for you.
1. Preparation
Get your tools and workplace ready
This DIY rust-removal guide will require you to have a grinder and a sander. These are both powerful and dangerous electric tools that are built to remove fine rust and paint particles then spew them into the air. Make sure that you are wearing appropriate clothes for the procedure.
Also, wear gloves to protect your hands and wear a mask to avoid breathing in harmful airborne particles. Keep your workplace clean and free from kids and pets that may inhale the rust or get hurt while you’re working.
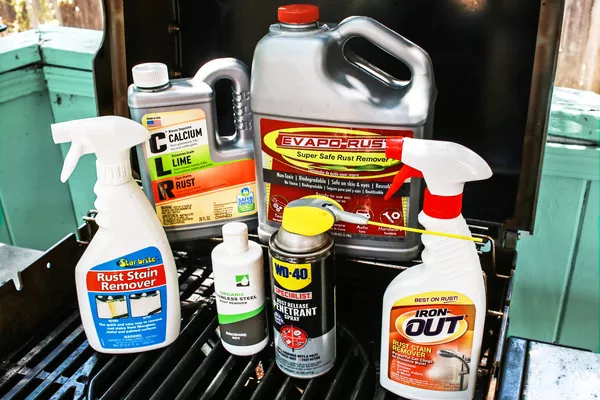
This DIY rust-removal guide will require you to have the needed tools ready
>>> Read more: 10 must-have car care products.
Protect your car
Since rust particles will be spewing out while you’re working, you may cause it to land even on other parts of your car. To avoid getting unwanted rust on your vehicle, cover it with masking paper so it’s safe from the airborne elements.
A common misconception is to use newspaper in covering the vehicle, however, this is not recommended since the paper is thin.
Once the paint seeps in the newspaper and rips it, you may get paint and rust to places you don’t want. Make sure that your cover is taped well but don’t let the adhesive leave marks or stains on the vehicle.
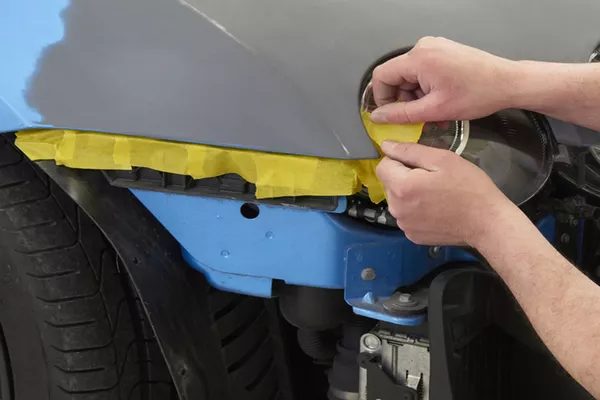
To avoid getting unwanted rust on your vehicle, cover it with masking paper so it’s safe from the airborne elements
Now that you’ve prepped up your work place, you can finally start removing the rust on your car.
2. It's time to remove rust on your car
Step 1. Start with your sander
You would first want to remove the paint using the sander. Turn your power tool to 80 grits at first, then you can slowly work your way up to 15 grits. Once you’re at 150 grits, you can use your dual-action sander to remove the paint and the primer coat of the car.
You can also use this to rub off any rust that can still be removed. Make sure that you have a smooth surface to work with before you proceed to the next step.
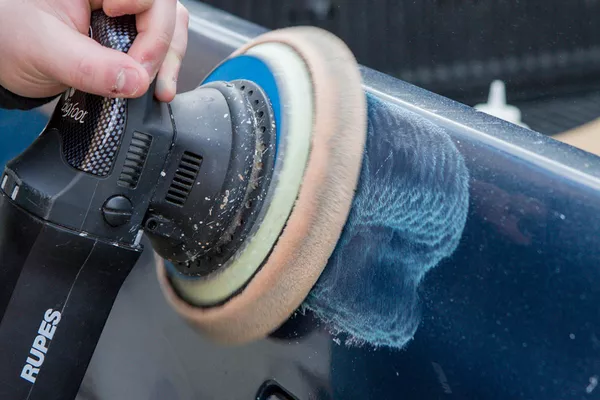
You would first want to remove the paint using the sander
Step 2. Take out your grinder
Now take out your metal grinder and start removing thick rust deposits. You will most likely expose pits that are corroded by rust but be careful once you’re getting close to the bottom of the pit. If you’re not careful in handling the grinder, you may end up damaging your car and make it look worse.
Don’t worry if the result isn’t as polished as you expected, you would still need to apply rust-removing acid to remove the tiny rust particles that remain. One of the most preferred rust-removing products out there is the phosphoric acid. This is widely distributed among many auto repair shops so it’s easy to buy one for DIY purposes.
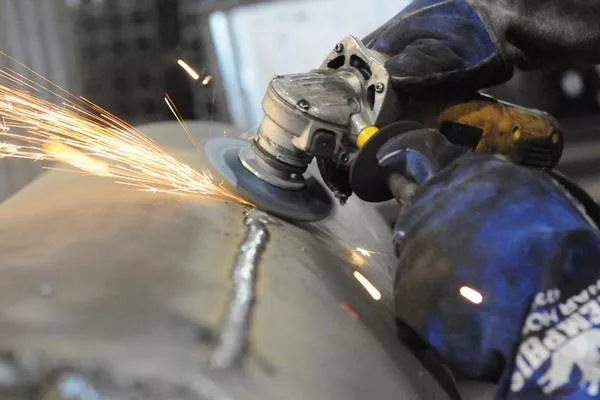
Now take out your metal grinder and start removing thick rust deposits
Step 3. Ready your primer
Get your primer ready as well as your spray paint. The primer should be good enough to adhere to bare metal. The spray paint’s color should be similar to the color of the rest of your car. If you’re not sure about the type of primer to use, you can ask the attending clerk or even your auto-mechanic.
>>> Also read: How rust can affect car and how to deal with it.
Step 4. Spray away
Now you can start spraying the primer on the pit on your car. Spray on about 3 layers of primer with just a few minutes interval between each application just to let each coat set. Make sure not to spray too much though. If your primer is dripping or running then that’s a good sign to spray less primer on your next coat.
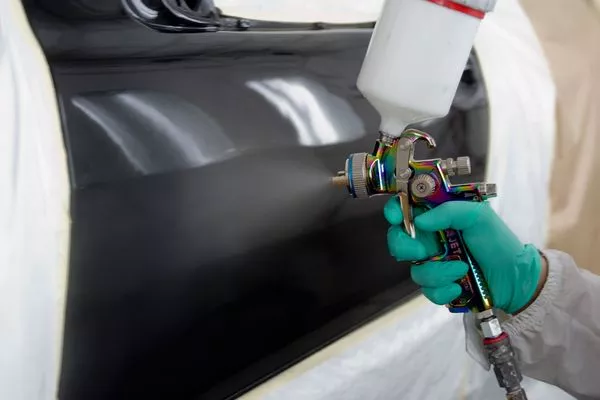
Now you can start spraying the primer on the pit on your car
Step 5. After letting the primer dry
Once your triple coat of primer is done, it’s now time to take out the 400-grit wet sandpaper. This type of sandpaper was specifically made for smoothening primer coats and using another variant may give unsatisfactory results.
Rub the area with your wet sandpaper and rinse it whenever dirt accumulates. Once you’re done, simply rinse the area with clean water and soap. Wipe it down with a soft rug and let dry.
Step. 6 Coating it with paint
Once the area I dry and you’re happy with how it looks, you can now start spraying it with fresh paint. Make sure you use the same color and shade as your car’s overall color so the repaired area will blend in.
If a ready spray formula is not available for your car color, there are shops that specialize in mixing colors to match almost ninety-eight percent of your car’s original shade. However, they may use a runny paint solution to paint your car instead of the usual spray paint.
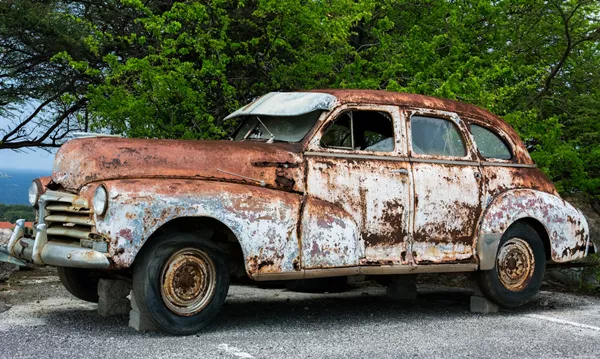
No one likes to keep an aesthetically-challenged car, especially if it has started to develop rusts
After you get the right color for your car, you can start applying it on the area and wait for the first coat to dry. You can apply as many coats as you want as long as it is in small amounts at each application so it won’t run or drip.
To make sure the paint is thoroughly dry, wait for at least 12 hours before removing the covers and tape that you put around the area. If the paint still feels sticky, leave it for another 12 hours to avoid repeating the process.
>>> You might want to read:
Step 7. Buff for best results
A buffer will help blend the colors of the repaired area to match the rest of your car. Start buffing the edges in a circular motion and work your way outwards. Ensure that your trail is smooth and gently blow off the small particles of paint as you go. To make the results look more even, apply a clear coat finish on the repaired area so it looks glossy.
Step 8. Final touches
Now you’re almost done, all you have to do is wait for the last coat to dry completely. You can then wash your car as you normally would and then apply a nice coat of car polish. Be careful not to apply any harsh chemicals on to the repaired area for the first 3 weeks as this may damage the paint and primer solution.
Recent posts
- What happens if leaving your car unused for a long time? Aug 16, 2022
- 6 tips on what to do with your car before leaving it for a long time Oct 15, 2018
- Rainy Days and Car Paint: Good or Bad? Aug 25, 2018
- 3 key tips for better car exterior maintenance during wet season in the Philippines Feb 24, 2021
- How to remove acid rain spots from your car: 3 easy tips Feb 02, 2021


