Tinting car windows may seem like it’s hard to do but with the right guide, it’s actually an easy task. Of course, you can always get the help of professionals but unless you want to spend on that, you might as well do the task yourself. Here’s a step-to-step guide on how you can apply car tint right at home, brought to you by Philkotse.com.
Window tinting: How to tint car windows
The start of any successful operation begins with a clean workplace. Before putting or removing anything from your car, make sure you are somewhere free of dust and dirt. A garage with little exposure to wind and heat would be the perfect place. Make sure that there is no one to trample on your tools, especially little children who could get in an accident with them.
1. Take off any adhesive or unnecessary stickers
To attach a perfectly nice-looking tint to your car windows, it has to be clean first. Remove stickers, dirt, grime or anything stuck on your window that shouldn’t be there.
Also, ready a comfortable workspace for you inside the car by removing any mess on the seats and space by the window you would be working on. Lastly, do a quick vacuuming on your interior to make sure there would be no dust from the car that can get caught in your tinted film.
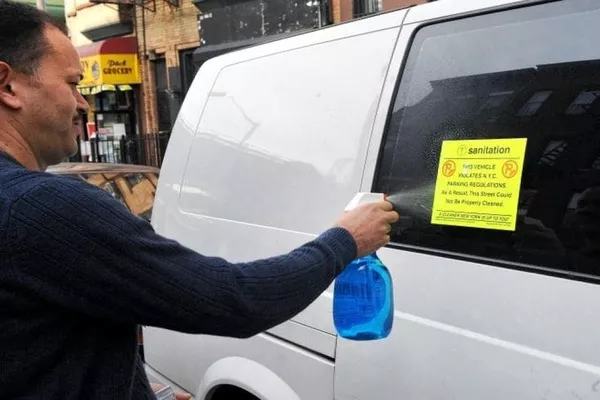
Remove stickers, dirt, grime or anything stuck on your window that shouldn’t be there
>>> Check out: How to remove stickers from your car’s windows and windshield.
2. Clean your window with 1” razor and soapy water
If there are loose adhesives from stickers or grime, you can use a razor blade to remove it. Then, mix dishwashing liquid with warm water and start wiping the window with a damp cloth or sponge.
Start on the inside then work your way out. Make sure the top of the window is clean as well as the rubber seals on the edge. You can then dry your window using a clean, absorbent rag. Using a squeegee sponge is recommended for a more thorough result.
3. Take out your window tint
Your window tint works like a sticker. It has an adhesive side and the opposite part should be smooth. Look for the side with the adhesive but don’t peel the liner off yet. Just make sure that part is facing up to you during the rest of the process, unless instructed otherwise.
4. Work from the outside
Get out of the car and spray the window with soapy water. This makes the window tint adhere so you can get the right measurements. Make sure that even though the film sticks to the window, it can still easily slide around.
5. Place your window film outside the window
Take out your tinting and unroll it to cover your entire window while leaving 2-3 inches of extra tint film on the edges. Make sure that you still haven’t removed the liner.
>>> Also check:
- Choose the best car window tint: Essential tips & tricks for Pinoy drivers.
- Car tint in the Philippines: 5 FAQs of car owners.
6. Cut your window film
Start cutting adequate amount from the film roll that will cover the whole window with extra inches on each side. Use a precision knife, a sharp blade or a scissor blade to seamlessly cut the tinted film. Save the larger role for the rest of the windows.
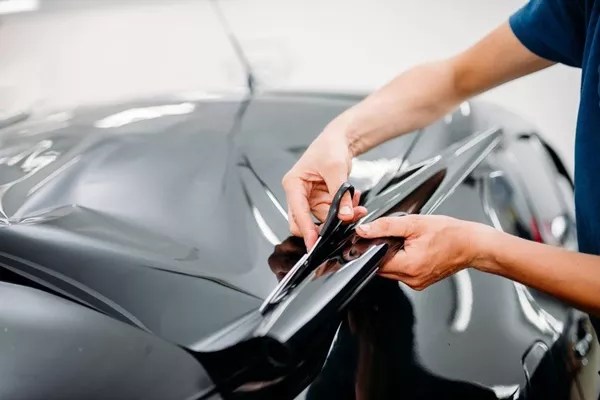
Start cutting an adequate amount from the film roll that will cover the whole window with extra inches on each side
7. Spray and cut the film
Using more soapy water, spray the part of the tint exposed to you. The film should stick on your window snuggly.
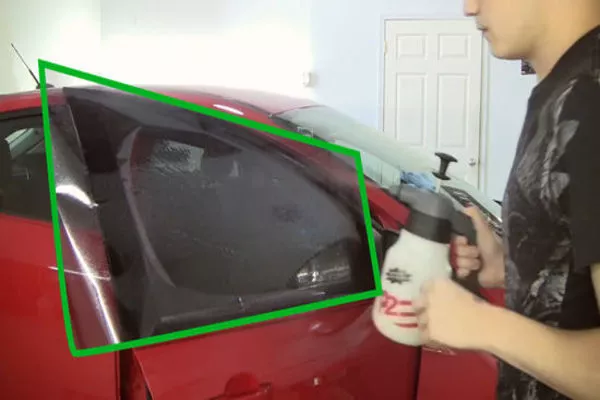
Using more soapy water, spray the part of the tint exposed to you
Trace the corners of the window using your preferred cutting instrument to cleanly cut the film according to shape. Since your tinting film will be stuck to the window, make sure you run your fingers flat along the film to remove air bubbles. You can also use the squeezed sponge to do this.
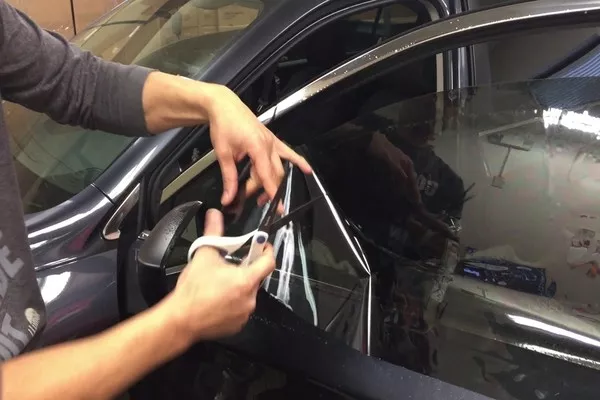
Trace the corners of the window using your preferred cutting instrument to cleanly cut the film according to shape
8. Pulling the film:
- Pull the film to the left: After discarding any extra tinting film from the last step, pull 1 inch of the film towards the biggest side of the window first. This is to make sure that you have enough tinting film to cover the entire window even under the rubber seals.
- Realign the film with your window: Pull the film back to the center and cut the extra on the right edge. This will make sure that there is a remaining ½ inch of window tinting film left. This is the part that you will be securing under the seals.
- Pull the film upward: Repeat the steps 10 to 11 for the top and bottom sides of your window. The overall result should be a ½ inch extra film on all four sides for you to tuck in under the window seals. C
9. Clean up your cuts
The result may not be as clean as you expected it to be. There should still be little extra bits of film dangling. Remove these using your knife for a neat look.
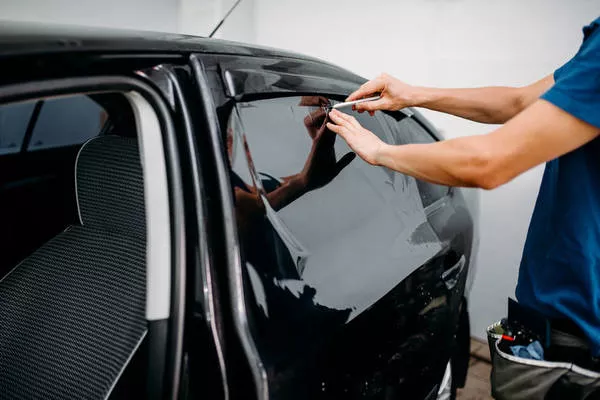
There should still be little extra bits of film dangling
>>> Tips for you: 4 easy steps for Filipino car owners to remove your car's tint bubbles.
You can now start cleaning the inside of the car window. This will prepare it for the application method. Use your spray bottle and soapy water to clean the area. Dry it afterward with your rag or squeegee sponge then follow the application steps below:
- Peel off the liner of your tinting film but only expose the top half. Before sticking the top half on to the window surface, spray it first with fresh water.
- Slide your window down a bit so there’s space on top. Then stick the edge of your adhesive tinting film to the edge of your window carefully. The water will let you slide the film around so you can align it perfectly with the edges.
- Roll the window up and spray the lower window area with soapy water. Remove the liner from the bottom half of the film and spray that with plain water.
- Remove the liner completely and start tucking the film under the seal and use a squeegee sponge to flatten the creases on it. Use a hard and flat-edged tool to scrape off the water under the film. Be careful not to rip the liner while doing this.
- Once you’re happy with the results, you can do the same steps to the rest of the windows.
Recent posts
- 8 DIY- steps to tint your tail lights properly Aug 16, 2022
- 10 Must-have car care products Aug 09, 2022
- Car wrapping: A Practical Solution for Changing the Color of a Car Nov 30, 2022
- Essential tools needed in a car tool kit for DIY car maintenance Jun 18, 2018
- 7 tips to choose the right car window tint Aug 04, 2020


