Tinting your taillights may sound like a daunting task, but this is actually a very easy job to do. All you need are the right pair of lights, your preferred can of aerosol taillight tint, some tools and the DIY guide Philkotse.com has prepared for you in the below article.
Step #1: Remove the tail lights from your car
In order to successfully tint your taillights, you will first have to remove them. Simply open your vehicle’s trunk and lift the carpet liner to the side. You should be able to find two bolts that secure each of the taillights. Remove these using your tools.
Proceed to disconnect the bulbs by pulling out the prongs that connect it to the socket. Once you’ve successfully done that, you can now proceed to remove the taillights. Perform the same steps on the other tail light.
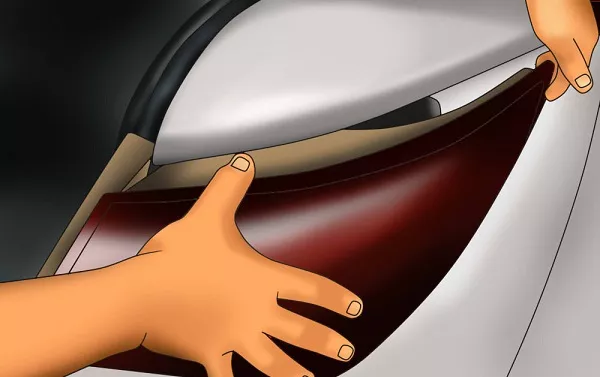
Firstly, remove the taillights from your car
Step #2: Sanding the taillight
Since we’ll be using an aerosol spray to tint your car tail lights, first make sure that the surface is smooth before doing anything else. To do this, take some 800-grit sandpaper, dip it into clean tap water and rub it on the surface of the tail lights.
Keep doing it until it’s scuffed up and the taillight’s surface is dull to the touch. Using a bit of dishwashing soap on the area is okay, but this is purely optional. Do the same for the other taillight, making sure the results are fine and even; otherwise, you might not like the results when you start spraying the surface with tint. After you’re done, wipe the tail lights using a clean rag or some paper towels. Let them air dry for a few minutes.
Next, dip some 1000-grit sandpaper into some water and start rubbing the surface again, wiping the surface when you’re done. Then, take 2000-grit sandpaper and sand your tail lights with firm but smooth strokes, to give the taillights a hazy texture. Lastly, use some gasoline, rubbing alcohol or a few squirts of window cleaner to clean the tail lights.
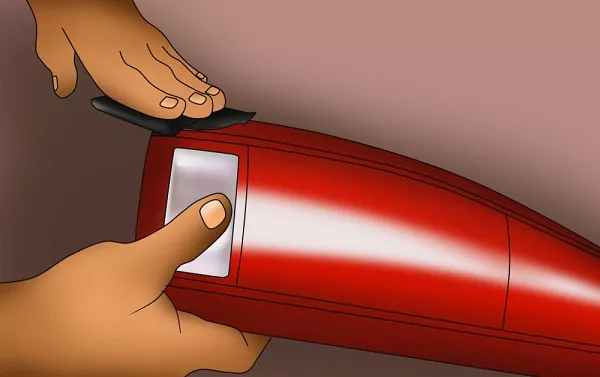
Make sure that the surface is smooth before doing anything else
Step #3: Stick some masking tape onto your tail lights
Take some masking tape (or any type of adhesive that is both easy to apply and easy to remove), then apply it to the areas of the tail light that you don’t want to get paint on. The reverse lights should be visible due to traffic regulations, so make sure you put masking tape on them as well. Make clean cuts on the tape, bearing in mind that however, you apply the tape will affect the overall outcome of the tinted area.
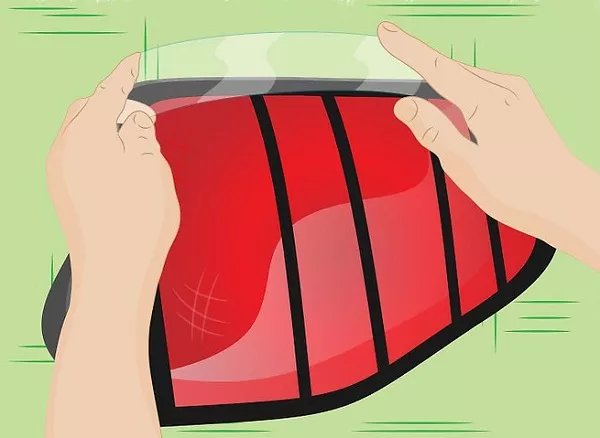
Apply tape to the areas of the tail light that you don’t want to get paint on
>>> Related posts: 4 easy steps for Filipino car owners to remove your car's tint bubbles.
Step #4: Start spraying away
Once you’re sure that your taillights are completely dry and the necessary parts are now covered, you can now proceed to apply the spray tint. Take the spray can and shake it vigorously before use. Place the tail lights on a flat surface that you wouldn’t mind getting paint on, and wear a mask to avoid inhaling the fumes.
Position the spray can at a suitable distance from the tail light as indicated on the label, aim and then spray. Start with a thin, even layer of paint on both tail lights. Try spraying both tail lights at the same time so they have an even tone. Leave the first layer to dry for about 30 minutes or so.
If you’re not completely happy with the first coat of paint, you can apply a second one after the first one has dried. Leave it for another 30 minutes or until dry, then spray a third coat of paint. You can go on for more coats if you prefer, but three coats are usually enough in most cases.
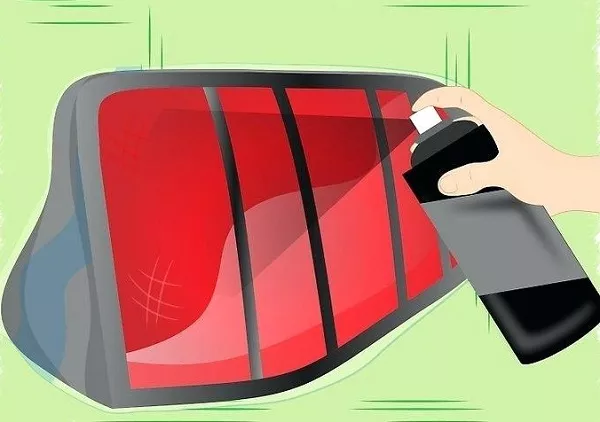
Keep the spray can be distanced from the tail light as indicated on the label and then spray it
Step #5: Sundry your tail lights
After getting the tint job done, put your tail lights on a flat, clean space where it can be dried by the sun. Once it’s all dry, you can safely remove the pieces of tape you patched on to it before moving on.
How to Tint Taillights with Film
Step #6: Don’t forget to spray on some clear coat
The body of your car’s exterior has a clear coat that protects it from dirt and damage. We recommend you apply the same idea to your tail lights if you want your tint job to look good and last long. Applying the clear coat is fairly easy and isn’t too different from applying the tint itself.
Simply put the taillights back into your spraying area, then shake the canister before spraying a thin layer of clear coat. You can wait for the first coat to dry and then spray a new layer to make it thicker, applying as many layers of clear coat as you please. Up to 10 layers of clear coat can be applied for optimum quality.
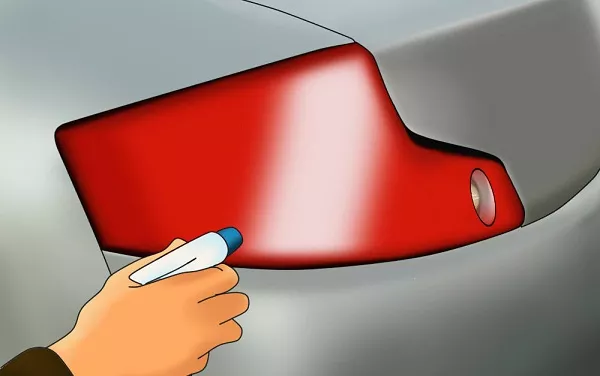
Reminder: Always let the previous coat dry first, regardless if it’s a clear coat or tint spray
Step #7: Sand your taillights again
After the last layer of clear coat has dried, you can take some 800-grit sandpaper, dip it in water, and start rubbing the surface, using gentle strokes this time. Make sure you do this towards one direction consistently. Do the same steps with your 1000-grit sandpaper and follow up with the 2000-grit sandpaper.
Don’t hesitate to wipe or wash away any particles removed by the sandpaper while rubbing the tail lights. Do the same for the other taillight and make sure that the results are even for both.
Step #8: Putting the taillight back in place
Before you proceed to put your taillights back in place, get some rubbing compound from the local auto shop. Apply this to the taillights using some clean cloth, to keep your taillights looking fresh. Once you’re done with that, you can now put your sharp-looking tinted taillights back in its rightful place on your vehicle.
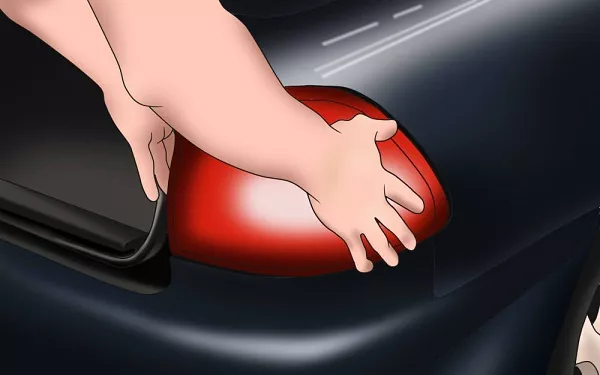
Put the tail light back after finishing
Recent posts
- Choose the best car window tint: Essential tips & tricks for Pinoy drivers Mar 07, 2019
- HID Lights: Should you have them? Jan 14, 2021
- 7 tips to choose the right car window tint Aug 04, 2020
- Easy ways to make your headlights shine like new Jan 06, 2020


