For whatever reason, we sometimes store our vehicles and not use them for long stretches, and it always gives a good feeling to see the car in excellent condition even after storage. Looks can be deceiving.
However, and there’s a chance that your car isn’t as okay inside as it looks on the outside. Check out this step-by-step guide from Philkotse.com to know if your car is still A-okay even if you haven’t used it in a while.
Step #1. Inspection Kit
Schedule when you would need to check your car. Make sure you allow ample time for inspecting it especially if it’s been in storage a long time. Also, consider taking these things with you to help you thoroughly inspect the vehicle:
- Air pressure gauge
- Gloves
- A flashlight
- Rag
- Extra engine oil
- Extra washer liquid
- Extra coolant

Make sure you allow ample time for inspecting your car, especially if it’s been in storage a long time
Step #2. Get ready to get down and dirty
Once you have all your inspection tools ready, head to where your vehicle is to start the inspection. If you assume that it’s going to be a messy job, change to some clothes that are okay to get dirty and stained. You can also wear a stain-proof apron if you wish.
>>> Read more: What happens if leaving your car unused for a long time?
Step #3. Exterior check
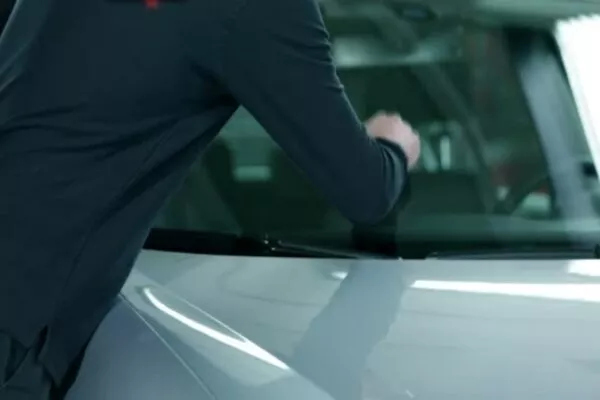
Inspect the exterior of your car for damage or signs of corrosion. Minor damage can be scratches, the clear coat peeling off, and dust and tiny debris settling on the exterior coat. These are usually caused by the natural elements that co-exist with your car while in storage. Major ones are rust, deep scratches, and run spots from possible roof leaks.
Also, if you keep your car in a place away from home, you might want to look for signs of vandalism on the vehicle and forced entry. Take note if there are strange signs of damage that weren’t originally there, and couldn’t have been caused by nature. This could be a broken side mirror or a deep scratch.

Inspect the exterior of your car for damage or signs of corrosion
Step #4. Tire test
Take a look at the tires. If your car was kept in storage during summer months with no tire maintenance, then there’s a chance that the rubber has gone dry. Check if it has developed deformity that a well-rounded, quality tire shouldn’t have.
Do a visual inspection first if there is cracking. Use your flashlight to see better. Touch the tire and run your fingers across it.
There are two things that you should inspect when you do this – one is tread wear and second is if there are bulges, lumps or odd-textured areas. Tire treads will indicate if your rubber will still be effective in generating traction and control.

If your car was kept in storage during summer months with no tire maintenance, then there’s a chance that the rubber has gone dry
>>> Also check: Why do unused car tires wear off & How to preserve car tires?
The presence of bulges, cracks or any deformities however, indicate that your tires are not safe for driving and should be replaced immediately. Use your air pressure gauge to inspect the air pressure on all tires. If your stored car has a spare, inspect that too.
If there are weird, unnatural marks on your tires, slashes or they have blown out for some reason, a stranger may have invaded your property.
Step #5. Inside job
Check if the door and windows are still locked (if you did store your vehicle with locked doors and windows). If they are, use your key to get in the car and inspect the cabin. Dust the interior before getting in and consider opening all four doors. This should let some sunshine heat up the upholstery and get rid of foul or stale odors.
Sunshine also gets rid of shade-loving ticks that can live in your seats. Both foul odors and ticks can develop from the moisture in your car when you store it. Depending on the amount of sunshine, you can let this the car sit under the sun from 10 to 20 minutes.

Check if the door and windows are as you left them locked or not
Step #6. Start it up
You can now get inside your vehicle and safely close the doors. Start the vehicle and take it for a short ride to inspect the engine system. Make sure that the radio or audio player is turned off while you’re driving.
This will help you detect any odd noises. Drive on a short path but make sure you make left and right turns.
Also, utilize the exterior lights and use the brakes every now and then. Don’t forget to take notice of the gauges on your dashboard, especially the temperature and water gauges.

You can now get inside your vehicle and safely close the doors
>>> Relevant article: 10 common reasons why your car won't start & How to troubleshoot them.
Step #7. Sniff test
Drive back to your storage house or pick a place to park your vehicle and proceed with the inspection. After that, you would need to get out of the car but keep the engine running. Just head on to the rear of the car and lightly sniff the exhaust. Don’t inhale too much or this may poison you.
If the smell is absurdly strong or weird, get back into the car and head to your nearest auto mechanic. If there’s nothing wrong with the exhaust, proceed to step 8.
Step #8. Oil’s well
Turn off the engine and put on your gloves because it’s time to pop the hood. Since you drove the car for quite a distance, let it sit for a few minutes before you touch it.
Once the hood has cooled, pop it open and check the engine oil. Take out the dipstick and wipe it with your rag before putting it back in.

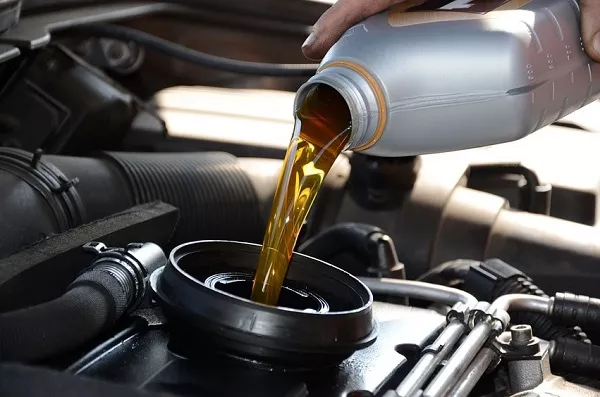
Add more oil if it’s below or close to the warning marker
Pull it out one more time and inspect it if it’s still above the warning marker. Add more oil if it’s below or close to the warning marker. Also, try to notice if the oil is brown or black. If it’s black, you may need to change it.
Step #9. Keep coolant
If everything is good with the engine oil, you can then go to the coolant. It is responsible for keeping your engine’s temperature levels normal. So even though there’s ample space between the “full” marker and the warning level, you should always try to keep the coolant at full just in case of a leak.
>>> Worth reading: Get to know engine types and 4 DIY tips to diagnose unhealthy ones.
Step #10. Check the windshield washer fluid
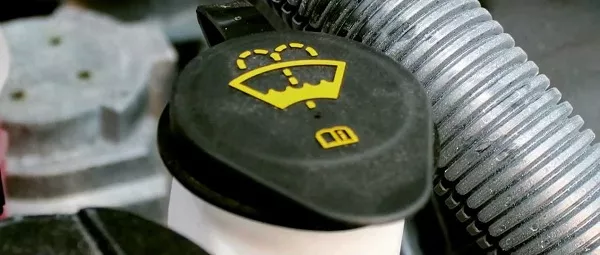
The last step is to check the windshield washer fluid. This doesn’t have to be completely full but you should make sure it always has fluid – in case you need to drive your car with a streaky window.

The last step is to check the windshield washer fluid
Recent posts
- 4 common reasons why car engines lose horsepower over time Jun 25, 2019
- What does a car engine camshaft do? Jun 09, 2021
- Understanding the oil life monitor system Aug 16, 2022
- Simple Tips to DIY Your Windshield Washer Fluid Jan 21, 2021
- 10 tips owners should keep in mind before putting cars into storage Nov 07, 2017


