Taking care of your car calls for more than just the usual maintenance procedures like oil change and tire rotation. Keeping your car and its performance parts in tip-top shape is great but don’t you think it could also use some extra care and treatment? Taking it to the car wash is a good idea.
However, your car is made up of various materials and each needs special care so they last longer and look better. One of the materials that make up your car the most is plastic. It’s mainly what protects a lot of parts that shouldn’t be exposed to water and moisture.
Resilient as it may seem, plastic also requires appropriate cleaning supplies and methods. Lucky for you, we have the car-plastic care all figured out. Use the step-by-step guide Philkotse.com made below to make sure the plastic parts of your car are clean and protected as the rest of it.
Step #1: Remove stored items by vacuum
The first step requires that you clean your car first by vacuuming. You would also need to remove any items that are inappropriately stored inside a car.
For example, remove worn and sweaty clothes, food wrappers, reusable paper, and plastic bags or in fact anything that makes your interior looked cramped and musty. Use the different attachable nozzles on your vacuum cleaner and clean out the entire interior.
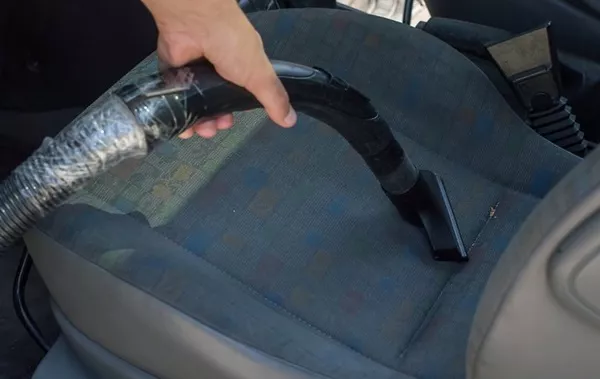
The first step requires that you clean your car first by vacuuming
Also, remove the floor mats so you can vacuum on and under them. This is because the interior needs to be clean first before you start cleaning the plastic surfaces inside. If not, the dirt, dust and other unsanitary elements in your car may settle on the plastic of the car interior that you just cleaned – making all your efforts pointless.
>>> Read more: Must-have equipment to keep your car interior clean & organized.
Step #2: Remove dust manually
As a vehicle owner, you pretty much know which the plastic parts on your car are already. So all you have to do now is get a clean damp cloth. Do not dip this in any solution or concoction, plain, clean tap water will do.
If you have the budget for this then you can also purchase a cleaning tool called handheld dust mop. This is available in almost every dry goods store and they usually have reasonable prices for this kind.
The goal here is to remove dust particles that have settled on the plastic surface and can no longer be removed by the sucking action of the vacuum.
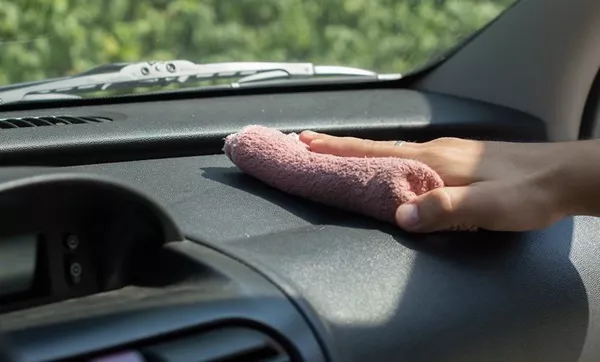
Do not dip the clean cloth in any solution or concoction, plain, clean tap water will do
You can also use a small spool with hard bristles to effectively remove dust and dirt particles that have settled in very small crevices of your car interior.
A used toothbrush can also do the trick. Use this on the gaps and detailing on the plastic areas of the gear shift, the hand brake, cup holders, glove compartment, radio controls and so on.
Q-tips also work great for this purpose. It effectively removes stubborn, little dirt particles that are sometimes stuck to the small crevices. Just make sure that they’re wet with water to make sure that specks of dust can stick to it and light stains can also be removed.
After using damp cloth and Q-tips, take a dry, clean rag to get as much moisture off the plastic areas of your car.
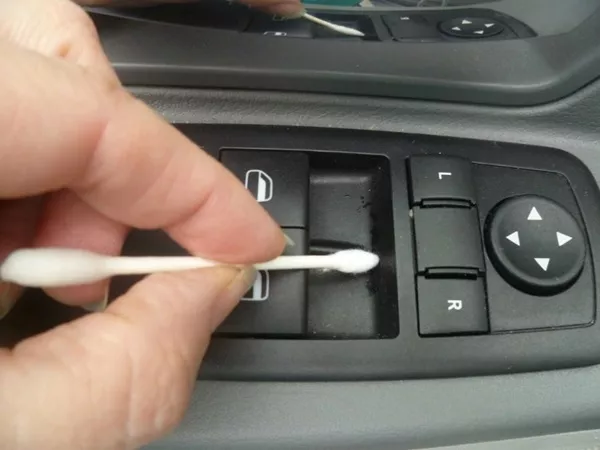
Q-tips is useful to remove dust and dirt from small crevices
>>> Also check: Helpful checklist for car interior cleaning.
Step #3: Treat stains that are still removable
It’s not unnatural for even your interior plastic surface can catch some stains. Although you can be careful and you may be trying your best to keep your car stain free, that can become a hard task if you often have kids and pets in your car with you.
Sometimes the type of procedure required to remove a particular strain may be different from what we will teach you here. However, you can first try this mixture before anything else. It’s the safest concoction for your plastic interior that won’t damage or corrode it.
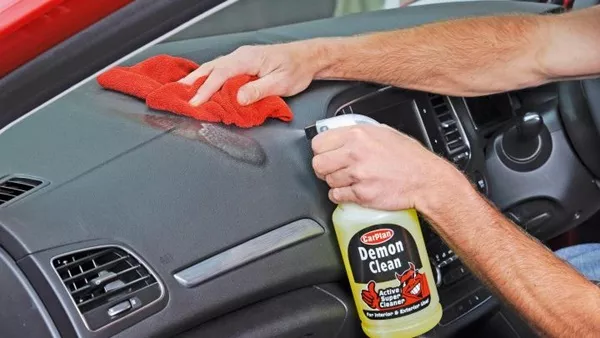
It’s not unnatural for even your interior plastic surface can catch some stains
To start, take a small amount of mild liquid soap. If you don’t know what classifies as mild, it’s mostly products that say “gentle, hypoallergenic, dermatologically-tested” and so on their label.
The most obvious products where you can find this are liquid baby soap and even shampoo. Squeeze out a pea-sized amount of the product into a clean, damp cloth. Do not attempt to apply the cleaning product directly on your car’s plastic surface.
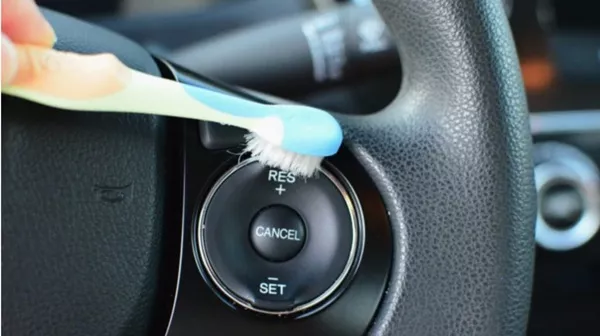
Use a small spool with hard bristles to remove dust and dirt particles on your car interior
Using your piece of cloth, wipe the area with the stain until it’s thoroughly removed. Then, use a clean rag to dry the area you just cleaned. If there is still some stain left or the mild soap wasn’t effective against it, try using other safe cleaning solutions such as vinegar for your plastic surface.
Chlorine-free laundry detergents, plastic-surface car interior cleaners or even dishwashing liquids are some of the safe substances you can use.
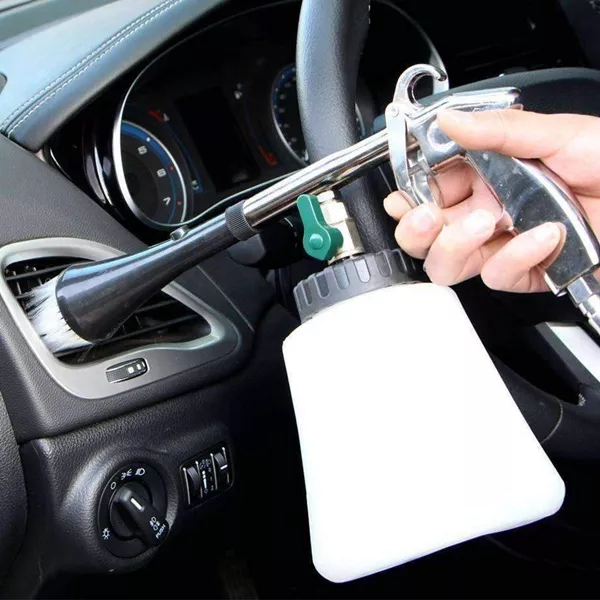
Even dishwashing liquids are some of the safe substances you can use
Reminders:
If you feel unsure about the product that you’ll be using, test it first on a discreet part of the plastic surface. This way, you will see if your chosen product has a negative effect on the plastic surface before using it on the more exposed parts.
Besides, if you chose to purchase a commercial cleaner for plastic surfaces, you should instead follow the instructions as indicated on the packaging.
Lastly, don’t forget to turn the cloth inside out whenever it gets dirty as you wipe it against the stained surfaces.
Step #4: Apply a few coats of protectant
Once you’re that the surface is clean, wipe the plastics with a thin coat of protectant. You can easily purchase these at auto-supply stores at reasonable prices. Make sure that the surface is free of grime, stain, dirt or any elements that you don’t want to be plastered on it when you apply the protectant.
It doesn’t matter whether the plastic protectant came in a spray bottle or a plastic or tin canister. Just make sure you don’t apply it directly on the plastic surface. Use another piece of clean cloth instead to apply the product to the plastic.
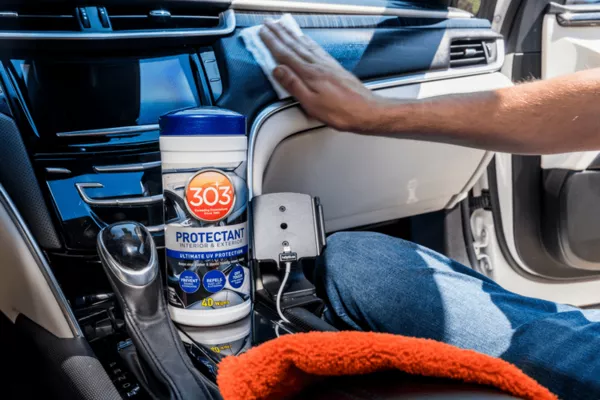
Once you’re that the surface is clean, wipe the plastics with a thin coat of protectant
Make sure not to use too much so it doesn’t end up runny and get all over your car interior.
>>> Get more helpful car tips and advice on Philkotse.com.
Recent posts
- 4 simple steps to do a proper car interior detailing Aug 09, 2022
- 5 must-know tips for a cleaner and well-organized car interior Jan 12, 2019
- 5 DIY Second Hand Car Interior Upgrade Hacks Oct 27, 2021
- 6 Ways to Maintain Your Car Interior’s Cleanliness Feb 02, 2021
- 4 simple tips to keep your car interior clean and tidy Feb 02, 2021


![[FOR FUN] Top 5 anime series that car enthusiasts will love](https://img.philkotse.com/crop/94x52/2019/11/06/xgWRvxxG/top-anime-for-car-lovers-5c8c.jpg)


