Why wash and wax your own car?
If you’re a car enthusiast, you already know that the most satisfying parts of owning a car is washing it by yourself and watching it glisten in your driveway.
For those of you who’re a bit new to the car-owning game, you’ll find that washing your own car will have a few advantages. You can save money, you can ensure the quality of the wash, and of course, …you’ll have fun!
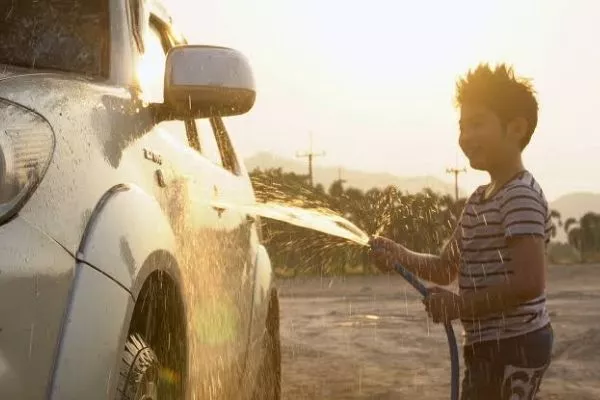
Washing cars can increase dopamine levels. Don't quote us on that
Hold your horses though. Washing a car improperly can have severe consequences on its paint-like swirl marks and scratches. In order to avoid that, here are the steps on how you properly wash and wax your car.
The proper way to wash a car
Step 1: Take a look at your car and assess its “dirtiness”
While it might seem simple to others who are used to this kind of activity some other folks might get too enthusiastic and will bring out his/her inventory of washing implements from the get-go. That’s cute but the proper way that’ll save you the effort is to actually assess how dirty your car actually is.
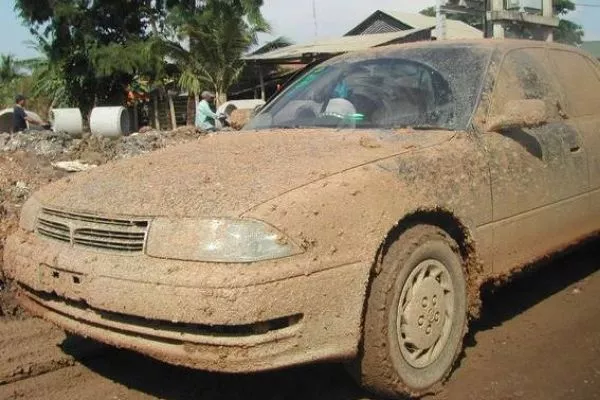
If your car looks like this, time to whip out everything you got!
Does it need a quick wash and just a minimal amount of product? Or does it need all your tools? Or does it even need a new coat of wax at all? For cars with just a slight amount of dirt on it, sometimes simple spray, soap, wash, and dry will suffice.
>>> Put in mind 10 things you should never do when your car is not clean
Step 2: Read the labels of your cleaning products
Before using the cleaning products you’ve bought, be careful to read the labels on them first. A particular product might not be suitable for washing your tires and/or there might be some special considerations like how you apply the product, etc.
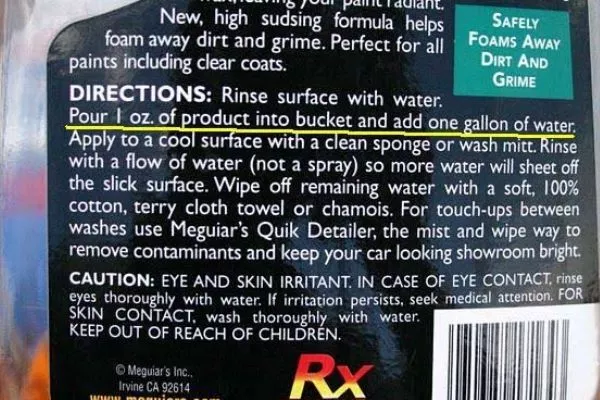
Do read the labels on the car products you're buying. This is for you and your car's safety
Also, note that it’s ideal to have your car parked in the shade. This is because the chemicals in the cleaning product might react to the heat of the sun and will potentially damage your car’s paint. Better safe than sorry.
Step 3: Three buckets
The last thing that you’d want to do to your car is to wash it with dirty water and with a dirty cloth. Why? Well dirty water might already have sediment collected and those sediments will most likely get caught in between the fibers of a washing cloth.
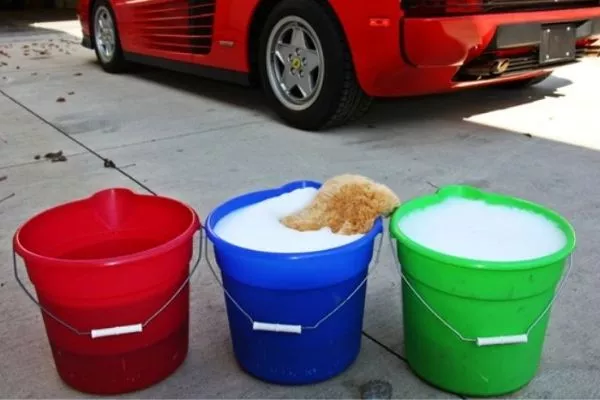
Washing a car with only one bucket is like using the toilet brush to brush your teeth
To avoid this, you’ll need three buckets, each with their own dedicated was cloths. One for holding clean soapy water, one for just plain water, and the last one for the wheels and tires only because these, of course, are most often the dirtiest part of the car.
As for the washcloths themselves, we recommend buying a set of microfiber wash mitts which can be had at a lot of different stores (even at the mall) from Php 120 to Php 1,000.
>>> Check out: 8 steps to clean your car using common household items
Step 4: Spray
You can’t just lather on the soap without rinsing it first because this ensures the removal of dirt, dust, and mud.
To do just this, grab your simple garden hose or your pressure sprayer, and start from the roof of the car. Go slowly and evenly and move downwards towards the bottom panels and then finally, on the wheels of the car.
Remember, if you have a pressure sprayer, do not set it on the tightest setting as it will potentially damage parts of your car (even the paint itself if you’re not careful) if it’s too strong. Instead, set in on a middle strength spray setting.
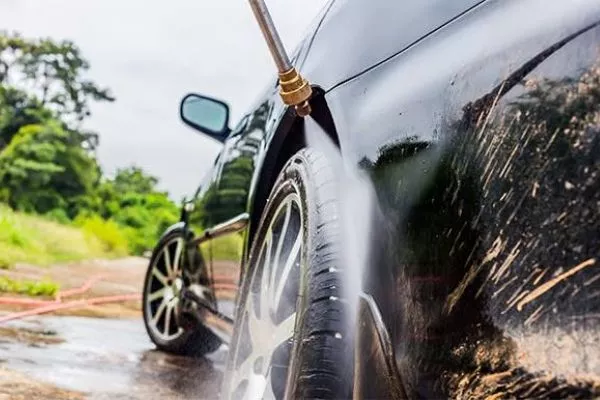
If the wheels and tires are very dirty, then let'er rip!
>>> Have you got 10 must-have car care products
Step 5: Soap
If you’ve read the label on your car soap, follow the recommended amount and mix. Also, make sure that the now soapy water remains clean.
Just like the pre-wash on step 4, start from the top to the bottom. While there are some other recommended methods like dividing your car into “panels” and all that jazz, we recommend doing what you find that’s comfortable to you. That is, as long as you start from the top to the bottom.
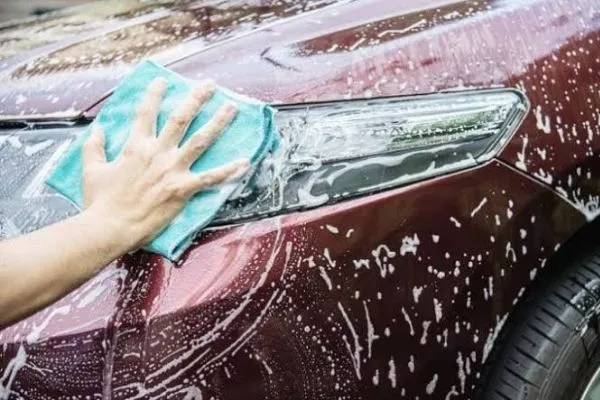
Just like the pre-wash spray, apply the soap from top to bottom
Note also that you can’t just use any soap for washing your car. Some soaps like laundry detergent or dishwashing detergent might have chemicals that’ll harm the pre-existing wax layer on your car and even the clear coat.
For applying soap for your exhaust tips, wheels and cooling vents, use the third microfiber cloth.
Step 6: Rinse
Next, use the second microfiber cloth while spraying away from the soap. Again, do this from the top towards the bottom.
>>> FYI: A guide to car wash services in Metro Manila: Price list, Contact details & More
The proper way to wax your car
Step 1: Prepare the car’s surface
Now that your car’s clean (but still damp), you can now assess if it really needs a touch up with a clay bar. If you find swirls, scratches, and some stuff that won’t just come off like oxidation, and it’s time to use the good ol’ clay bar.
To use the clay bar, turn into a disc-like shape, apply clay lubricant and then gently rub the clay bar on the affected area. Keep rubbing the clay on the area until you feel that it can glide easier over a surface. Lastly, wipe off the lubricant off the area.
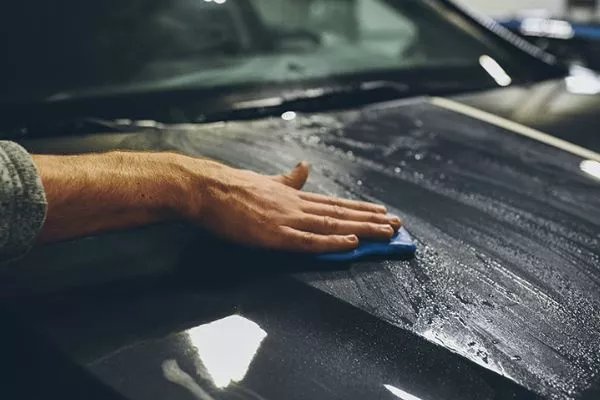
If you're really not sure of what you're doing, then bite bullet and go to a professional
Be careful not to rub too hard or drop the clay bar as that might damage your paint instead. Also, if the cay bar gets dirty, just mold it with your hands again until it’s visibly clean again. Do check the clay from time to time for debris.
>>> Tips for you: How Can I Repair My Car’s Scratches?
Step 2: Polish
This step is optional but if you want that really glossy finish, you can polish the car by hand or by using a power polisher. If you already have a variable speed angle grinder, there are adapters out that can turn your angle grinder into a buffer but it still does have some risks.
Step 3: Apply the wax
If your car’s already washed and is parked away from direct sunlight, then you’re ready to wax.
First off, choose the wax. We highly recommend the ones that have a genuine carnauba.
Next, place around a peso coin-sized amount on the applicator that came with the wax. Note that applying too much wax can be annoying. It’s hard to remove and will leave gunks all over the car. So we highly advise applying small amounts first.
>>> Relevant article: Best wax for car in the Philippines: List of 6 recommended brands
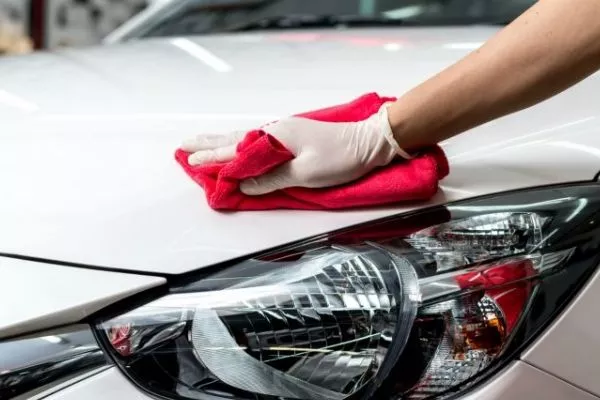
A washed and waxed car restores pride of ownership. Doing it on your own will elevate you further
If the wax product didn’t come with an applicator, then a damp sponge might do the trick.
To apply, use gentle circular motions. You can also divide the car by section and apply the wax for each at a time. If you have a buffer, you can finish the waxing process by setting the buffer at a low speed to remove any imperfections. For a beginner, however, we highly advise using your hands first.
>>> Also check: Car Waxing, Detailing & Polishing: What’s the Difference?
Final Step: Wash the wheels and tires
When you’ve done washing the car and waxing the car. You can now use the third bucket to wash your tires and wheels. You’ll also need a brush. If the wheel well is too dirty, then you’ll need a longer brush from that. Also, depending on the dirtiness, you might need stuff like iron remover.
Now first off rinse the wheel and tire to remove dirt and particles. Once it’s good and wet, apply your choice of wheel cleaner.
Next, scrub the tire to further clear it of particles and other gunk.
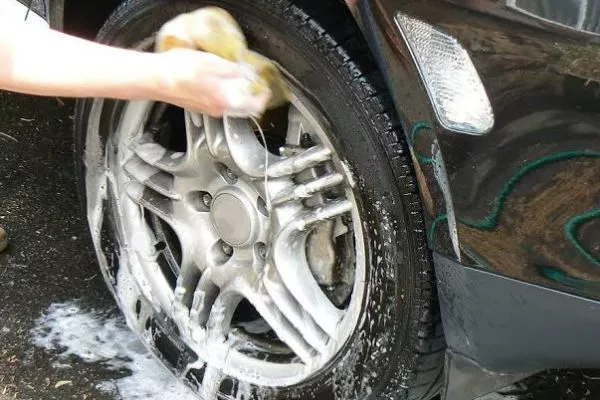
If you can't reach those tight, hidden spots with a brush, go get 'em with your hands
Just like your entire car, do rinse away from the top to the bottom. Use a smaller brush to clean in-between the spokes or angles of the wheels to reach that dirty nooks and crannies.
And finally, spray water onto the wheel and tire to rinse all of it off. Use another piece of microfiber to dry the wheel.
For more guides like this one, keep reading here on Philkotse.com.
Recent posts
- What you need to know about tipping carwash and other services Nov 30, 2022
- Eco-friendly Car Care: Waterless car wash and How to do? Aug 17, 2022
- Dos and Don’ts of Washing a Car: Squeaky Clean over Scratchy Clean Feb 18, 2019
- Engine wash & engine detail in the Philippines: Which is better? Aug 04, 2020
- 10 easy steps guide to wash your car at home Nov 17, 2022


