Below is the handy guide from Philkotse.com on how to remove gums to your car seats.
Step #1. Use the ice pack procedure
Take three to four pieces of ice cubes and put it in an ice pack (or a plastic bag if you don’t have one). If you’re concerned that the water can leak out of the bag and get your seats wet, use two layers of plastic bags.
You can use more but make sure that you can still feel the temperature of the ice. You can also use a freezer pack or any thin material as long as it can hold ice and water without spilling.
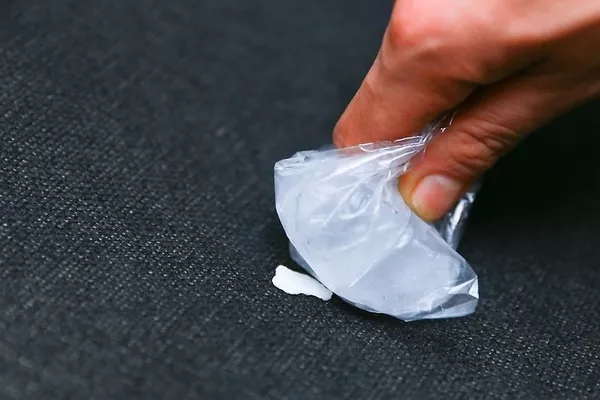
Take three to four pieces of ice cubes and put it in an ice pack
Step #2. Apply your ice pack to the gum
Take your ice bag and apply it directly on to the gum on your car seat. It won’t take effect immediately so let the ice pack sit on the gum for a maximum of 15 minutes. The gum should harden due to the cold temperature. The harder the gum becomes, the easier it is to remove.
If the gum is at an odd position or has stuck to vertical space like the backrest, you can hold the ice pack to it. Make sure you put a towel between your palm and the ice pack so your hands won’t get sore.
Step #3. Removing the gum
Use a kitchen bread knife, a dull putty knife or a blunt blade to try and scrape the gum off the seat’s fabric. This should work even if it doesn’t completely remove the gum. Do this carefully especially if your seats are made of high quality and expensive materials.
Even if your car seat was made of inexpensive material, it would still cost you some money and effort to have it repaired. That’s why you need to make sure you don’t poke a hole in it while doing this step. A small puncture in your car seat, if left neglected could become bigger.
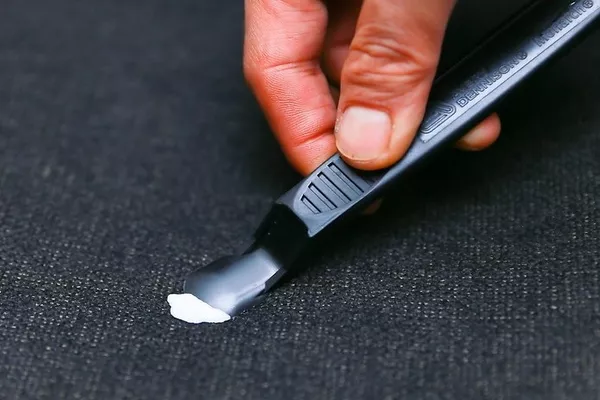
Use a dull putty knife or a blunt blade to try and scrape the gum off the seat’s fabric
>>> Worth to note: Remove chewing gum from your car with 4 easy steps.
Step #4. Clearing away the residue
After you remove the big chunk of gum, it won’t be surprising if you still find some residue left on the seat. Try and remove this by using a small cloth soaked in lukewarm, white vinegar. After you saturate the cloth in the vinegar, wipe it on the gum residue.
If you don’t mind the smell, you can leave the vinegar on your seat for as long as 15 minutes. After a few minutes, the vinegar should be able to loosen the remaining gum off your seat and you can easily wipe this into a small ball. You can easily remove the gathered gum with your bare hands or a pair of tweezers.
Remove gum from car seat
Note: Vinegar is effective in cleaning cloth and vinyl seats purely because of its high acid formulation. For the same reason, we advise not to use it on genuine leather seats. Also, you can try heating up the vinegar before using it on your cloth or vinyl car seat to boost its effectivity.
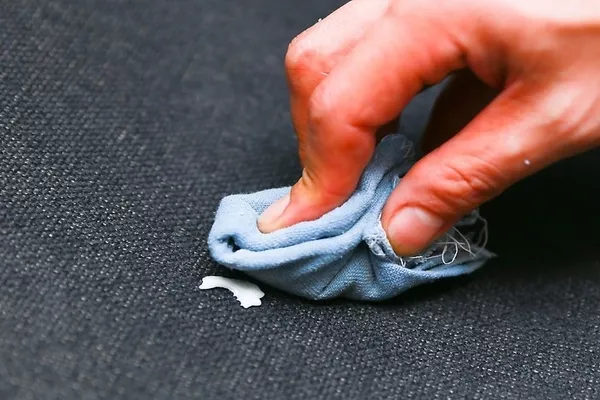
Use a small cloth soaked in lukewarm, white vinegar to remove gum residue
If the previous step doesn’t give you a clear and clean car seat, then you can also proceed to do this one and see how it works. Take 1 tablespoon of liquid dishwashing soap, 2 cups of lukewarm water and 1 tablespoon of white vinegar. Mix these ingredients in a medium-sized bowl until you see soap suds form.
Then, take an old toothbrush, a nail brush or a clean rag and dip into the solution. Use your rag or brush to try and scrub the left-over gum residue off the car seat material. You can repeat this as many times as you wish. This method is safe for most upholstery type and even leather.
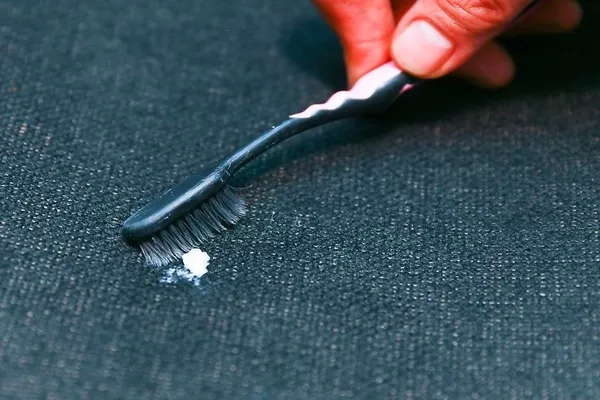
Use your rag or brush to try and scrub the left-over gum residue off the car seat material.
However, you still need to pay attention to the surface of the car seat as you rub it. Just make sure that you’re not rubbing it too hard that you end up punching a hole in it.
If you still find this tip hardly helpful, you can head back to step 1 and do the ice-pack method again. Hopefully, this will harden the remaining gum residue so you can remove it entirely.
>>> Read more: 8 useful things for your DIY car wash.
Step #5. Using a degreaser
A degreaser is commonly used to clean areas of the car where oil clumps and dirt can form. These areas have rust-prone parts like the engine compartment, the chassis, and even the truck. However, not a lot know that they can also use this to remove remaining gum residue off your car.
You can save money if you have some commercial degreaser kept in storage, but you can also buy one from your closest auto supply store. Remember to use a degreaser that’s safe to use on leather, cloth and vinyl material.
If not, just pray that you don’t end up with a situation worse than a stuck piece of gum. Know that you can avoid having further car seat problems if you read the label of the degreaser before using it. Once you’re sure with your chosen degreaser brand and type, you can follow the procedures below.
Take a clean cloth and lightly dampen the middle area. Then, open the degreaser canister and apply or squirt the product onto the damp, middle part of your cloth. Use this area to rub against the stuck gum on your car seat. Then, get a new cloth, dampen it with tap water and use this to remove any remaining gum and degreaser product.
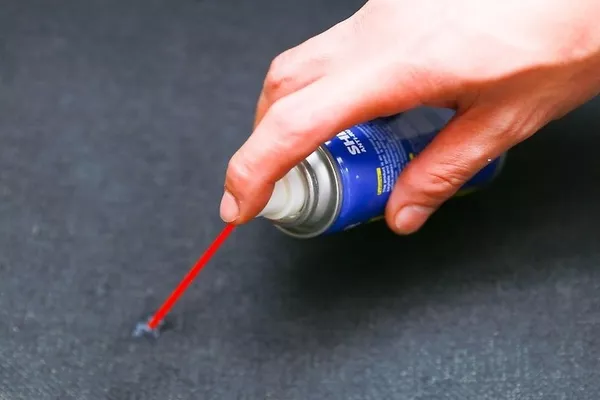
Use a degreaser to remove remaining gum residue off your car.
Step #6. Cleaning the car seat
After you remove the gum and you’re finally happy with the results, we recommend you use some upholstery products on the affected seat. Remember that regardless if your car seat is made of cloth, vinyl or leather, there are cleaning products made especially for car seat cleaning.
So that means there’s no need for improvising when it comes to car upholstery and care. You may also end up ruining, staining or tarnishing the car seat material if you keep using products that aren’t really meant for the material.
- For cloth and vinyl, most upholstery products will work especially if it claims to clean fabric.
- For leather upholstery, use a leather cleaning product and apply leather conditioner for an extra layer of protection and glossy finish.
Recent posts
- A Guide to Remove Vomit from Car Interior Aug 17, 2022
- Steps to remove grease and oil from car interior Aug 16, 2022
- Must-have equipment to keep your car interior clean & organized Oct 13, 2020
- 5 must-know tips for a cleaner and well-organized car interior Jan 12, 2019
- Choosing Car Seat Material: Which kind of material is the best? Dec 28, 2020


