Clear coat peeling off your car can be caused by a variety of reasons. This usually happens when your car is overexposed to rough weather elements like extreme heat. However, there could also be other reasons like collision and the age of the car.
Regardless of the cause, a peeled clear coat no matter the size, can eventually become larger and expose the paint to corrosion and build rust. Rust will eventually break down the metal in your car and may cost you more for repair.
To help save you from this, Philkotse.com suggest you follow our guide on how to fix the peeling coat on your car as early as you notice a loose clear coat
Step #1: Ready your working area
The best place to do this is in your garage where the floor is tidied up from clutter and other objects. You should only have the things you will need close by and keep pets and kids away. This will inhibit the chances of stumbling on objects and getting the clear coat particles into people and pet’s eyes.
You should also buy your choice of clear coat repair kit. This should come with a clear coat formula in an aerosol canister as well as a few sheets of sandpaper with different grits.
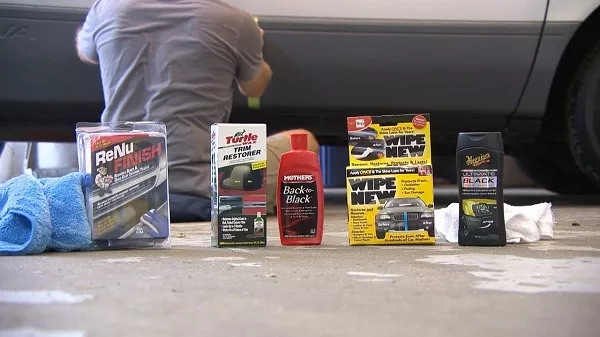
You should only have the things you will need close by and keep pets and kids away.
Step #2: Get your sandpaper
After your working area is cleared, ready your 1000-grit sandpaper. Rub it in small circular strokes on the area where the clear coat is peeling off. Keep your pressure firm and steady as you do this.
After rubbing the damaged part, scrub beyond it and peel the coating on the undamaged area around it. That part we will refer to as the transition line. If the paint under the clear coat is still in good condition, don’t scrub too hard and make the damage worse.
However, if the clear coat is already thoroughly removed, skip this step and go straight to step 3.
>>> Related post: Ceramic Coating in the Philippines: Overview of costs, advantages, process & more
Step #3: Start the wet-sanding process
For this part, you will need to use 2000-grit sandpaper. Prepare it in advance by soaking it in clean tap water for about an hour. After soaking, use your sandpaper to rub the transition line that lies between the area in good condition and the spot that needs repair. Smooth it out in small circles with firm, even pressure and run it along the area beyond that. Don’t forget to dip your sandpaper in clean water every now and then to rinse it.
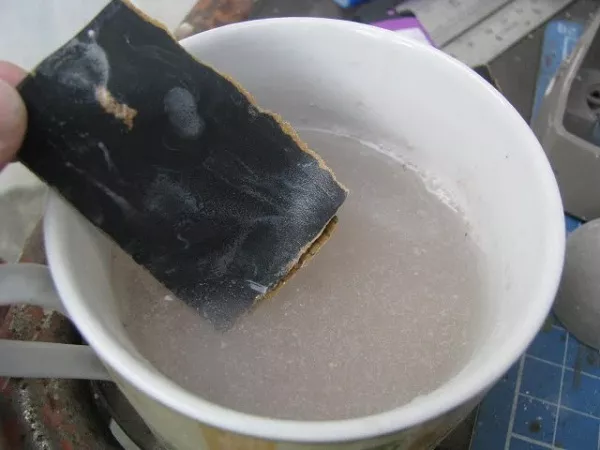
Prepare 2000-grit sandpaper in advance by soaking it in clean tap water for about an hour
Step #4: Use solvent and alcohol on the area that needs repair
Alcohol-based cleaners are best used to clean the damaged area first before any further tampering. Use cleaning solutions with similar formulations to a glass cleaner and dampen a rag with it.
Apply it to the area you sanded and follow up with paint prep cleaner. Make sure it’s solvent based for a more potent formulation. If you bought a complete clear-coat repair kit, you are bound to have a ready bottle of this.
>>> You might like to read: 4 easy steps for Filipino car owners to remove your car's tint bubbles
Step #5: Take a scouring pad to scuff the area
The required scouring pad here is similar to the one you usually use for dirty pans and pots. However, a slightly more delicate material is used in its production. Purchase a scouring pad from auto supply stores and refrain from using kitchen scouring pads and steel wool.
This may worsen the damage on your car. Once you’re ready with your scouring pad, start rubbing on the affected area with light pressure. Keep repeating the scrubbing motion until you get an even rough texture from the damaged area to the transition line.
Once you have the appropriate texture, you can use your solvent-based cleaner to remove little particles of the paint.
How to repair clear coat fix 100% all types
Step #6: Get enough tape to secure your work area
Get some clear, plastic tape and tug the end to stretch a good amount. Then, tape this to your clothes and remove it. If the tape is still very sticky, repeat the step. This will prevent the tape from peeling paint off the undamaged area by the time you’re done and want to take the tape off.
Now stick it to the area just outside the transition line. To cover more area outside the repair zone, use a plastic sheet similar to the ones used to cover books. Use this to protect at least twelve inches of the space around the area you will be working on and tape the end of the plastic sheet securely.
This will make sure that any material you spray on to the affected area won’t land anywhere else it doesn’t need to be.
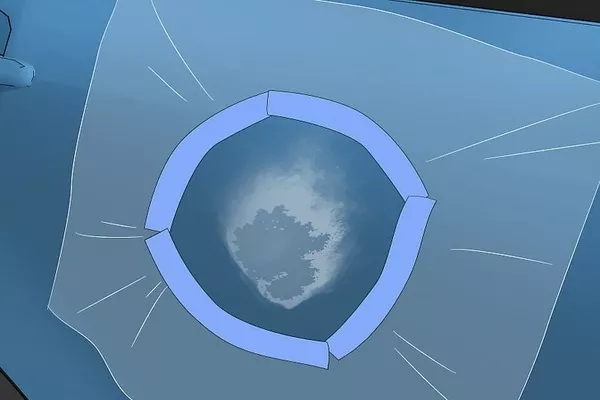
To cover more area outside the repair zone, use a plastic sheet similar to the ones used to cover books
Step #7: Spray a clear coat on the damaged surface
Follow the instructions on the aerosol can and shake the canister before use. Also, take note of the advisable spraying distance. Once you start spraying, keep it in a slow and steady direction until you successfully create even layers of clear coat.
Once you are done with the first layer, let it sit for five minutes or follow the stated time frame on the label. Some clear coat formulas may require you to use sandpaper every time each coat dries. The advisable sandpaper variations are 1500-grit or 2000-grit.
After sanding the dried coat, wipe away the small particles of dirt using a tack cloth. You can then proceed to spray on the next layers; just remember to sand each before spraying on a new one.
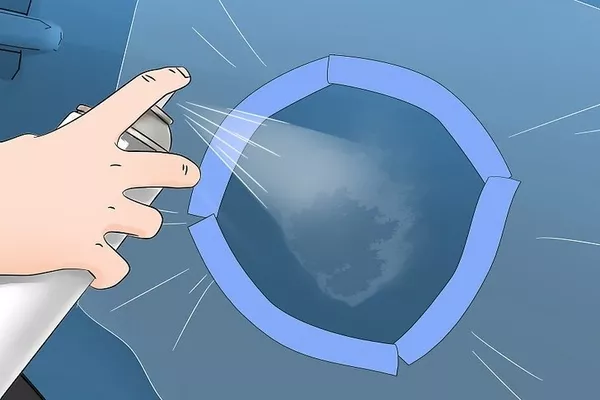
Follow the instructions on the aerosol can and shake the canister before use
Step #8: Remove the protective tape and plastic sheet
After your last layer of clear coat dries, carefully remove the tapes and plastic sheet. To make sure the layers are thoroughly dried before the finishing touches, leave it overnight to harden.
Step #9: Perform the finishing touches
The results should be good as new but the repaired area is bound to stand out. To make the colors blend in, use a 2000 grit sandpaper to scrub in small circles from the inside working your way out.
Then, use the same motion with the polishing compound that comes with your clear coat repair kit. Lastly, you can use a motorized buffer to blend in the repaired area with the undamaged area around it. Start buffing the transition line for a more blended look.
If there is no motorized buffer available, you can use sandpaper and buff the area manually. This will take some time however and may leave you with sore arm muscles.
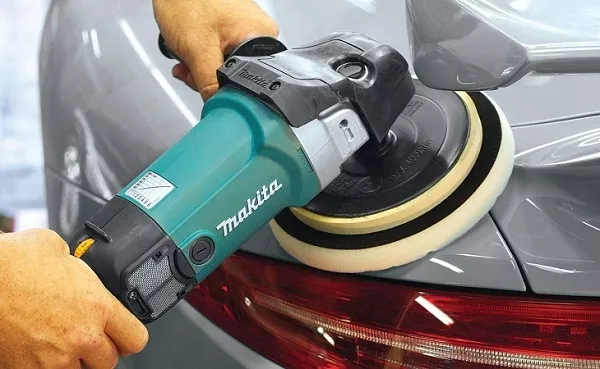
You can use a motorized buffer to blend in the repaired area with the undamaged area around it
Recent posts
- 5 rules to have a proper car wrap in the Philippines Mar 07, 2019
- Car repainting: 11 things you need to know Aug 04, 2020
- 7 common mistakes when taking care of your car paint & ways to avoid them Sep 16, 2021
- Car wrapping: A Practical Solution for Changing the Color of a Car Nov 30, 2022
- Car Paint Protection Film: Yay or Nay? Aug 04, 2020


