Most of the times, the car’s ceiling, also called the headliner, is overlooked when cleaning the car’s interior. However, the headliner still gets dirty. Good thing you can easily remove grime and stain in the headliner with the use of an upholstery cleaner and detailing brush. For a more detailed car ceiling cleaning tips, read on this article from Philkotse.com.
1. How to spot-clean the headliner
Before diving into the step by step procedure, here are the materials you will need:
- Microfiber towel
- Soft-bristle brush
- Upholstery cleaner
Step 1. Spray upholstery cleaner in a soft-bristle brush
To make sure that you’re using safe upholstery cleaner for the interior, but only from an automotive shop or trusted shops only. Use a small detailing brush and wet its end with the cleaning solution. Doing so will give you better control on where you will apply the cleaner in the car’s interior.
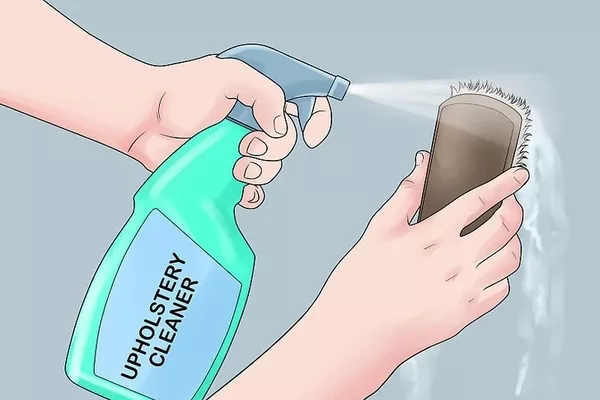
Use a small detailing brush and wet its end with the cleaning solution
Step 2. Wipe the spot with a microfiber towel to dry
Use a microfiber towel to blot the area you cleaned. Hold the towel firmly so it can absorb the cleaner. In small circles, rub the towel around the stain. It will help lift off the stain from the surface. Inspect of there still a presence of stain, if it has lightened up or it’s still noticeable. Repeat the whole process if the stain is still very visible.
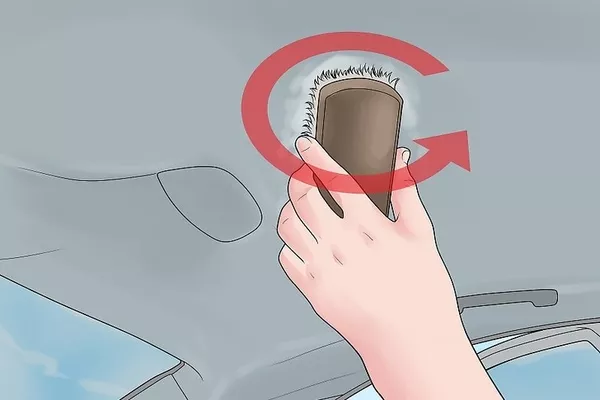
In small circles, rub the brush around the spot
>>> Read more: Helpful checklist for car interior cleaning.
2. How to remove tough stains
Materials you need:
- Microfiber cloth
- Steamer
- Stiff-bristle brush
- Upholstery cleaner
Step 1. Lift as much stain as you can
Wet the stiff-bristle brush using an upholstery cleaner. Move the brush in tiny circles to form a lather. It will also loosen the stains in the headliner. Use a microfiber towel to wipe the cleaner away then clean as much stain as you can.
Different detailing brushes can be bought from a local car care shop. Also, don't forget to wear nitrile gloves to prevent skin irritation.
>>> Pay your attention to 10 must-have car care products.
Step 2. Rent or buy a steam cleaner
The pressurized vapor from the steam cleaner penetrated the stains and loosens dirt. You can either buy or rent a steam cleaner depending on your choice. You can also buy a small steam spot cleaner.
The steamer comes with a brush attachment or a narrow nozzle. You can use either of the two. Hold it away from the stain then pull the trigger to shoot steam. Be careful not to saturate the stain with too much water because it can damage the fabric’s adhesive underneath.
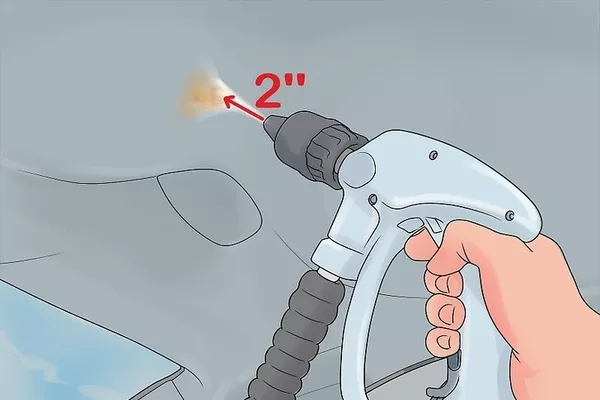
The pressurized vapor from the steam cleaner penetrated the stains and loosens dirt
Step 3. Use microfiber towels to dry the stain
Blot the stain using microfiber towel while it is still wet from the steam. Check if there's still a presence of stain. If yes, give it another burst of steam then try to lift it up using a cloth in circular motions. This procedure is ideal when removing stains from food or other resilient spots.
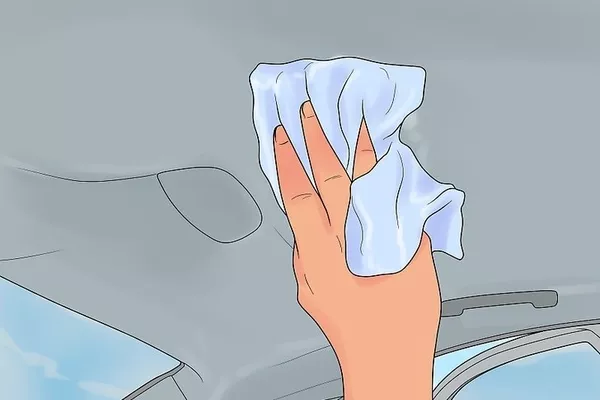
Blot the stain using microfiber towel while it is still wet from the steam
>>> Also read: 6 ways to maintain your car interior’s cleanliness.
3. Deep cleaning the whole headliner
Materials you will need:
- Spot cleaner or wet vacuum
- Stiff-bristle fabric brush
- Upholstery cleaner
Step 1. Spray the cleaner on a stiff-bristled brush
You can use either an all-purpose cleaner or upholstery cleaner to clean your vehicle’s ceiling. Don’t forget to find a well-ventilated area to perform the procedure. Dampen the bristles of a large detailing brush using the cleaning solution.
Do not directly spray the cleaner on the headliner because it can damage the fabric’s adhesive underneath. Again, do not forget to wear latex gloves for both your hands to avoid any skin irritation from the chemical cleaners.
Step 2. Rub the headliner using the brush
Rub the brush in long back and forth strokes to create lather. Press the bush gently while scrubbing the car’s ceiling. If you notice that the brush is not creating lather anymore, spray more cleaning solution on the brush. For very visible stains, you might need to add extra cleaner while brushing it in small circles.
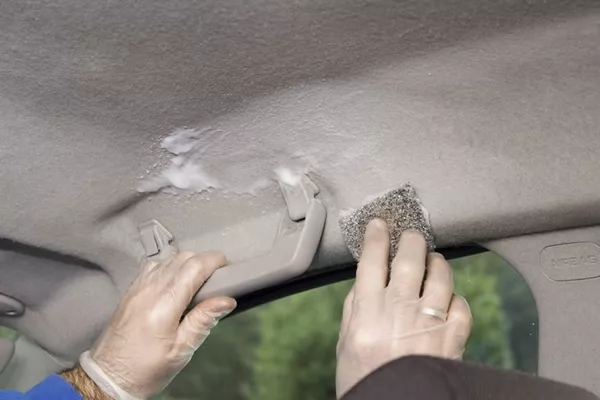
Rub the brush in long back and forth strokes to create lather
>>> Grasp your attention: 5 simple hacks to keep your car organized.
Step 3. Utilize a spot cleaner or a wet vacuum in removing the cleaning solution
Attach a brush attachment on the machine’s nozzle, hold it against the headliner then turn it on. Start working on the front part of your car and towards the rear part.
Make sure the machine is sucking up the cleaning solution. The method is perfect for removing smoke and nicotine residue from the interior of your car.
Step 4. Allow the car’s ceiling to dry completely
The spot cleaner or the vacuum should have absorbed most of the moisture from the headliner, but you still need to let it completely dry for about 24 hours. To check, touch the fabric and feel if it’s already dry.
If you notice that the vacuum left lines on the fabric, remove it. If your car is in a safe and secure place, you can leave the windows open to let the car's air out.
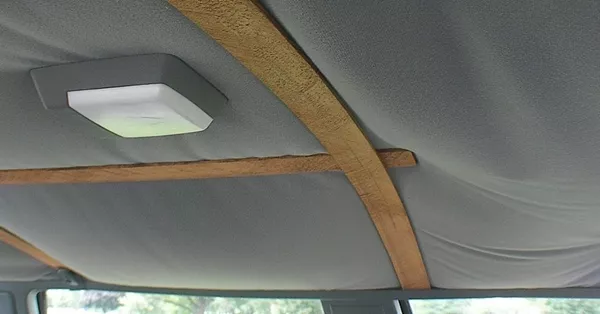
If your car is in a safe and secure place, you can leave the windows open to let the car's air out
Step 5. Repeat the whole procedure if the stains are still noticeable
If the car ceiling has completely dried, check for any discoloration and/or noticeable stains left on the headliner. If there's a visible stain, try doing a spot treatment. If it didn't work, then resort tot heavier cleaning procedure. Note that not all stains can be removed. If that’s the case, the best thing you can do is to lighten the stain as much as you can.
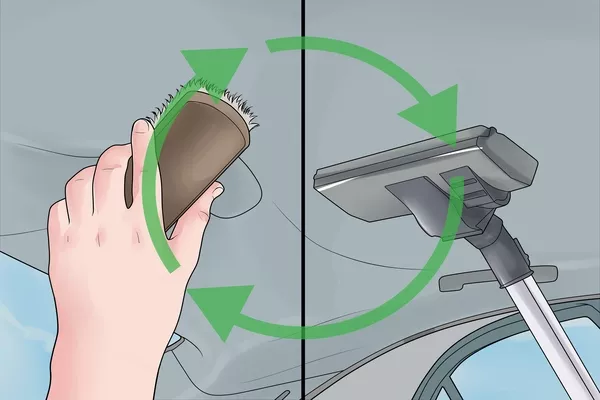
If there's a visible stain, try repeating the procedure or the spot method
Important notes
- It's better to work in a well-ventilated area. This will prevent fumes build-up.
- Always wear a pair of latex or nitrile gloves when working with chemical cleaners to avoid any skin irritation.
Recent posts
- A Guide to Remove Vomit from Car Interior Aug 17, 2022
- 4 simple steps to do a proper car interior detailing Aug 09, 2022
- Steps to remove grease and oil from car interior Aug 16, 2022
- Must-have equipment to keep your car interior clean & organized Oct 13, 2020
- 5 must-know tips for a cleaner and well-organized car interior Jan 12, 2019


