Although every car owner wants to keep their vehicle in great condition, that’s not always the case for everybody. Sometimes, no matter how careful or how great of a driver you are, there will come a time that you’ll encounter having damages to your vehicle.
These damages can range from slight scratches to the loss of a fender or an actual car door. One example of the most common damages that you can experience is a pitted windshield.
A pitted windshield is not only displeasing to the eye but it can also compromise your safety, especially if it’s in the driver’s view. There are tons of ways that your car can get a pitted windshield.
It could be through an accident or on purpose. In fact, you can even get your windshield pitted just by driving too close to the rear or side or a truck carrying a heavy load like stones or wood chips. One or several pieces might fall off from the rear of the truck and hit your windshield.
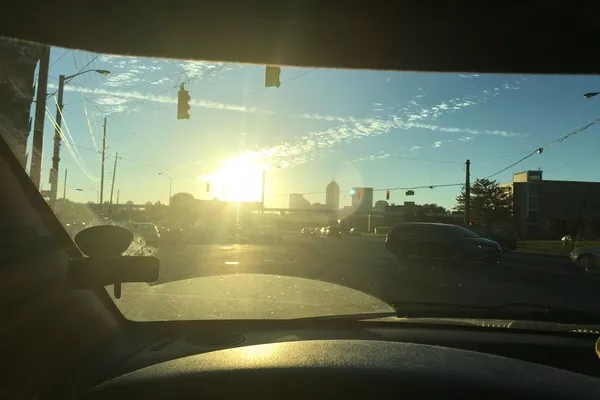
A pitted windshield is not only displeasing to the eye but it can also compromise your safety
1. Can you repair a pitted windshield?
There are various kits available on the market that can help you lessen, if not totally fix the appearance of pitted windshields. The prices of the kit, as well as the procedures necessary to take when fixing the windshield, may vary depending on the severity of the damage.
2. Why should you repair a pitted windshield?
Asides from the fact that a pitted windshield is not a very beautiful view to look at, it can also block your view. This is potentially dangerous since anything that obstructs the view of the driver can be a cause of the accident, even possibly a collision.
Other than that, small damage if left unrepaired can also develop and become bigger overtime. The scratches will potentially spread and the unnoticeable pits on your windshield will slowly be visible.

A pitted windshield can also block your view
>>> Read more: 3 useful tips to keep your windshield in its top shape.
3. Repairing pitted windshield
One thing you should know is that cases of pitted glass are rarely brought back to its former glory just by using repair kits. If the case is severe and scratches are spread out all over the windshield, you should best get a new windshield. If you ignore the need to do so, you may get a fine for driving a car with a windshield that provides poor visibility.
If you think the damage is hardly noticeable and that your windshield is still salvageable, you can follow the tips Philkotse.com has prepared below. They may not completely restore your windshield’s former beauty, but it may help lessen the visibility of scratches and pits.

You may get a fine for driving a car with a windshield that provides poor visibility
>>> Also read: A step-by-step guide for windshield repair & windshield replacement.
4. The thing you’ll need
- Safety Glasses
- Nylon-bristle Brush
- Gloves
- Sponge
- Polishing pad
- Variable-speed drill
- Polishing compound
- Rain – Repellant Solution
- Polishing cloth
5. Tips to repair a pitted windshield
Tip 1. Scrub your windshield to remove the oil particles
Using a nylon brush and liquid dishwashing soap, scrub your windshield to remove the oil particles that could have latched onto the glass surface.
Dishwashing soap is the perfect solution because it’s delicate enough not to scratch or corrode the windshield material, but it’s strong enough to clean the minute cracks and nibs. You can rinse the suds off with clean tap water.
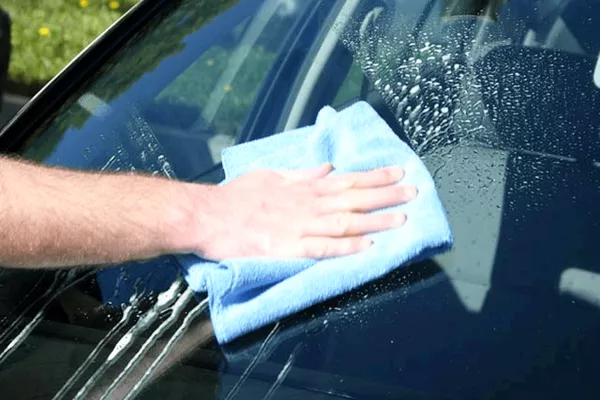
Scrub your windshield to remove the oil particles that could have latched onto the glass surface
>>> You must know: Top 7 car wash equipment for drivers in the Philippines.
Tip 2. Wear appropriate safety gear
For this next step, you will need to wear a pair of safety gloves and protective eyewear. After that, you can then apply the polishing compound from your repair kit to the windshield’s surface. You can use a variable speed drill and set it on low to achieve a more pleasing effect.
Most commercial polishing compounds that come in kits use cerium oxide as the main ingredient.
This is a form of abrasive that removes the glass on the specific area so it’s leveled with the pit. Since the compound is removing the glass, you will need to dampen it every now and then to keep it from hardening before you’re actually done. While the compound corrodes the glass, bits of it will fall into the pit and fill it up.
However, you don’t want this to happen because it may develop scratches at this stage. You can keep the area damp with a sponge.
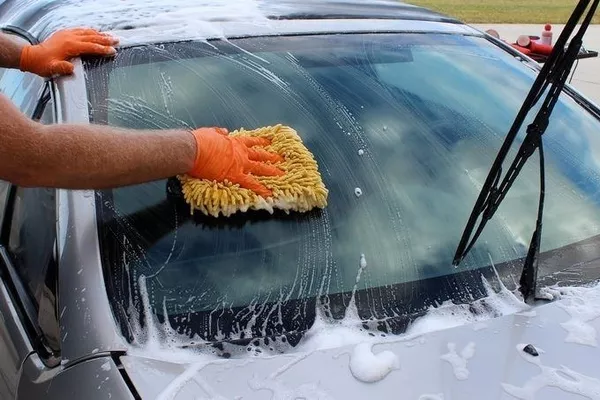
You will need to wear a pair of safety gloves and protective eyewear
Tip 3. Re-wash the area
After applying the compound, you will need to re-scrub the area with the same dishwashing solution and nylon brush used in tip 1. This will remove the unnecessary compound residue and clean the pitted areas. After rinsing the area with clean water, you can now wipe it with a clean towel and leave it to dry.
Once it has dried, take a visual inspection if the damage is still visible. You can take a walk from the front of your car to the sides and check to see if the damage is still noticeable from varying angles. If the damage exists on the rear windshield, you can do the same steps.
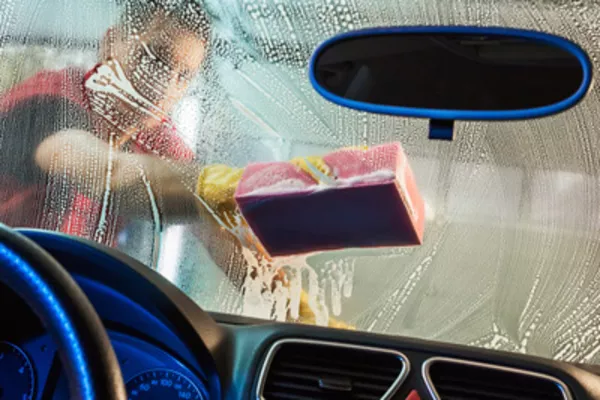
After applying the compound, you will need to re-scrub the area
>>> Check out: Simple tips to DIY your windshield washer fluid.
Tip 4. Repeat the steps if you’re unsatisfied
If the damage is still obvious, you can add more compounds to the area you want. Make sure to polish it this time using your drill but keep the pressure at a low level. Again, you need to use the sponge and keep the area wet so the compound doesn’t harden with scratches.
Then, wash the area with liquid soap before rinsing. If you’re still not happy with the results, you can re-apply the compound and repeat the process as much as you need.
Tip 5. Apply some final (protective) touches
Once you are happy with what you’ve got, you can give the area one final hose down. Then, buy your preferred brand of rain-repellent solution for glass surfaces.
You can also purchase the same type of formula for general vehicle use. Apply the solution by putting it on a clean, microfiber cloth first before rubbing it on the windshield.
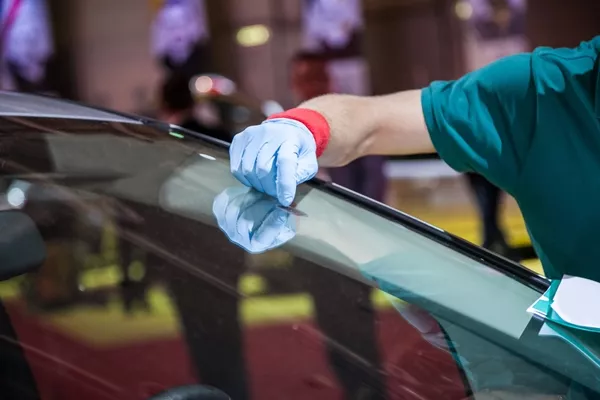
Once you are happy with what you’ve got, you can give the area one final hose down
The rain-repellant solution will create a thin surface that seeps into the tiny cracks of the surface and any imperfections that are not visible to the naked eye. This will help protect it from natural abrasive elements like acid rain and pollution. The formula will also add a bit of shine to your windshield to lessen the visibility of the cracks.
>>> Click here for more useful tips and advice for car owners.
Recent posts
- 5 things to know before dealing with a chipped or cracked windshield Jul 31, 2019
- How to defog your windshield regardless hot or cold weather Aug 17, 2022
- How to install windshield wiper blades: 6 steps to follow Aug 17, 2022
- 3 easy tips every Pinoy driver should know to keep bugs away from the windshield May 30, 2018
- How to remove stickers from your car’s windows and windshield Jan 21, 2021


