Once you start noticing that your wipers leave grime on your windshield instead of cleaning it, then it’s time to install new ones. This is a necessary step to maintaining a clear and unobstructed view of the road while driving. Luckily, wipers are easy to replace, and they don’t entail too much trouble during installation.
You also don’t have to worry about replacing them often, since new wipers only need to be installed every year or so, depending on how often they’re used. In some situations though, you may need to install new wipers sooner because of the particular conditions that you put your car through.
If your wipers begin to show signs of wear, like smearing water, leaving a film of grime or wiping off water unevenly, then follow the steps Philkotse.com prepared below so you can install new windshield wipers by yourself!
Step #1. Look at the wiper blades and decide which part you need to replace
A windshield wiper consists of a wiper blade attached to an arm driven by an electric motor. The rubber part of the wiper that makes direct contact with the glass is usually not available separately.
If you can see that the blade doesn’t rest evenly on the glass, then the blade will no longer be effective in doing its job, and you would need to replace the entire windshield wiper.
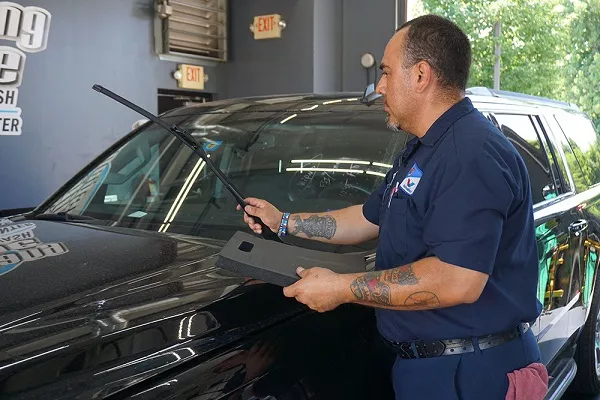
A windshield wiper consists of a wiper blade attached to an arm
>>> Must read: When & How to replace your windshield wiper blades?
Step #2. Get new windshield wiper blades for your vehicle
Picking out a pair of windshield wiper blades can be tricky, and you may need to ask a sales attendant for help to guide you towards the right selection. Always take note of the length of your stock windshield wipers before replacing them; they usually have different lengths.
You can then confidently go to your preferred auto supply store and pick out a pair of the right windshield wipers based on the measurements you took.
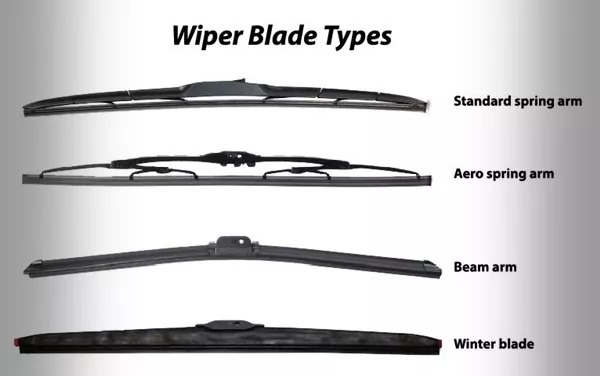
Picking out a pair of windshield wiper blades might be a little tricky
Step #3. You can now start installing your new windshield wiper
Pull the wiper arm and turn it forward into a standing position. Remember, if you feel that the arm won’t stretch out any further, stop pulling on it.
Then, release the wiper blade by pressing on the small tab that’s located on its underside; this should be somewhere around where the rubber meets the metal arm. In some car models, that particular tab has to be pulled instead of being pressed. If there is accumulated dirt or debris on the wiper, then you may need a little tug to remove it.
The metal arms will look bare and if you’ve done it successfully, they should be exposed. Remember that these metal arms are more fragile, now that there is no more rubber attached to support them, so unless you are ready to proceed with the installation, put the arms back to their original position to avoid damaging them. You may also want to put a clean piece of cloth under the bare metal arms to support them, just in case.
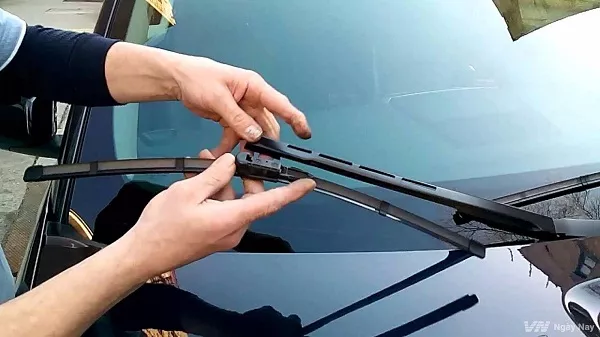
Pull the wiper arm and turn it forward to make a standing position
Step #4. Get your new wiper ready
Take out your new wipers, making sure to match the left and right wipers to their proper positions on your windshield. Press the hinge that you can find on the new blade and make sure it’s perpendicular to the rest of the arm. Then line up the blade against the metal arm so the hook will go through the blade’s hole.
Pull on the blade until you hear a “click” sound, which indicates that the new blade has settled in. Once the new windshield wiper blade is secure, you can simply put the blade back down to its resting position. This will ensure that the wiper blades are safe from the possibility of breakage.
>>> You might like to read: 3 useful tips to keep your windshield in its top shape
You can also remove the cloth or rag that you put under the bare metal blades earlier. After the first blade, you can now proceed to install the other blade using the same steps.
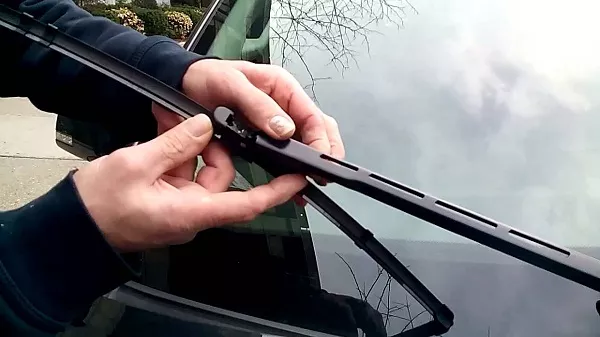
Match the left and right wipers to the proper side on your windshield.
Step #5. Check the angle of your finished project
Once you’re done with the installation, do a visual inspection of the blades; if you find that one or both of the wiper arms are a little off from the correct angle, it may cause chattering and inconvenience when you use it later, so it’s a good thing to inspect it first.
Keep this rule of thumb in mind: the blade should be at a 90-degree angle as it lies on the glass in its mid-swipe. This is because the wiper blade changes its angle from the start to the mid-swipe due to the curvature of the windshield.
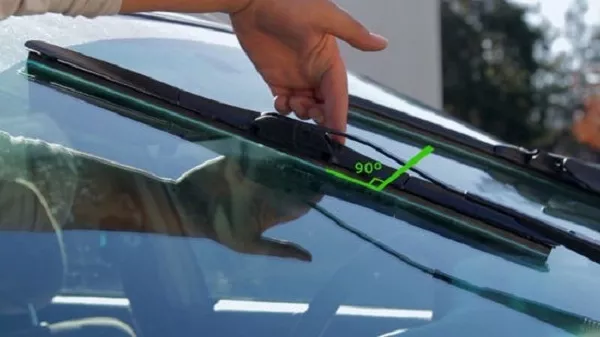
The blade should be at a 90-degree angle as it lies on the glass in its mid-swipe
Step 6. Test your newly-installed windshield wipers
Take your keys and start the ignition. Spray wiper fluid on the windshield first, then turn on the windshield wipers to see if they work properly. Stay inside your car as you turn the wipers on, as this will simulate a scenario where you will need to engage the wipers while you’re driving.
Take a closer look to see if the new wipers will leave streaks on the windshield. In case they do, fetch some alcohol-infused wipes, or cloth or cotton soaked in mineral spirits.
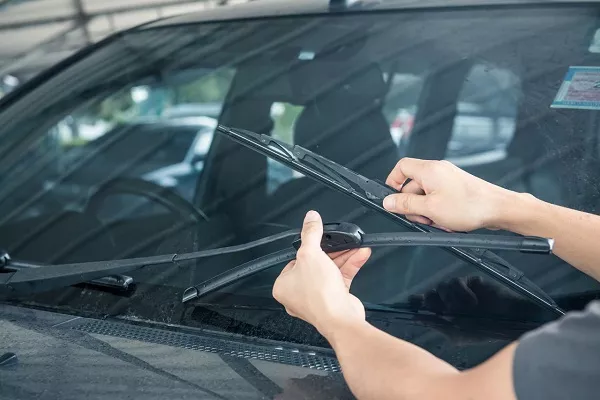
Make sure to check that the windshield wiper is installed properly
Use this to clean the rubber insert on the blades that sweep the water off your windshield. It should be fine after that. If not, then there must be something wrong with the way the wipers were installed.
You can try removing one of the two blades to see if there’s something wrong with the way you installed it. Inspect the blades thoroughly if there are no damages on it that may be causing the problem. Any chips, cracks or breaks in the plastic part of the blade can cause your windshield wiper to behave improperly. If the first blade seems fine, reinstall it and check the other one as well.
>>> Click here to get more helpful tips and advice for car owners.
Recent posts
- Prepare your ride for rainy season: 6 common car problems & tips to avoid Aug 16, 2022
- Simple Tips to DIY Your Windshield Washer Fluid Jan 21, 2021
- 3 easy tips every Pinoy driver should know to keep bugs away from the windshield May 30, 2018
- How to remove stickers from your car’s windows and windshield Jan 21, 2021


