A car’s windshield is responsible for the driver’s forward visibility, apart from keeping elements such as rain and snow away from the cabin.
But at some point in the car’s service life, a cracked or chipped windshield can happen, whether from unwanted physical impacts, sudden temperature shifts or simply from the material deteriorating over time.
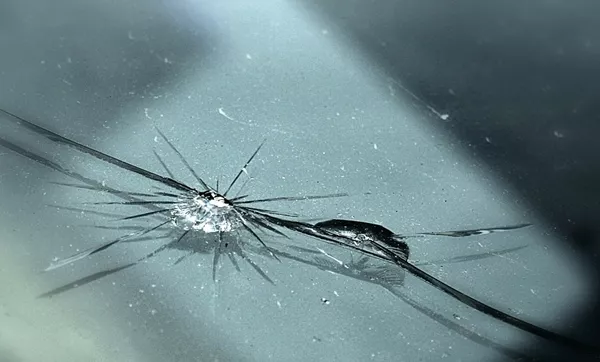
But at some point in the car’s service life, a cracked or chipped windshield can happen
Damaged windshields can hamper visibility as well as compromising the safety, and it’s not an easy thing to deal with for most car owners. A chipped or cracked windshield should be addressed as soon as possible, and this Philkotse.com details how.
1. Repairing a cracked or chipped windshield
Assuming that the damage in your windshield can still be remedied, and if you’re willing to put in the work, the steps below enumerate how to fix it. Take note that there are certain cracks that cannot be repaired, with the only solution being to have the entire windshield replaced.
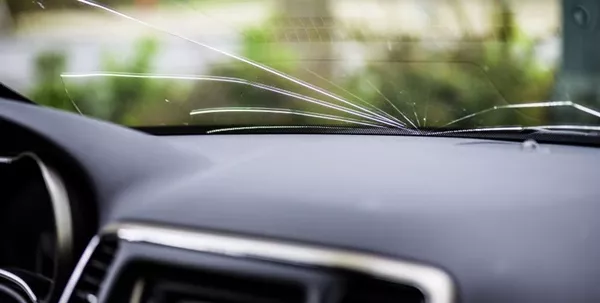
Take note that there are certain cracks that cannot be repaired
Chips, on the other hand. can be fixed using adhesive injection kits. To repair cracks and chips in your windshield, follow the steps below.
>>> Read more: A step-by-step guide for windshield repair & windshield replacement.
2. Buy a windshield repair kit
Windshield repair kits can be purchased from auto supply stores. You can also ask around about shops that offer professional repair services, as they may have stocks that they can sell you.
These repair kits come in a variety of brands, and while they entail different procedures as to their use, the principle is still the same. Done properly, a windshield repair kit can yield excellent results, with the damage practically imperceptible to all but the most meticulous observers.

You can purchase windshield repair kits from auto supply stores or online
>>> Also check: 10 Must-have car care products.
3. Start dry
Before you begin, make sure the surface is completely dry, with the windshield as close as possible to room temperature; this means that the procedure may need to be performed indoors or in a shaded area to protect against sun and rain.
If the glass is still wet, use a hairdryer to remove the moisture. Avoid using window cleaners or detergents that can leave residue on the surface of the glass. Acetone or lighter fluid can be used as alternatives, as long as you’re careful in using them since the excess can dribble down the window glass and peel the paint.
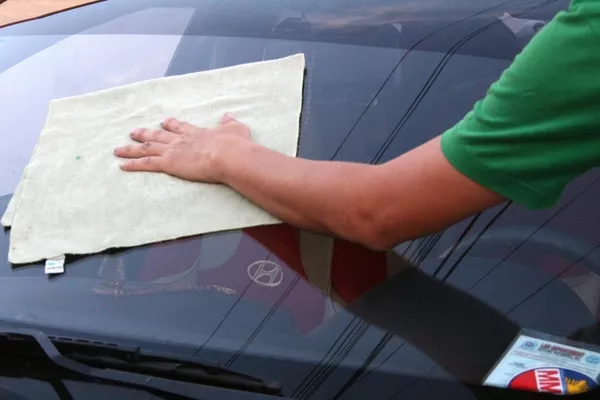
Make sure the surface is absolutely dry
4. Removing the chips and cracks
The windshield repair kit usually comes with a syringe and adhesive for the application process. Peel off the backing film from the side of the precut adhesive strip, then apply it on the windshield, making sure it is centered over the crack or chip. Polish it using a dull or blunt object.
Proceed to peel off the rest of the film. Adjust the plastic adapter for it to fit vertically or as close as possible, then attach it to the film and polish again.
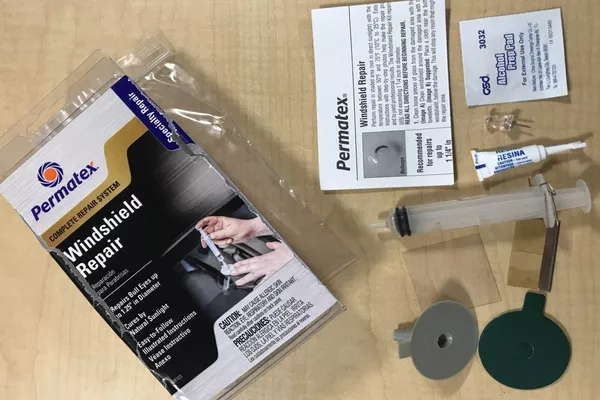
The kit usually comes with syringe and adhesive for the application process
>>> You might concern: Simple Tips to DIY Your Windshield Washer Fluid.
Pull the cap from the syringe, keep the pointy end up so that the adhesive doesn’t drip on the wrong part of the car. Connect the adapter to the syringe. Steady the syringe using one hand, while pulling the syringe plunger back as far as it can go.
Grasp the handle in the same position for one full minute, which will create a vacuum in the syringe and the crack. While still holding the vacuum, the air from the crack will bubble up across the syringe’s adhesive, and the adhesive will creep down in the direction of the chip and the glass.
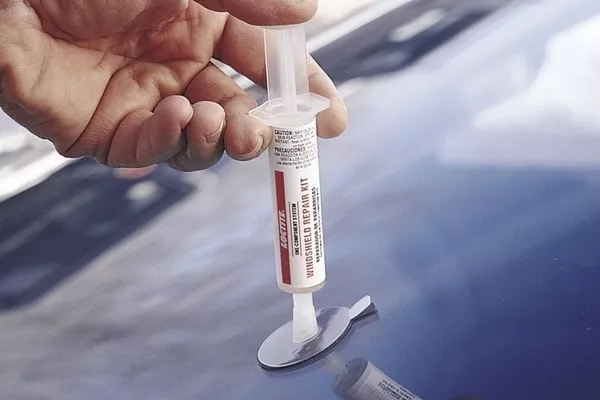
Pull off the cap of the syringe
Once done, you can now remove the adapter, syringe and adhesive sheet. You might notice some adhesive film left on the glass surface, but this can be easily removed using a paper towel dampened with alcohol.
However, you should leave a bit of adhesive undisturbed exactly above the chip or crack for some time until the glass is restored.
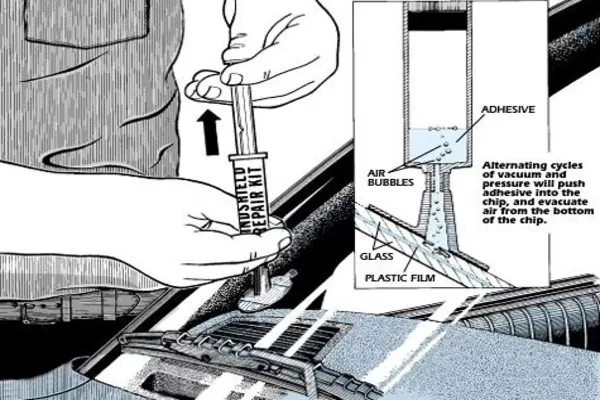
You may now proceed to remove the syringe, adapter, and adhesive sheet
Wait until the adhesive hardens or cures, then take a sharp single-edged razor blade to shave off the excess. If the blade is sharp enough, the adhesive can be removed in a single pass. Be careful in polishing the adhesive patch to avoid making a mess.
>>> For your explanation: When & How to replace your windshield wiper blades?
5. Reminder
Not all windshield cracks or chips can be repaired by the DIY repair kit. The kit helps in sealing the chip or crack against outside elements, but there might be some visible flaws after the procedure. It can also reduce the possibility of the chip or crack spreading further across the surface of the glass.
Longer cracks, however, can’t be fixed. Same thing with spider cracks that don’t have air pockets, long cracks, and surface scratches. In such instances, you may need to turn to professional glass services or have your windshield replaced altogether.

Longer cracks, however, can’t be fixed
Remember to avoid the following when repairing the windshield:
- Relying on adhesive tape to patch a crack
- Using superglue as a permanent solution
- Painting over the damage with colorless nail polish
- Falling for unsolicited scams that tell you to replace your windshield despite having no visible damage
When you notice a crack or chip in the windshield, have the damage fixed as soon as possible. Both for your safety and those of other road users.
Recent posts
- How to defog your windshield regardless hot or cold weather Aug 17, 2022
- How to install windshield wiper blades: 6 steps to follow Aug 17, 2022
- 3 easy tips every Pinoy driver should know to keep bugs away from the windshield May 30, 2018
- How to remove stickers from your car’s windows and windshield Jan 21, 2021
- 8 must-have items for your car emergency kit Aug 07, 2019


