Have you ever thought of the best methods to remove scuff marks from your car’s cabin -- especially the ones that mar the interior panel? Of course, you might have already asked friends and family members on their DIY preferences. But, really, the question here is, what methods really work in removing these seemingly stubborn marks?
Chances are, you have unconsciously contributed to several scuff marks yourself. Well, it is quite understandable since you regularly use the car to take the kids to school, go out for groceries, and get to work on time. While scuff marks are made unintentionally, their unsightly presence can be embarrassing.
Not only do these scratches make your car look ugly, but they can also speed up the depreciation of your car’s value when the time comes that you have to trade it in. No car owner would like to see their car interior marred with ugly scratches.
Are you finding these ugly marks stubborn to remove? Well, we have good news for you. You can do something about them.
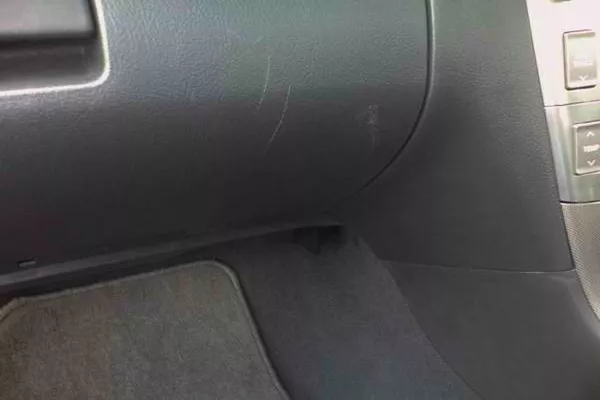
You can do something to totally erase or at least reduce scuff marks
This article from Philkotse.com gives some practical ways and tips on how to remove scuff marks from the interior panel of your car. This step-by-step guide allows you to enjoy removing the scuff marks on your car’s interior yourself without spending too much -- while helping save time.
1. Choices, choices
There are practically two ways that you can choose to remove scuff marks from the interior panel of your car. Go to the market and buy an expert kit that contains all the stuff you need to have these scuff marks removed, or go for a combination of more manual ways to remove scratches such as sanding process, painting phase, and heating to have those scuff marks removed.
It is true that several kits work pretty well to remove of gentle scratches, marks, and abrasions. Still, the best option is to have them fixed yourself -- most especially if the marks are pretty deep. With that, here is a step-by-step guide on how to fix an interior panel that has developed scuff marks:
2. What you need
Try investing in these tools and related materials for a good result when remedying interior scratches.
- Heat gun - used in heating and remolding plastic
- Grain pad - used to retexture the plastic when duplicating the original
- Sandpaper - this works best if you opt for superfine grit
- Car cleaner for your interior - buy one that is of quality in order for deep-seated dirt to be removed from the surface, especially the cleaner that is designed for this purpose.
>>> Read more: Must-have equipment to keep your car interior clean & organized.
3. The procedure
Step 1. Get the area of the scratches cleaned with plastic cleaner
Having all the grime and debris removed will let you achieve a smooth finish and keep the dirt from having to melt into your car’s panel which will most likely affect its color. See to it that the area is thoroughly cleaned and dried before moving on to the second step.
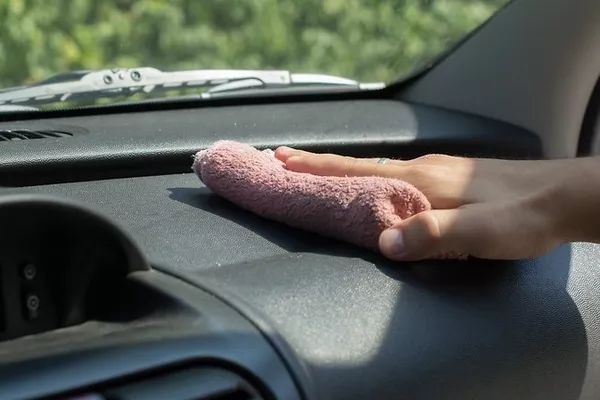
Get the area of the scratches cleaned with the use of plastic cleaner
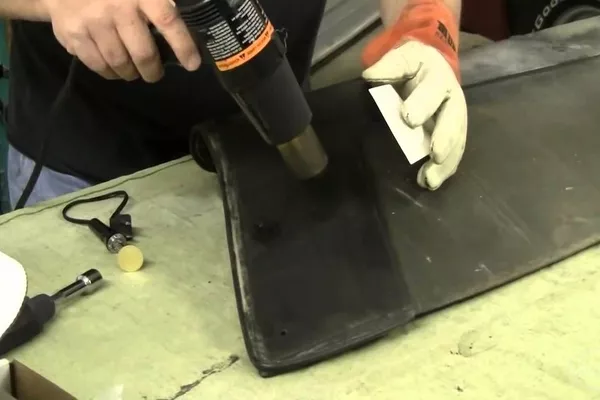
Step 2. Carefully apply heat on the plastic using a heat gun until it starts to soften
Never heat it for a long time as this could result in the warping and burning of the plastic leaving you with irreversible damage. You can personally tell it if the plastic is now ready to mold because its texture will change and look somewhat glossy.
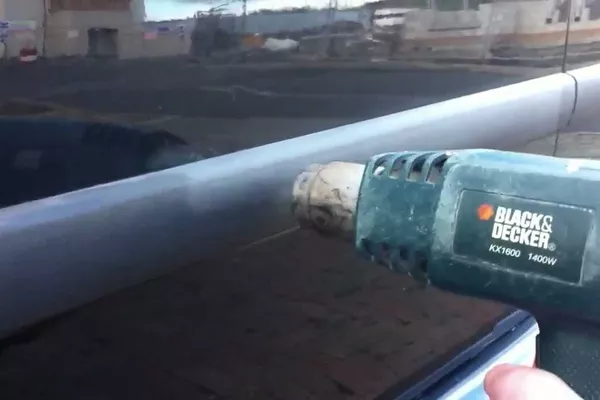
Carefully apply heat on the plastic using a heat gun
>>> Also read: 4 simple steps to clean plastic car parts.
Step 3. Using a grain pad and applying gentle pressure, work on the softened area
This should remove the scratches and give the plastic a textured finish so that it really blends in. There are a lot of available grain pads. Be sure to opt for the one that matches your car’s plastic trim closely. Has it applied to the area with the application pad that is included in the set?
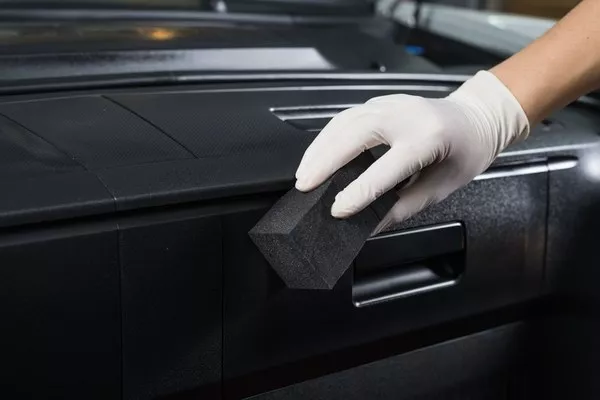
Use gentle pressure to treat the affected area with a grain pad
Step 4. Allow the area to cool until it hardens
Its texture should resemble the other areas that are unaffected. Still, the area might need sanding to secure an authentic finish. Have the area smoothed out using grain paper which is of superfine quality.
Step 5. Re-clean the area
Get the area cleaned with a clean cloth and dried such as in Step One.
>>> FYI: 5 DIY Second Hand Car Interior Upgrade Hacks.
4. Having the plastic trim of your interior restored
Now, let us talk about your interior plastic trim concerns. It is clearly not impossible that the interior trim of your car has also started to look a little bit worn out with the constant use of your vehicle.
Also, in most cases, the heat gun got has got something to do why your interior plastic trim has started to exhibit some discoloration (that is why it is extremely important that you are fully aware of the amount of heat you are applying to the plastic).
When faced with this issue, you might want to use a restorer pad, one that is made up of plastic, or you can also use a spray. This is to help you get your interior plastic trim restored to its original color and luster, leaving it with a whole new fresh look and vibrancy.
Use a restorer pad made of plastic
When you use the restorer pad, always see to it that you are applying it gently and with a circular motion. Always remember to avoid scrubbing too hard. Doing so will result in an uneven texture in the plastic and you will have to do some extra work.
The restorer pad must be kept inside the glove box so that it will be easy for you to repeat some parts of the process should a problem arise as you carry out the procedure.
Recent posts
- 4 simple steps to do a proper car interior detailing Aug 09, 2022
- How to clean car carpet: 10 easy steps for Pinoy drivers Dec 29, 2020
- Steps to remove grease and oil from car interior Aug 16, 2022
- 4 simple tips to keep your car interior clean and tidy Feb 02, 2021
- Helpful checklist for car interior cleaning Apr 09, 2020


