Attaching a car to a trailer may seem like a terribly hard task; it actually is, especially if you're alone. However, hard doesn't mean impossible, and getting a car to a trailer is actually a plausible task even if you do it yourself.
We still strongly recommend that you have someone help you with it. Once you get a trusted partner to do this task with, refer to this step-by-step guide Philkotse.com has prepared
Step #1. Start by positioning your trailer on a good spot
The car would need to go up the ramp so you should definitely park the trailer on a free space on a flat road. Make sure there are no obstructions like trees and hanging branches that could hinder the car from getting up on to the trailer conveniently.
Also keep clear of people, especially children just in case an accident occurs and the car may fall for example.
For your own safety and for others as well, refrain from parking on driveways and other roads with uneven pavements. If there’s no even ground close to where you plan to do this, you may need to take a drive and look around for a good spot.
Once you’re sure you found a flat zone, make sure you put the vehicle you used to tow the trailer on the emergency brake. As an extra precaution, you can put a triangular chunk of wood, a rock or any makeshift stopper to secure two wheels. Secure one wheel from the trailer and one on the vehicle you used to pull it.
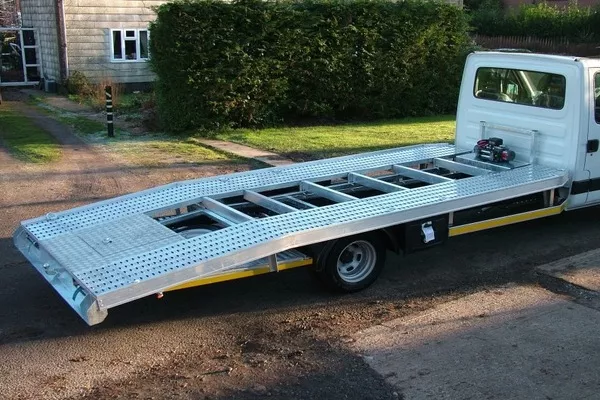
For your own safety and for others as well, refrain from parking on driveways and other roads with uneven pavements.
Step #2. Release the rear ramps
If you’re using a trailer solely made to carry cars, your trailer should have two rear ramps that can be released anytime. Pull them out and make sure that they’re at an even angle even with each other.
If your trailer isn’t made with built-in ramps, you can go to an auto supply store and get a sturdy, metal ramp. Avoid compromising your safety by making your own ramp, especially if it’s made from non-metal materials.
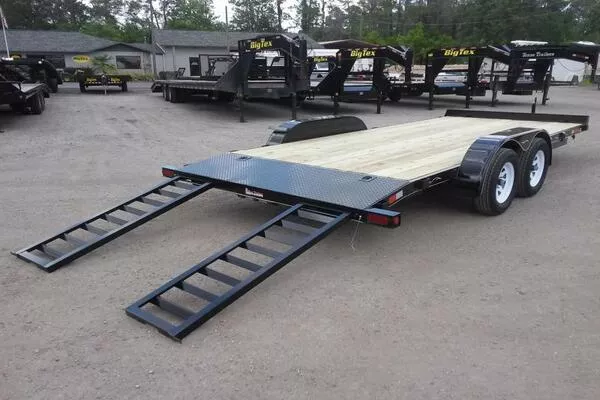
Your trailer should have two rear ramps that can be released anytime
Step #3. Line your car up at the foot of the ramp
Once you’ve installed the ramps properly, you can drive the car and point the front bumper directly at the trailer. You should also make sure that the wheels are lined up against the ramps. You may need someone to look out and guide you while you maneuver the car into the right spot.
>>> Worth reading: How to choose and use your car ramp properly.
Step #4. Drive your car and get it on the trailer
Drive your car up carefully in a straight direction as you go up the ramp. You can expect the car to rise at the front and then shift its weight down once you reach the trailer.
Once your car is safely parked on to the trailer, you can activate the parking brake and get out of the car. If it’s a manual transmission car, put it on first gear before turning the engine off, and then set the handbrake.
Once you finally have the car where you want it to be, it’s now time to secure it in place with sturdy straps. Make sure you use quality straps that won’t easily break. You may compromise other people’s safety if the car breaks loose while it is in the trailer in the middle of the highway.
How to Load a Car Onto a Trailer
Step #5. Take out your tire straps
Unpack your tire straps and make sure they’re properly laid out. They should be free from ties and knots. Inspect if all the hooks are in good condition and there’s no tear or wear on the strap before proceeding.
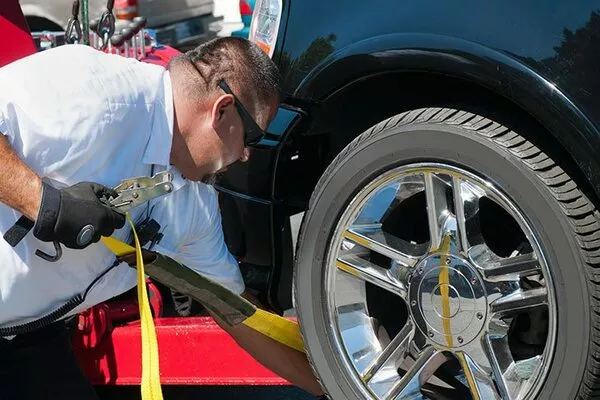
Unpack your tire straps and make sure they’re properly laid out.
Step #6. Wrap your left front wheel with a lasso strap
Get your lasso strap and take the end with the metal ring and loop it around the top part of the tire. Once you have that done, get the other end without the metal ring and pull that end through the metal ring and tighten.
Note that your strap should cover the tire’s hubcap. If you don’t know which part that is, refer to your car’s manual.
Step #7. Securing the loose end with a ratchet strap
Take the strap that you pulled through the metal clip and pull it through the center hole of your ratchet strap buckle. When you tighten it make sure to leave about two to three inches of slack. After that, you can start cranking the handle of the ratchet but only a maximum of four times, just to connect the straps together.
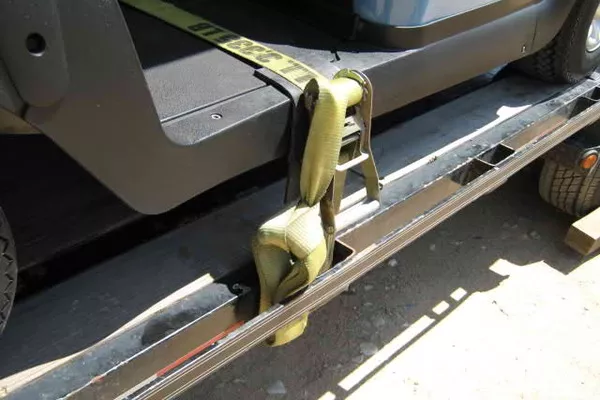
Take the strap that you pulled through the metal clip
Step #8. Hook the ratchet on to your trailer
If you’ve parked your car on the correct spot on the trailer, you should see a metal ring on the floor close to where your car is. Once you find it, hook the end of your ratchet strap on to that ring and make sure it’s secure by tugging at it a few times.
>>> For further reference: 10 steps to load a motorcycle onto a truck bed
Step #9. Tighten the strap
Recheck your straps and make sure it’s not the kind that loosens up on their own. If you’re sure that they’re tight, move the ratchet’s handle upwards and then downwards so it will tighten the straps. You should be done once you see that the lasso straps are squeezing the tire tightly.
If while tightening, the straps suddenly snap off the tire or end up touching other parts of the car asides from the tire, stop what you’re doing. Then, loosen the straps, reposition them and then tighten while making sure that it only touches the wheels. You can then do the same steps to the other wheels.
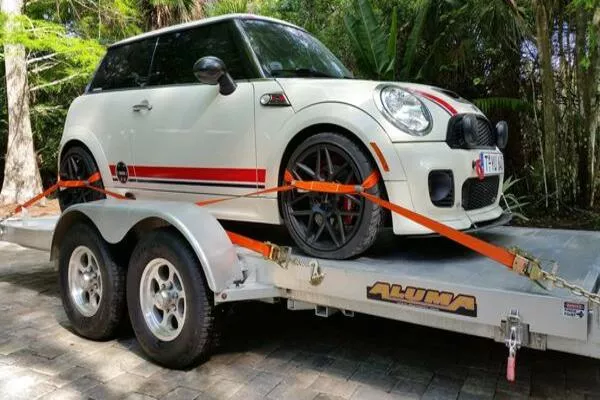
Recheck your straps and make sure it’s not the kind that loosens up on their own.
If you have a bigger vehicle to load on the trailer, say a pickup truck, pass on the tire straps. Use axle straps, so instead of strapping the wheels down, you strap on the axles instead.
Axle straps are like heavy-duty versions of tire straps though the steps are similar to installing tire straps. Both the front and rear axles get two-axle straps that are tied to the opposite sides of the trailer.
>>> Follow Philkotse.com to get more useful tips and advice for smart driving.


