Neon lights are visually striking, which is why they have been used on signages and billboards. Thinking of having them installed on your car? True, they might earn you some style points (provided that they’re not overdone), but having them installed isn’t necessarily cheap, running into a couple of thousand pesos or more.
If the cost of the neon lights plus installation sounds a little off-putting, why not do the job yourself? All you need are the neon lights of your choice, the right tools and this how-to guide prepared by Philkotse.com!
Step #1. Prepare the things you need
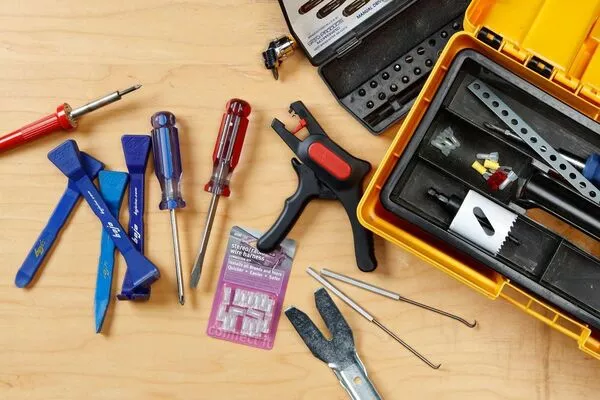
Make a list of the materials and tools you’ll need in advance, so you won’t have to run around getting everything sorted out. Putting your tools in one place where you can reach them easily helps in saving time.
We suggest that you prepare a tool tray where you can store everything you’ll need to use, whenever you want to work on your car. It’s easier this way than rummaging through your stack of tools in the middle of the job.

Prepare the things you’ll need in advance
>>> Read more: Essential tools needed in a car tool kit for DIY car maintenance.
Step #2: Disconnect the battery
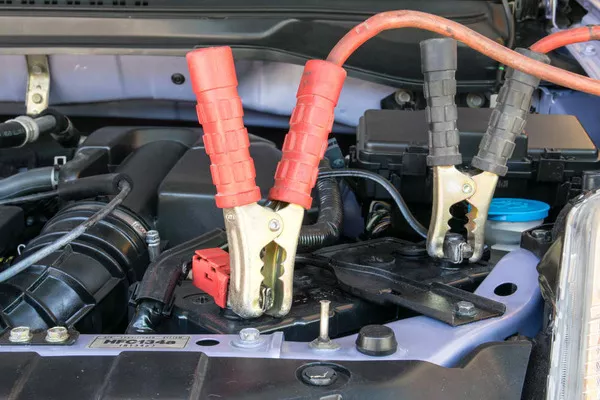
You’ll need to disconnect the battery by disengaging the cables that connect to the battery. The last thing you want is to damage your car’s electrical system, either through a short circuit or something worse. This will also protect you from possible electric shocks.

You will need to disconnect the battery from the car.
Step #3: Decide the best place to install neon lights
Now that you’ve minimized the possibility of getting electrocuted, you should now scan your vehicle for the best spot to place your neon lights.
If you’re going to place your neon light tubes underneath the car for a dramatic effect, make sure that that they’re not close to any fuel lines, brake lines, and other areas that easily heat up, as well as moving parts that can damage them.
Also, make sure that these areas are clean, the better to maximize the lighting effect.

Scan your vehicle for the best spot to place your neon lights
Step #4: Use a jack to raise the car
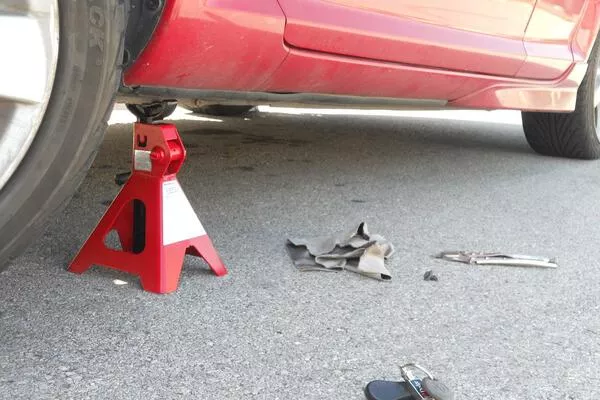
Once you’ve picked out a good spot for your neon light tubes, you can now raise the car using a jack to gain access to the chosen area. Once the car is secured, take out your neon tubes and place them on to the desired spot.
Sometimes, a spot isn’t really as good as it looked at first, which means you’ll have to find another place to install your neon tubes or consult the packaging for the most ideal location.

Raise your vehicle with a jack to gain better access to the area.
Step #5. Start installation
Your neon tubes should be in a concealed spot under the chassis, to prevent them from debris while you drive along. Take one of the metal brackets or plastic clips that come with your neon light kit.
Next, carefully measure where you will need to drill holes, taking care to avoid areas that might compromise the stability of the chassis.
Mark the spot with chalk or any visible marker so you don’t accidentally drill a hole in the wrong place. Then take your tubes and place them on the markings to ensure the right fit.

Ensure the neon light to fit the space in your car
>>> Related post: DIY-tips to install off-road lights on your SUV or truck
Step #6: Drill the holes
Start drilling the holes on the spots that you marked for the mounting brackets, which will hold the neon lights in place. Apply a pea-sized amount of silicone sealant to the holes, to prevent the formation of rust and protect the chassis from corrosion.
Step #7: Screw on the screws into the holes
Take the screws from the neon tube kit and hold one bracket in place. Then, screw it into place until the bracket is just a few turns away from being snug. You can then position the wires that are exposed from the side tubes so that the point to the front of the vehicle. Repeat the steps for the rest of the brackets and screws.
Most vehicles are manufactured with the transformer placed right inside the battery. You will need to drill holes for this and the instructions will vary, depending on the neon kit that you purchased. So make sure that you don’t throw the packaging until you’re done.
How To Install Underglow On Your Car
Step #8: Connect your transformer to your vehicle’s lighting circuit
You will likely need to cut and join the wires, using a soldering gun to stick them together; there will still be instructions on the packaging that can help with this step. Different brands of neon light tubes sometimes need to be installed in a different manner, hence the importance of referring to the instructions attached.
Use an inline fuse less than 18 inches in length for the battery. Then, screw the negative wire (also referred to as the “earth” or “ground” wire) into the vehicle’s chassis to complete the power circuit.
Then, run the wiring into the interior of the vehicle, where it can be attached to a control switch so you can easily turn the lighting on or off at will.
>>> Worth reading: About your car lights and wipers
Step #9: Refer to the kit’s instructions one last time
Once you’ve finished with the initial installation, go over the instructions in the packaging to see if there’s anything you’ve missed. If there are none, you can proceed to reconnect the negative terminal to the battery – and you’re done!
Recent posts
- How to install windshield wiper blades: 6 steps to follow Aug 17, 2022
- Never Be Too Lax: Follow This Dash cam Installation Guide! Dec 25, 2020
- Properly install tire chains for your car with 9 easy steps Aug 16, 2022
- Top 5 Unnecessary Car Accessories that You Shouldn't Buy Aug 16, 2022
- Exterior car accessories: The ins & outs Oct 11, 2018


