A dashcam is among the technological advancements that have great use from the moment they were introduced up to this time. That is the reason why all taxis or cabs in the Philippines have been required to have a dash camera installed. Most private car owners have also started installing such a device in their vehicle.
However, not everyone is familiar with the dashcam installation process. Yes, you can have a professional install it for you, but at times, it comes with a price. If not, you would need to schedule with the technician.
With that in mind, we here at Philkotse.com provided the most commonly used techniques in installing dash cameras.
I. Different Dashcam Installation Techniques
As similar to any other products, dash cameras come in different types and features. As such, there are different ways on how to install them.
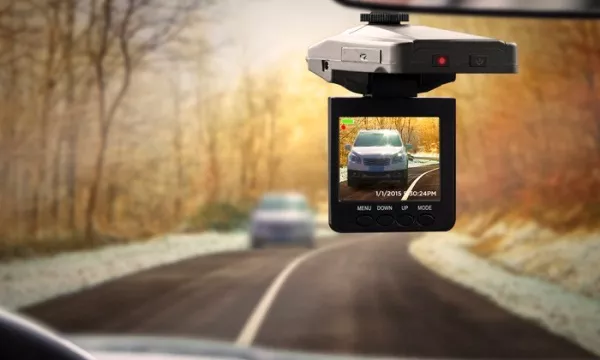
Dash cam comes with many types in the market nowadays
Do note that each product also comes with a user’s manual that you need to consult beforehand. It may or may not include the step-by-step procedure of installation, but the methods below can be used for most models.
1. Using a Battery Pack
Connecting your dashcam to a battery pack or powering up the dashcam with a battery pack is only recommended when you are taking short trips like a visit to a store or a mall.
That is because the battery may die out after a few hours, so it might miss important or untoward incidents. Thus, this is only useful when the car is parked, avoiding any theft and other related happenings.
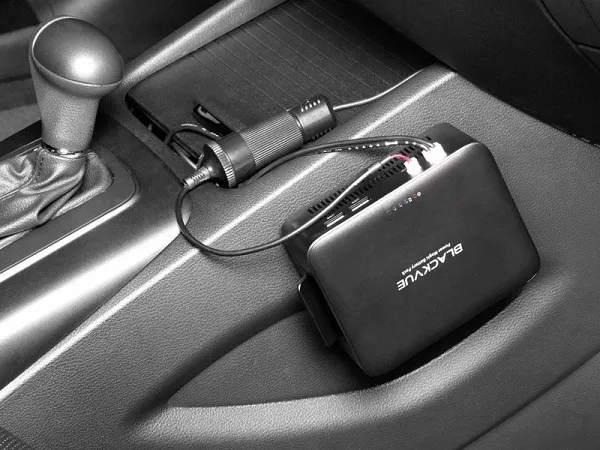
Sample of a Dashcam Battery Pack
The good thing about this technique is that it is an easy and quick process; you do not need a lot of technical skills. All you have to do is insert the charged battery, put the camera where you need it to be, switch it on, and you’re good to go.
2. Using the lighter socket or USB Port
Much like connecting the dashcam to a battery, installing the camera using its cable for the cigarette lighter socket and USB port is quick and easy. Unlike the first method, though, this will not work on the parking mode, which is the purpose of the first one.
Nonetheless, this is a plug-and-play technique that still allows you to access WiFi, use the integrated smartphone app, activate GPS and record at full HD.
With this, all you have to do is connect the appropriate cable’s end to the socket or port and to the dash camera. Wait for about five or ten minutes and the camera will be good to go.
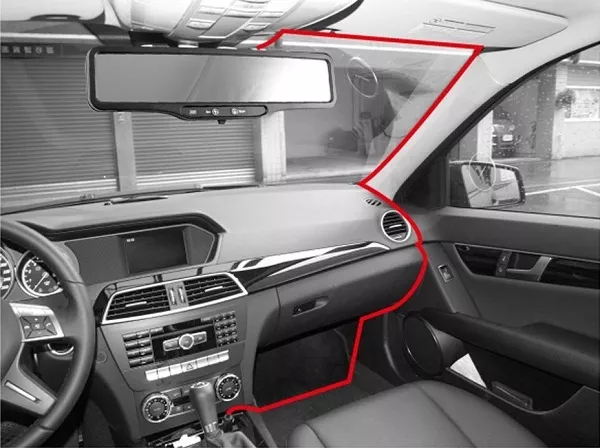
Keeping the wires hidden
Since there is a cable dangling, you can run the cable from the headlining edge to the side A-pillar at the passenger side, and then towards the footwell before plugging it in the socket or port. For cable tidiness though, you must consult the car’s manual so that you can find the parts we just mentioned.
>>> Must read: Best dash cam in the Philippines 2021: 5 features to consider & 5 recommended products
3. Hardwiring
Probably the most technical method you will find in all dash camera guide articles, hardwiring the device into your car’s fuse box is the best option. That is because your camera will not run out of power and will boot automatically once you turn the car’s engine on.
Depending on your dashcam, it may continue to record even when the car is parked and the engine is off. With this one, you are required to buy a hardwire installation kit for dash cameras.
II. Installing a Dashcam: 9 easy steps
How to install a Dash cam
Step #1
Locate the appropriate area where you would install the camera. This should not block your eyesight but should be within your arm’s reach.
Step #2
Open your car’s manual and find where the fuse box is located.
Step #3
Once you have found both, you can start routing the power cables. Since the dashcam is usually placed under or above the rearview mirror, run and tuck the cable in the headliner.
Then, run it towards the A-pillar; depending on your car’s model, you will either remove it or not in order to hide the cable. After which, continue running the cable in the interior panels, until you reach the fuse box.
>>> Read more: 8 Great Benefits of Installing Dashcam In Your Car
Step #4
Using a circuit tester, identify which among the fuses are the hot-in-starts or those that will switch the camera on when the engine starts and off when the engine stops. Usually, the fuse that will indicate the presence of power will be the fuse that you are looking for.
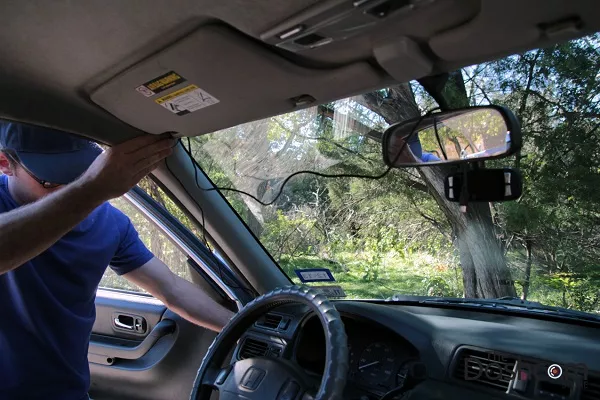
Depending on your car’s model, you can hide the cable
Step #5
Switch off the engine and remove the key in the ignition. Then, using pliers, gently pull out the fuse that you have just identified from the previous step.
Step #6
After which, install the fuse you removed in the add-a-fuse-circuit area of your installation kit. And then, plug it into the fuse box, in the area where you removed the fuse earlier.
Step #7
Once you succeeded, locate the ground point, which is usually found near the fuse box. Ground the other end of the wiring kit.
Step #8
Tidy up the wires using zip ties, if you want to, and then close the fuse box.
Step #9
Test out your installation!
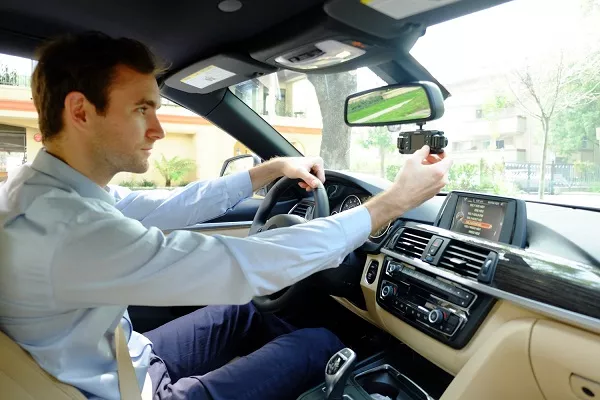
Dashcam Should be Within Arm's reach But NOT Block Your Eyesight
As you can see from the above details we provided, the dashcam installation technique that you will follow will depend on the camera features that you need, as well as when do you need the device to be running.
Ultimately, hardwiring your camera is the best option since you are assured that you can rely on the device in times of needs or emergencies. After all, dash cameras are installed to ensure that you win a lawsuit, protect your car from theft, vandalism, and the likes.
Just always make sure that you consult your car’s and dash camera’s manual. You should also ensure that you practice safety precautions, such as turning off the engine when wiring, when installing the device.
>>> Click here to get more helpful tips and advice for your safe driving.
Recent posts
- [Review] Driving around with the YI Ultra Dash Cam Sep 14, 2020
- Field Test: Yi Compact Dash Camera Review Aug 19, 2021
- Field Test: Yi Smart Dash Cam Review Sep 14, 2020
- Best features for optimizing a dashcam Dec 25, 2020


