A thermostat’s job is to regulate heat out of an enclosed area. It is also responsible for cooling down extreme temperatures whenever your vehicle’s internal assembly starts to heat up. There are different types of thermostats. Most share a similar objective (which is to regulate temperature) but have different system assemblies.
That means that the one in your car functions differently from the one in your house. So make sure that when you want to replace the thermostat in your car, you don’t apply procedures that meant for home thermostats. Use this guide Philkotse.com has prepared for you instead!
>>> Related: 4 symptoms of a bad thermostat, possible causes & replacement costs
Step #1. Make sure your car has thoroughly cooled down
If you plan to fiddle and replace your thermostat, you should at least do it at an early morning just before you get busy for the day. This is the best time since the engine has already cooled down from being parked and stored the night before.
If you need to replace the thermostat in the middle of the day or just a while after using the vehicle, consider parking it in a cool, shaded place. Let it sit with the engine turned off so it can cool down for a few hours. This should cool down until you can safely work on it.
Remember that if you still feel that the hood is hot, the inside must be hotter. The engine compartment must be keeping fumes that are hot enough to scorch your eyebrows off if you force to open it.

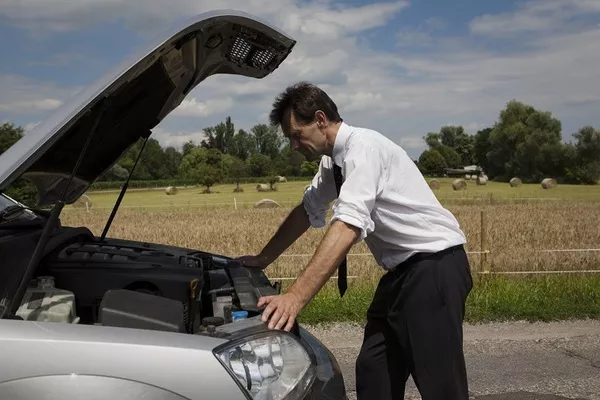
The car should cool down until you can safely work on it
Step #2. Wearing appropriate gear
If it’s convenient for you, we also suggest that you put on some safety gloves as well as goggles before you get started. Some of the elements present in your vehicle can cause your skin to react negatively – especially if you have allergies.
You can also get cuts if you touch the wrong part. The goggles will protect your eyes from debris and even fluids that can hurt you. In addition to our suggested safety and protection measures, you might also want to wear clothes that can protect the rest of your arm. Also consider dressing in clothes that you’re comfortable getting dirt, grease, and oil on.

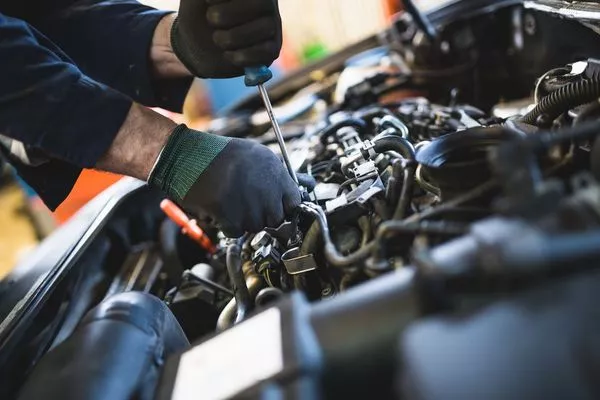
Put on some safety gloves as well as goggles before you get started
>>> Must read: Essential tools needed in a car tool kit for DIY car maintenance
Step #3. Lift up the hood
Once you’re sure that the engine has finally cooled down, you can lift the hood up. Then, use the stand that sits on the edge of the engine compartment to make the hood stay up. This step will require that you look for the thermostat which should be close to the radiator.
In order to gain safe access to it, you would need to empty out the coolant tank. The coolant is in the radiator while the radiator is connected to the thermostat. If you tamper with the thermostat without emptying the radiator, you will end up flooding the system as you disassemble it.
How to Replace a Bad Thermostat in Your Car
To safely empty out the coolant tank, kindly refer to the steps we prepared below:
#1: Take a bucket, a basin or any handy container and place it just under your car’s radiator. Depending on the current contents of your coolant tank, you can expect about 4 to 8 cups of coolant and water mixture to pour out. Make sure to get a container that won’t spill the coolant mixture.
#2: Look for a draining cap or a twistable screw somewhere at the bottom of the radiator. This is referred to as radiator drain clock and it should be very easy to find. Twist it to a counterclockwise direction until it pops open.
#3: Let the water drain out of the radiator and store the cap in a safe place where it won’t roll over.
>>> Related post: Basic care tips for car radiator that every driver should know.
Step #4. Look for the thermostat
After you successfully empty out the radiator, you should now look for the thermostat. The location of your thermostat can vary depending on the vehicle model, type and year it was made.
Some units carry the thermostat right next to the radiator, while some models may have the thermostat installed somewhere stacked under other parts.
If you still can’t seem to find it, try tracing the radiator hose and see where it goes. That should effectively point out just where your car’s thermostat is located.
If you’re not sure that the part you found is really the thermostat, you can compare it with these descriptions just to see if you got it right.

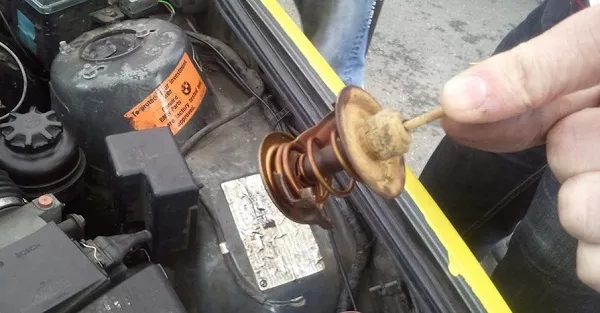
Check the signs of a bad thermostat
The thermostat’s body will most likely be made of metal and have a bit of gold coloring at the center. It will also have rubber rings around its edges that serve as a washer. To put simply, the thermostat will look like a toy top or a small bathroom plunger. It also resembles a dreidel in terms of size and shape.
If you still have no luck as to locating your thermostat, you should consult your vehicle’s manual. This should display a diagram of your engine parts and your thermostat should be also shown there.
If that’s not an available option, you can go ahead and use the internet to help you locate the thermostat. You should first make sure that you know where to find it, rather than just assume that random parts are safe to touch.
Step #5. Take off the thermostat casting
If you followed the radiator hose to the thermostat then you would find that it’s connected to the thermostat casting. Unscrew these using dedicated tools and set it aside for later. Then, take the casing off and you should expose the actual thermostat.
Do not be alarmed if water suddenly spews out of the hose after you remove it – this is completely normal.

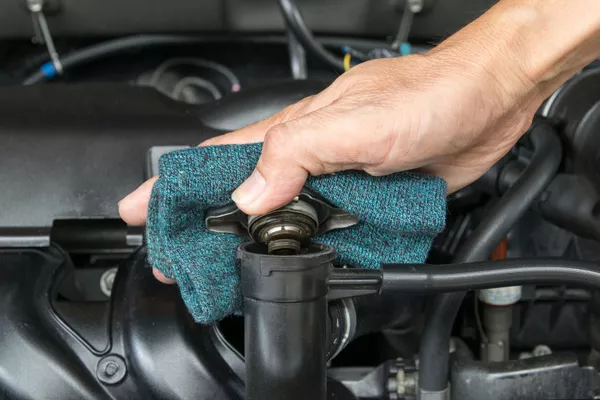
Take the casing off and you should expose the actual thermostat
Step #6. Take your old thermostat and put the new one in
This part of the procedure is where the easy steps begin. Take out the old thermostat and set it aside. If there is dirt, grime, and gunk on the area where you removed it, clean it with a damp cloth. You can then put it the new thermostat and assemble it just how the original one was placed.
You can then put back all the parts you removed and close the hood.
>>> Visit Philkotse.com for more useful car maintenance tips.
Recent posts
- 4 common reasons why car engines lose horsepower over time Jun 25, 2019
- 5 simple tips to maximum your car engine's performance Aug 16, 2022
- What’s your Engine Oil Telling You? Nov 18, 2022
- 9 steps to replace fuel filter on car Mar 16, 2021
- 4 Essential Care Tips for Maintaining Your Car Engine Nov 30, 2022


