Lights are essential to your car. And they have special functions to the vehicle and your safety as well. However, not many people notice about the light brightens up the license plate. It's time for us to know more about this type of light and know how to deal with a failing one.
1. What is a License Plate Light?
It is a light bulb that is used to lighten the registration and plate tags on the vehicle so that other people especially the law enforcer will be able to see it. A car may have one light bulb per plate or two depending on the design.
Car license plate lights must be working at all times, particularly when driving at night. A broken plate light can result in a traffic ticket. In some areas, the law requires having a license plate light on all vehicles. It is also against the law if the license plate light didn’t come from the factory of some states.
Thus, you need to purchase a license plate light with good quality in order to lessen the number of times for replacement.
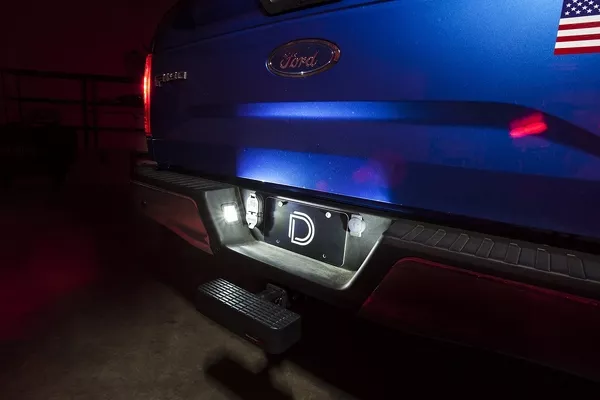
License plate light is a light bulb that is used to lighten the registration and plate tags on the vehicle
>>> Read more: HID Lights: Should you have them?
2. How does it work?
A license plate light contains an inert-gas-filled bulb. It uses the filament house that is inside the glass bulb. The filament will produce visible light and will also get hot once electricity is applied to it.
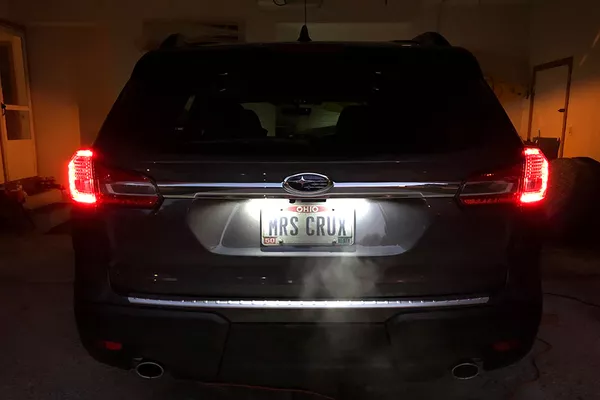
A license plate light contains an inert-gas-filled bulb
3. What are bulbs are being used in License Plate light?
The license plate light can be of two types: incandescent bulb and LEDs. The first type was the incandescent bulb. These bulbs produce good visible light and are not expensive. However, incandescent bulbs die fast and are inefficient.
They lose power approximately 90 percent of it as heat. The other type of license plate light was the light emitting diodes or LEDs. Some suggest that it can give a safer illumination to drivers especially during night time.
The LEDs is a type of transistor that produces light after the current is applied to it. They have a long life, not sensitive to vibrations, provide more light and activates faster than the incandescent bulbs. They are also very efficient and compact but more expensive.
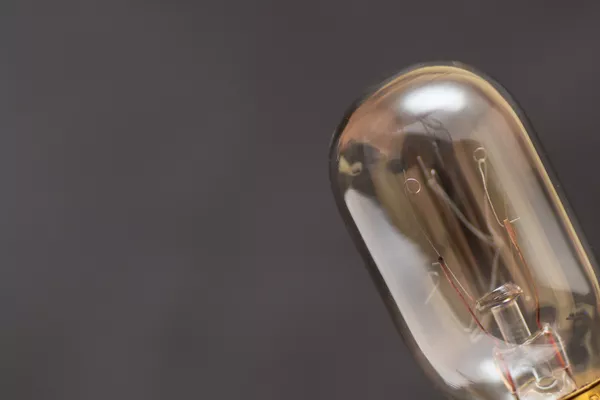
The license plate light can be of two types: incandescent bulb and LEDs
>>> Also check: Important things to know about tail lights.
4. What are the symptoms of a failing license plate light?
The light is glowing on and off
The license plate light should be either off or on. However, there will come a time when it starts to flicker. This is probably caused by a loose connection or wire. This symptom can be distracting to other drivers on the road making it a dangerous one. It can also easily draw the police’s attention which can result in a ticket.
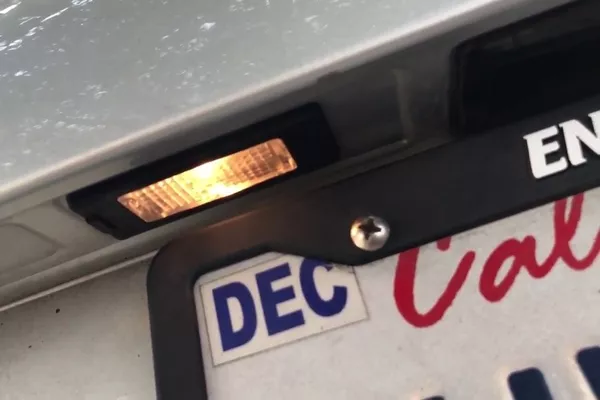
There will come a time when the license plate light will start to flicker
The light seems unclear
The fogginess of the light is due to the water trapped inside the lens of the light. If this symptom occurs, it is imperative to replace the light lens and the light bulb. Make sure also that all condensate or water is removed to avoid the occurrence of an electrical short.
The light is not functioning when the headlights are being turned on
This is the most obvious symptom among the three. This could be caused by a loose connection, relay switch problem or broken license plate light.
5. How to replace a license plate light?
There are numerous causes for a broken plate light such as a blown bulb, a faulty socket, and damaged wiring. Philkotse.com will tackle how to deal with these three problems.
Materials needed:
- Voltmeter
- Screwdriver
- Basic hand tool set
- Solder
- Soldering iron
- Electrical tape
- Wire cutters
- Repair manual
- Wire stripping tool
- Electrical wire
Replacing a Blown Bulb
Step 1. Take out the cover of the bulb. Most of the cars have a tab that you need to push in order to slide the cover out.
Step 2. Remove the bulb. Use a screwdriver to loosen the bulb when it is hard to remove
Step 3. Ensure that the new bulb is the same as the bulb you are replacing. Check the stamping on the two bulbs and compare their wattage and the size. They should be the same.
Step 4. Put the new bulb into the socket. Press it until it is completely fastened in the socket.
Step 5. Put back the cover. Push it until it returns to its proper place.
Step 6. Check the proper operation of the lights by simply turning it on.
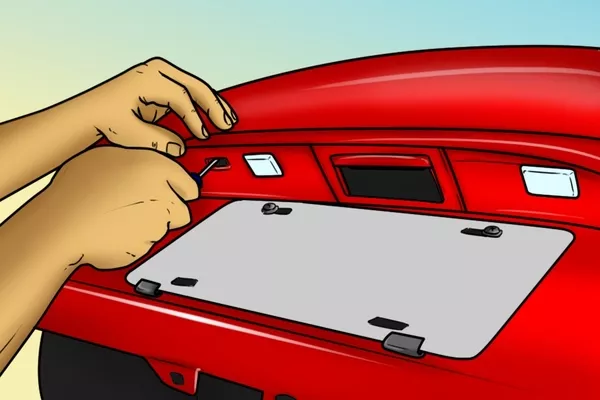
Take out the cover of the bulb
>>> You also want to read: 6 steps for problem-free dashboard lights.
Replacing Damaged Wiring
Step 1. Find the shorted wire. Refer to the repair manual and trace the wiring diagram to search for the faulty one.
Step 2. Once you locate the faulty wire, cut it out.
Step 3. Produce a replacement wire having the same length of the wire that has been removed in the vehicle.
Step 4. Strip off around 1/4" from the wire ends and twist it together. Solder it using a soldering iron to connect them together then wrap it with electrical tape.
Step 5. Check if the changed wire has a proper voltage by testing the power. If it has the correct voltage, put everything back in place and do a run check to see if the light is now in good operation.
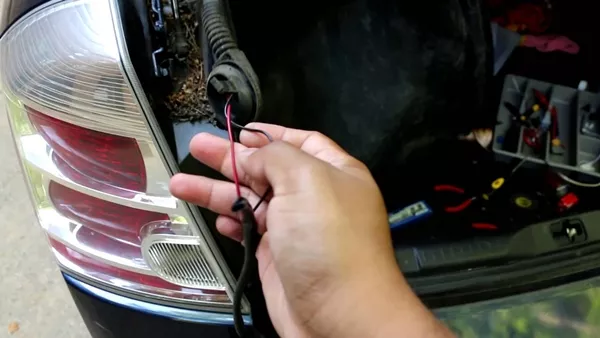
Refer to the repair manual and trace the wiring diagram to search for the faulty one
Replacing a Faulty Socket
Step 1. Take out the bulb cover. This can be done through different methods depending on the vehicle. Most bulb covers can be removed just by simply pushing the locking tab and pulling out the lens.
Step 2. Take out the bulb from the socket by pulling it using your hand or a screwdriver.
Step 3. Remove the socket in the vehicle. This process depends also on the vehicle but most can be done by removing the screws holding the socket.
Step 4. Pull the connectors of the socket to detach it from the wiring. However, some cars are hardwired and need to cut the socket.
Step 5. Put the new socket in the wires on the vehicle. This will need soldering and splicing on the part of the vehicle where the socket is placed.
Step 6. If possible, put a bulb in the socket to check if it is already in good operation.
Step 7. Place the new socket into its proper place and secure it using the screws that hold the socket.
Step 8. Put back the lens over the bulb. Push it until it clicks into place.
Step 9. Ensure the proper operation once everything is put back in place.
How to fix your license plate lights
Recent posts
- About your car lights and wipers Nov 30, 2022
- A drivers' guide to the traffic signal lights in the Philippines Nov 17, 2020
- 4 FAQs about license plate number in the Philippines Nov 08, 2022
- 3 essential equipment & 5 tips for Pinoy drivers to drive safely at night Jan 18, 2019
- 9 safety tips for driving at night in the Philippines Mar 20, 2018


