Dashboard lights that fail to operate can be a real safety hazard. You aren’t only posing as harm to yourself but to others too. While some malfunctions and assembly failures in a vehicle can be put off for later resolution, ineffective dashboard lights are one thing that needs immediate repair.
If going to a mechanic is inconvenient for you, you can check these Philkotse.com tips below on how to fix your dashboard lights.
Step #1: Perform methodical procedures for detecting the problem
If you don’t know what could be causing the malfunctions, you need to perform a kind of diagnosis to identify the problem. Diagnosis for defective dashboard lights is easy to do and you normally don’t really need to pay an expert for it.
For starters, you should know that there is a button or some kind of switch that can make the light on your dashboards dimmer. This particular switch can also turn your dashboard lights off completely so you should go ahead and check that first.
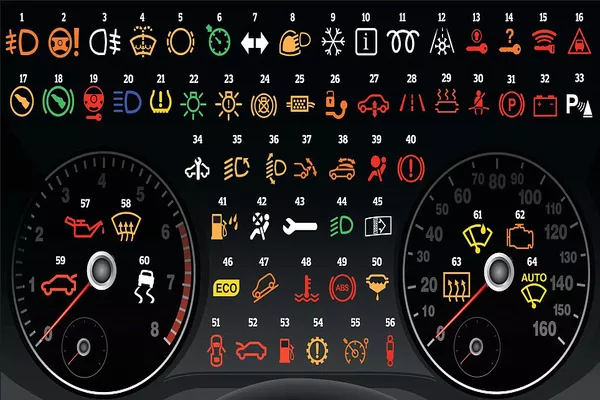
Having no reasons for this malfunction, you need to perform a kind of diagnosis to identify the problem
You can find the switch somewhere on the console close to the steering column. It may not be there if you have a newer car model so you might also want to check the area close to the headlight switch. If you still can’t find it in the said areas, simply look it up in your owner’s manual.
Step #2: Inspect the fuse of your dashboard light
If it’s not the switch then your dashboard lights may be off because of a blown fuse. You would need to locate the fuse box for this but you might want to get some screwdrivers first. The fuse box can usually be found under the hood, sometimes near the floor and in other cars, it’s somewhere close to the brake pedal.
Some manufacturers produce their units with two fuse boxes that can be found together in one place. It gets harder though if it’s in two separate places. However, this is rare and not a lot of automakers do this due to the inconvenience it may cause to both the driver and the mechanic.
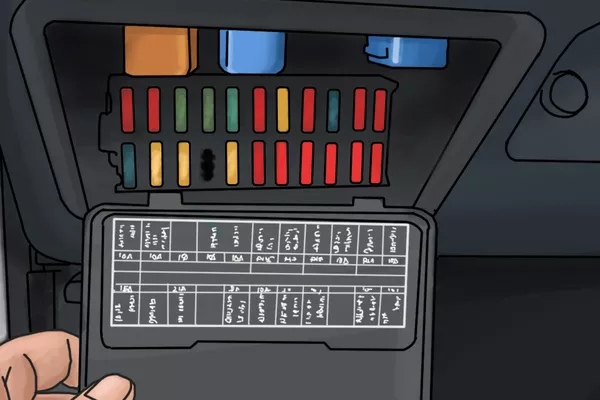
If it’s not the switch then your dashboard lights may be off because of a blown fuse
If you think you found it but you aren’t sure, simply look at the lid which is supposed to have a sticker on it. The diagram of what is inside the fuse box should be printed there.
So after opening the fuse box with the right screwdriver, check the parts to see if anything is damaged or burnt. If a singular part is defective, check if it can still be replaced individually. If two or more parts are damaged you might want to consider replacing the entire fuse box.
>>> Also check: 6 Important Car Warning Signs On The Dashboard.
Step #3: Can check your taillights
The dash lights and taillights go hand in hand because they’re connected either in the brake light or taillight fuse (depending on your vehicle’s internal assembly). So if your taillight is gone too, you can safely assume that the defect is somewhere in the fuse.
Also, if your dash light is off because of a defective fuse, then so is your taillight. This is a good thing to remember especially if you are driving at night with the dashboard lights suddenly went off.
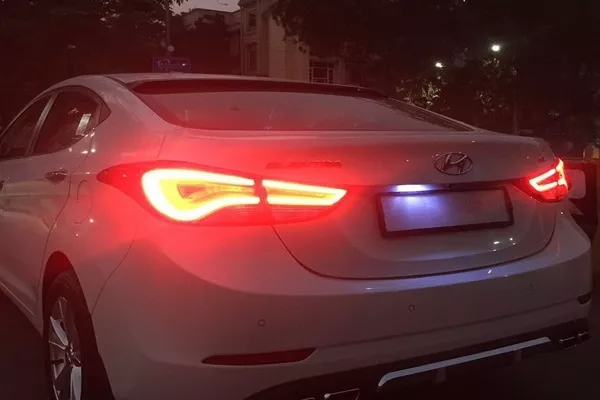
If your taillight is gone too, you can safely assume that the defect is somewhere in the fuse
>>> Tips to protect your taillight: 8 DIY- steps to tint your tail lights properly.
Step #4: Change the problematic fuse
Refer to the lid of your fuse box on how to safely remove the part that you need to replace. The dashboard light fuse may be under a stack of other parts, so make sure that you remember where each part goes and how they should be placed back.
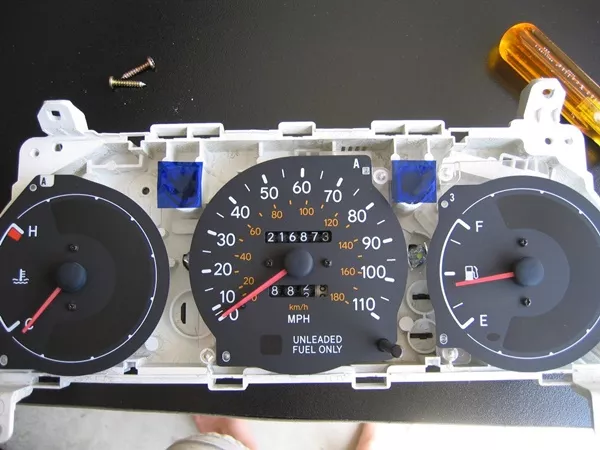
To change the light fuse, you need to be careful and put back items in its original positions
Also, it’s important that you use appropriate tools and avoid improvising with other objects. Utilizing mismatched tools that are too sharp or too blunt may cause damages to the sensitive electoral parts inside the fuse box.
Replacing the dashboard light fuse with one that doesn’t match it will surely result in electrical failure. This is why you should be sure of the details and classification of the previous light fuse before buying a new one.
Step #5: Test the light bulbs
Once you are sure that there is nothing wrong with the fuses, you can now proceed to check if the problem is with your bulbs. One of the reasons that dash lights die is usually because of a blown bulb.
You can check this theory by carefully following the manufacturer’s instructions in your manual. If that’s not available, the one we prepared below works well too.
However, you need to do the test correctly. Here are tips and advise you to follow:
Firstly, you need to disconnect the battery before working on the dash. This step is a must regardless of whatever it is that you’re fiddling with in your vehicle.
Secondly, take off the covering on your car’s dashboard. This part is also called the faceplate and it will require the use of a screwdriver to get it removed.
After unscrewing the plate off, take the screws and put them in a secure spot where they won’t roll over and fall into the small crevices of your car. Successfully removing the cover will now expose the vehicle’s dashboard gauge panel.
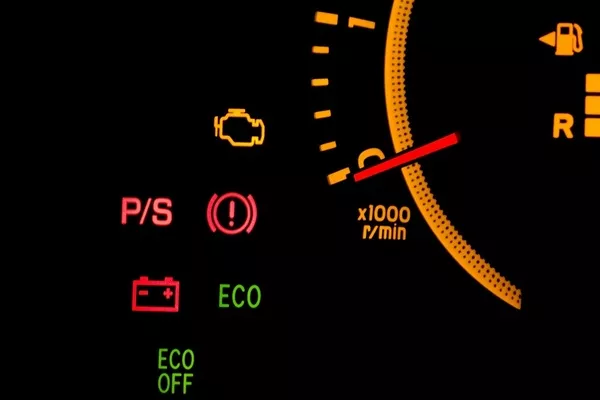
One of the reasons that dash lights die is usually because of a blown bulb
Next, remove the faceplate with utmost caution because the bulb sockets will be on the back of the panel you’re holding on to. Note that some panels (mostly in modern, edgy cars) are made with bulbs that can’t be replaced. Instead, automakers decide to use the LED type of bulbs which aren’t as easy to replace as others.
If your panel has LED bulbs, we suggest getting the help of a real auto-mechanic If not, proceed with the next steps below.
After that, twist the bulb while also applying a gentle tugging force to safely remove it from its socket. Make sure you don’t apply too much force or you might end up breaking the glass instead.
Then take a closer look and examine the filament. If the filament is damaged, you should replace the bulb immediately with the same exact type. The same goes if you notice that the inside of the glass is discolored or charred. To get the correct bulb, you can take the defective one with you to the auto supply store.
Ultimately, install the bulb the way you removed it but in reverse. Then secure the faceplate and turn the engine on. If the lights turn on, then problem solved.
Step #6: Asking for help
If your dash lights are still dead after the diagnosis, you can ask for the opinion of an expert. If what your chosen expert mechanic suggests is something that you really can’t do by yourself, you can just pay him to do the job instead.
>>> Read more: How to avoid getting ripped off with your auto repairs.
Recent posts
- ABS warning light on: 6 causes of an illuminated ABS Aug 17, 2022
- Basic Car Warning Signs You Should Know By Heart Nov 17, 2022
- What if the battery warning light is on? Oct 23, 2020


