Auto experts recommend that a driver warm up the car’s engine for at least 30 seconds to 1 minute before driving to a destination. Warming up reduces the strain of an engine by making sure that it is up and ready. Similar to a full-blown exercise, warming up the motor is like stretching and breathing exercises to match.
Instead of sitting in your car waiting for a few minutes to warm the engine, a device can do it for you. Many people find the need to install a remote starter for their vehicles for a lot of reasons.
Some motorists would argue that you can save a few minutes of your day, especially if you’re late or running into an appointment by installing one. Some would say that it keeps the car warm on a rainy and cold day.
Whatever the reason for your installation, remote starters have become an essential accessory for a vehicle. In this article from Philkotse.com will discuss the step-by-step process into a remote starter DIY installation.
Step #1: Check for remote's compatibility
Before you rush and purchase a remote starter from your trusted hardware store, you can research and purchase car accessories online to find the models that are compatible with your car's make. If possible, you can check on your vehicle’s manufacturer if they have remote starters that are distributed for specifically for the car.
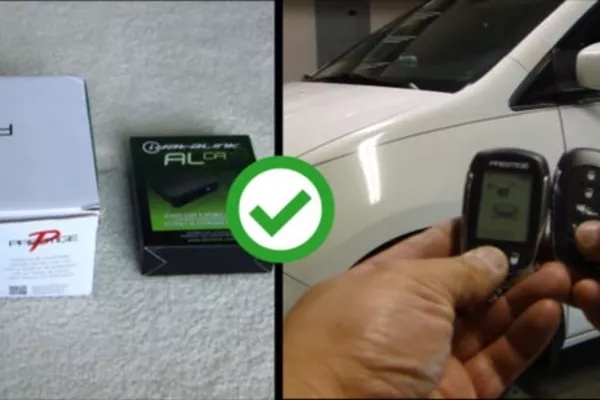
Check and research online for device models that are compatible with your car's make.
Step #2: Reading the instruction’s manual
Before you jump out of excitement to install a new remote starter to your vehicle, make sure you understood the procedure thoroughly. Various models have specific steps that need to be followed, and you should be aware of yours. Doing the installation by yourself is a definite money saver, but if you get it wrong, you’ll waste the device itself.
Remote car starter installation done right
Step #3: Getting to know the wiring requirements
It is necessary for you to locate all of the wires that you’ll be tinkering with when you install your remote starter. At the same time, you need to be aware of basic procedures too. The wirings that you might encounter during the installation process includes power, ignition, power locks, heat and air conditioning, and alarm systems.
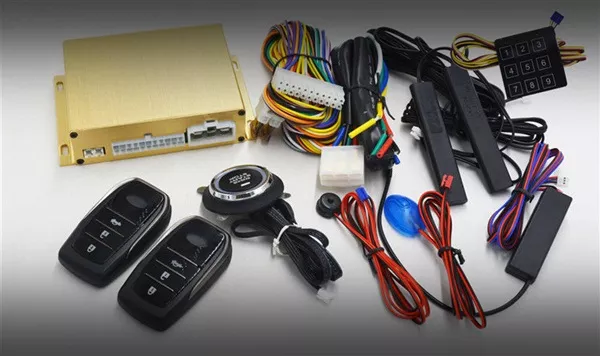
Locate all of the wires that you’ll be tinkering with when you install your remote starter.
Step #4: Gather tools and equipment you need for the installation
After you have read through the manual and located the wires you’ll need to connect, later on, it’s now time to consult your instructions as to what tools, materials, and equipment you’ll need.
Some of the basic DIY car maintenance tools include wire strippers, wire cutters, sharp knife or scissors, electrical tape, set of screwdrivers, a soldering iron, some solder, and a digital multimeter.

Assembling the essential tools needed in a car toolbox is important to do!
If your remote starter model has its kit needed for its installation, you can use this as well. Also, it is recommended that you take the time in soldering all the wires that you’ll be connecting.
Step #5: Determining the best place to install the device
Since this is a DIY Auto Repair and Maintenance project, it is crucial to do research on where you can put the device specifically for your car model. For the basics, it is ideal for putting it on a hidden and secure location where the natural length of the wires can suffice the added connection.
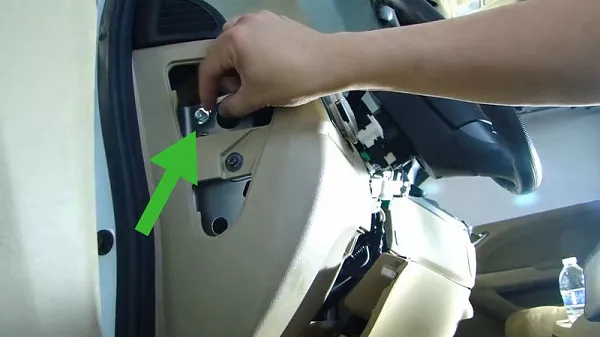
Most of the time, people would put the device inside the vehicle’s dash just below the steering wheel. The wirings from the device will instantly connect with the ignition's installation.
You can also opt to install the device above the glove compartment, the car’s radio, adjacent to the center console, or just above the dashboard’s fuse box. Just remember not to put the device on areas where it is exposed to heat and vibration.
Step #6: Check the over-all functionality of the car
Before installing the control module, you have to check if the lights, switches, battery, and other electrical systems work without a hitch. If some connections and repairs needed to be done, this is the time to do it.
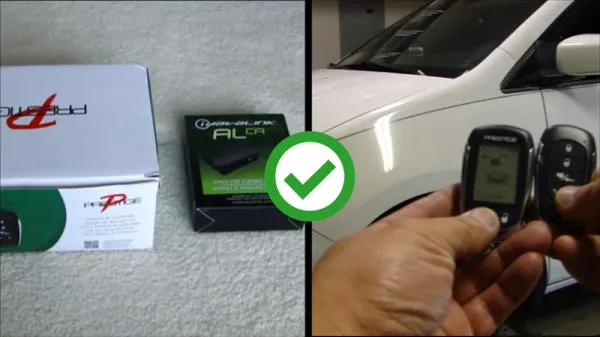
Check if the lights, switches, battery, and other electrical systems work without a hitch
Step #7: Disconnecting the battery
This is an important step to follow. Maybe you get all too giddy and forget to disconnect the batteries while the wires are intact. This is crucial as you might get shocked by a sudden jolt of electricity or accidentally prompt your airbag to open that may cause injuries.
Step #8: Wiring the module
With your lower dash cover removed and batteries disconnected for safety, it’s now time to wire your module. This part requires technical know-how about electronic systems, so if you’re unsure about this section of the DIY installation, better call a technician to do the job for you. Nonetheless, here are quick and essential steps to guide you.
Since the process is essential to the functionality of your remote starter, it is best to follow your module’s specific set of wiring instructions. Other models may require a different approach, and it is best to understand its directions thoroughly.
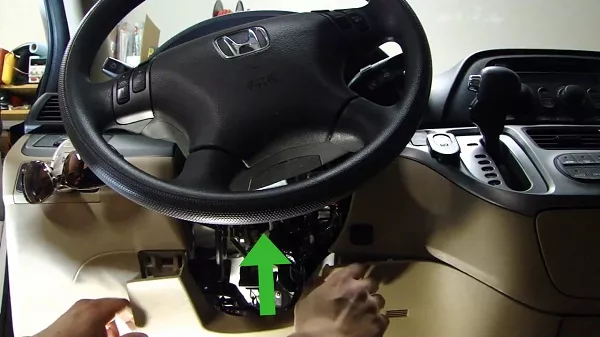
Follow your module’s specific set of wiring instructions.
As we wrap up with this basic guide, it is ideal to understand why remote starters are becoming a necessity for vehicle owners. Aside from lessening the strain to your engine, especially during morning drives, it is helpful during cold weather as well.
You don’t have to suffer the harsh freezing point outside as you sit comfortably in your car once it’s all warmed up. Also, there are a lot of factors to consider when choosing a remote starter.
Aside from the compatibility of the module to your car model, you’ll have to factor in the range, accessibility for technological options such as mobile apps, or a security function that is commonly found in newer models.
Moreover, research and gauge your skills if you can install a remote starter all by yourself. There are cases wherein the installation resulted in more damage than convenience. If possible, let your auto dealership handle it for you.
>>>Check out for more useful car maintenance tips.


