Driving in hot weather can be insufferable for most drivers, especially with a tropical country like the Philippines. That’s why you need to make sure that your car’s air conditioning is always functioning normally, at the very least.
Believe it or not, parts like the AC can (and will) break down in the most inconvenient times, such as in the middle of a long trip out of town. When it comes to keeping cool, Philkotse.com’s got your back with a guide on how to identify potential problems in your AC system.
Step 1. Start the engine and turn the air conditioner on
Turn on your car and the air conditioning, cranking the blower to the highest level while setting the thermostat to maximum cool.
Wait up to 10 minutes for the cabin to cool, while you use your hands to check if the air blowing from the vents is cool, warm or hot. If it the temperature doesn’t seem to be getting lower, then there’s something wrong with your AC.

Turn on your car and set the air conditioner to the highest level
>>> Also check: Automobile air conditioning system: Basic cleaning tips for Pinoy drivers.
Step 2. Do some initial checks
Pop the hood open and check if the auxiliary or radiator fan is working; it should be located right between the grille and the radiator. If the fan isn’t spinning, then the likely cause is an electrical issue. Have the fan repaired or replaced since a faulty radiator fan not only results in a hotter cabin but in a hotter engine as well.

Head to the front of your car and lift the hood
Step 3. Check if the air conditioner compressor is running
Another cause of air conditioning problems is a faulty compressor. Locating the compressor in the engine bay, check for physical signs of damage such as cracks, rust, and oil leaks. The last one is especially important, as leaking oil can cause the compressor to struggle, accelerating premature wear.
Also, check the belt powering the compressor if it has signs of cracks or frays.
The clutch beside the compressor should be able to rotate freely with minimal resistance; if the clutch is engaged, the center of the pulley should rotate with the pulley itself. If the clutch does not react, then the compressor might either need to be refilled with refrigerant or replaced altogether.
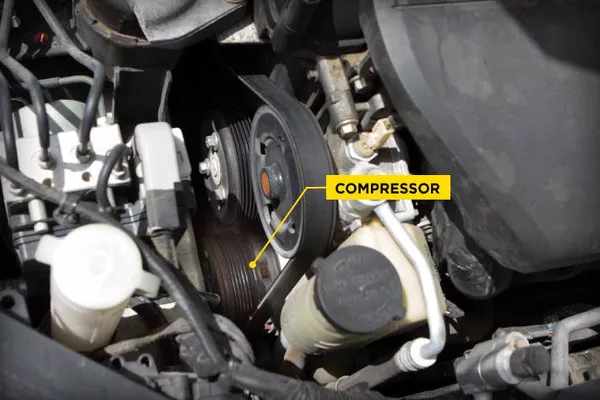
Check if the air conditioner compressor works before further fiddling with the air conditioner
>>> Read more: 4 most common car air conditioning problems & How to fix them.
Step 4. Check the wires
Many compressors have a wire that leads to the electric clutch. Locate the connector right in the middle of the wire then unplug it.
Take a significant length of that wire and then run it from the compressor all the way to the positive terminal of your car battery; this should produce a loud “clacking” sound to signify that the clutch is working properly. If that doesn’t happen, then you may need to replace the compressor.
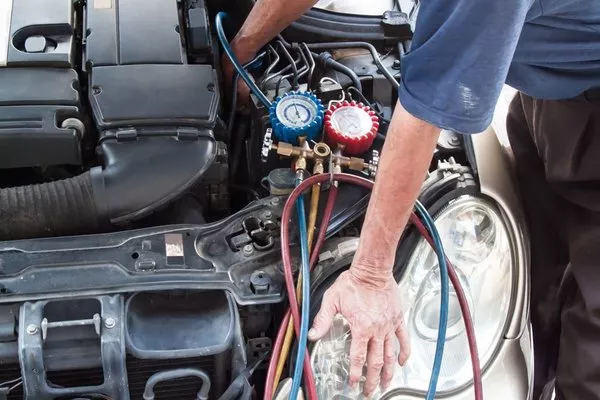
This should produce a loud CLACK sound to signify that the clutch is working properly
Step 5. Look for signs of leaks in the air conditioning system
Detecting leaks in this part of the car is usually performed by professionals. However, there are leak detection kits available in auto supply shops; these kits mostly use dyes that are applied to a particular part of the AC system.
From there, the dye will run through the lines and reveal the location of the cracks, which means that you will need to bring your vehicle to an aircon specialist for the necessary repairs. Otherwise, the car might just need a quick refill of refrigerant.
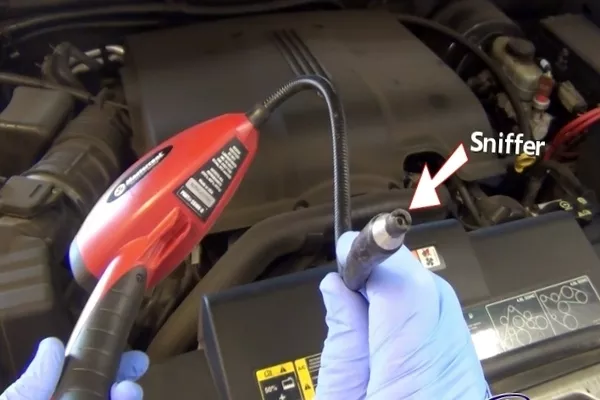
You can purchase leak detection kits that are readily available and easy to use
Step 6. Buying your car’s refrigerant
It’s very important that you know the correct type of refrigerant for your car. A simple way of finding out is to check the year that your vehicle was made. There are only two things that you need to remember:
- Cars built before 1995 use R12 for the refrigerant.
- Cars built after 1995 use R134a, also called Freon.
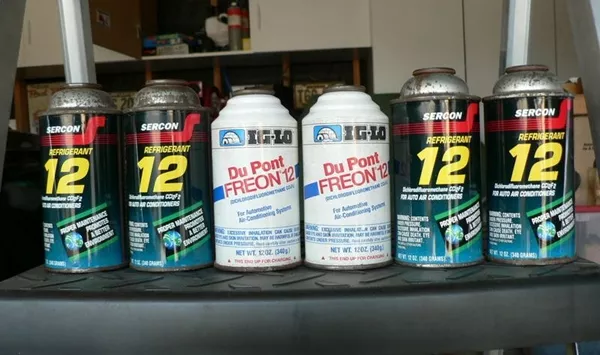
It’s very important that you know the correct type of refrigerant for your car
There are notable differences between the two, chief of which is that R12 is compatible with mineral oil, while R134a is paired with synthetic oil. R134a refrigerant also has smaller molecules, raising concerns that it was less efficient at cooling than the older formula.
Whether you decide to use R134a on an older car designed for R12 refrigerant, or just opt to retrofit an R134a-compatible system altogether, it’s best to consult a professional technician.
>>> Worth reading: Should you shut off the A/C before turning off your car’s engine?
Step 7. Getting the refrigerant ready for refilling
Find the low side service port of your air conditioning system; just follow the lines that come from the AC compressor. You should be able to find a nozzle at the end, otherwise, you can refer to the vehicle’s service manual.
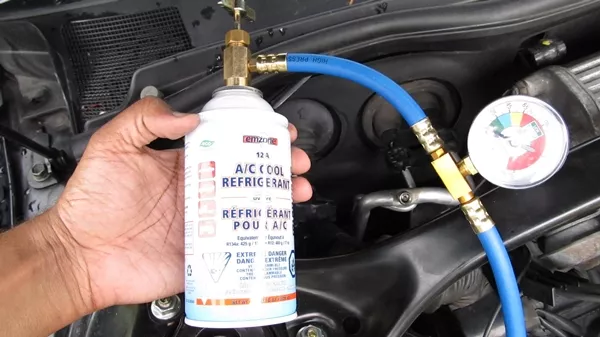
Find the low side service port of your air conditioning system; just follow the lines that come from the AC compressor
Step 8. Attach your hose to the port
The refrigerant kit your purchase should come with a hose, and you will need to connect this to the service port. The hose should be long enough that you can connect it to the port without having to place the can in the engine bay.
How to Safely and Easily Add Refrigerant to Your Cars AC System
Step 9. Turn the valve that serves as a seal on top of the refrigerant
This will pierce the top of the can, releasing the refrigerant through the hose and going directly around the car’s AC system. However, some companies manufacture their products differently and you may find a refrigerant can that needs to be opened in a different way. Simply refer to the instructions indicated on the packaging.
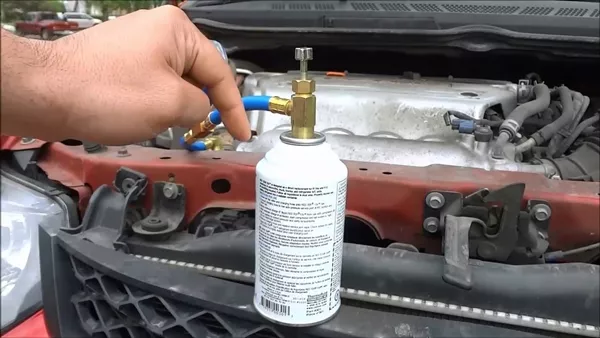
Turn the valve that serves as a seal on top of the refrigerant
Step 10. Let the refrigerant pass-through
Hold the can upright, giving it an occasional shake. Keep an eye out for signs that the refrigerant is leaking. Remember that AC leaks will need to be repaired by a professional.
When the gauge has indicated a “full” level of refrigerant, remove the hose from the service port, and store any remaining refrigerant for future use.


