You like having your car look clean on the outside. But how often do you consider cleaning the parts under the hood? Your engine bay can also accumulate dirt from your everyday driving, so it needs as much care as the exterior of your car. If not taken care of properly, the accumulated dirt could get in the moving pieces and disrupt your smooth ride.
That would mean more work and even repair costs for you. Philkotse.com presents this do-it-yourself guide to doing this task correctly and safely.
Step 1: Ready your tools and safety gear
Ready the tools that you’ll need on a tray so you won’t have to go back and forth when you need to loosen or tighten a screw. Here’s a checklist so you can get them ready before starting:
- Wrench
- Shop vacuum
- A leaf blower or compressor
- A few paintbrushes in different sizes
- Metal wire brushes (also in different sizes)
- A long water hose
- Quality-brand degreaser
- Soft microfiber towels
Once you have all the tools prepared, wear a face mask so to protect yourself from toxic fumes and fluids. Wear goggles to protect your eyes and a good pair of gloves. Some fluids in your car are harmful to your skin – especially if you are allergy-prone have sensitive skin.
You can also wear an apron to protect your clothes or, better yet, wear some clothes that you don’t mind getting oil and dirt on.
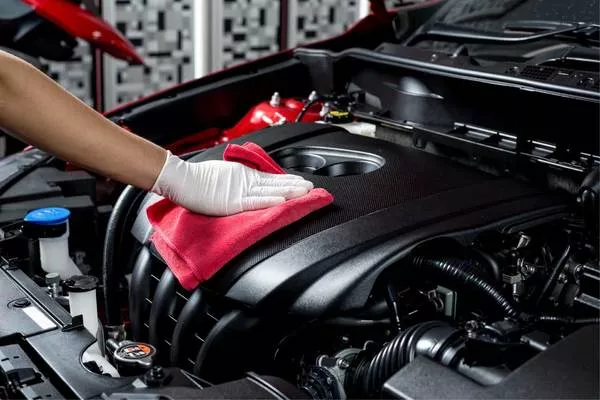
Don’t forget to wear a good pair of gloves
>>> Read more: 10 Must-have car care products.
Step 2: Let the engine cool down
Before attempting to do anything to the engine, make sure that it’s cool first to avoid burning your hands. Even if you can open the hood while the engine is hot, you also risk burning your face when the hot fumes escape the engine compartment. We advise you clean the engine bay early in the morning just before your usual daily activities.
The engine will most likely be cool if it rested overnight. If you have to do it after using the vehicle, wait for a few hours or until you can comfortably touch the hood with your palm. Do not attempt to help the vehicle cool down by pouring water, it will damage it and cost you more.
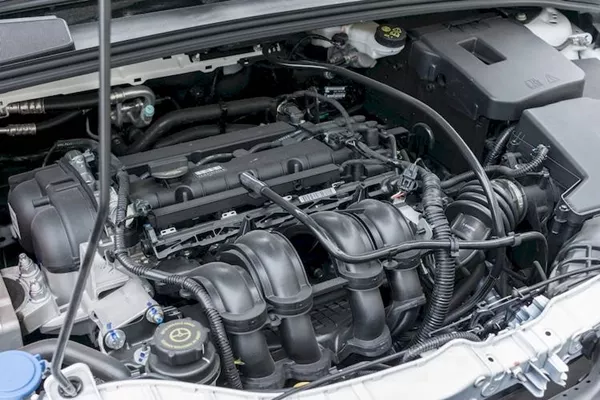
Make sure that the engine is thoroughly cooled down first to avoid burning your hands
Step 3: Lift the hood up
Once the engine has cooled down, you should be able to lift the hood up without too much trouble. The main components of the engine should also be exposed to you. Make sure that all the liquid reservoirs in your engine are all sealed with their caps tight shut. Inspect the brake fluid, the power-steering fluid, and the coolant.
One trick to know that all the reservoirs are sealed is by pressing on the dipsticks. Cleaning the engine bay will require you to use a cleaning solution as well as water. Making sure that the reservoirs are shut tight will prevent water and other external elements from seeping into them.
If water or a cleaning solution mixes with the coolant or oil fluid, you may end up damaging the sensitive parts of your engine.
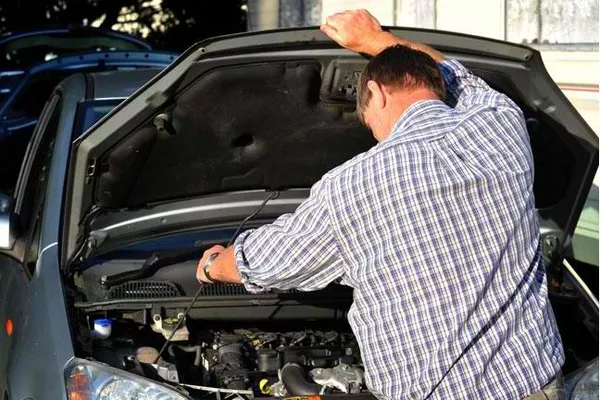
Once the engine has cooled down, you should be able to lift the hood up without too much trouble
>>> Also check: Engine wash & engine detail in the Philippines: Which is better?
Step 4: Ensure your safety first
After you seal all the reservoirs, the next step will be to disconnect the battery. This will prevent you from being in an electrical accident just in case you get the wrong parts wet. Simply disconnect the battery by disconnecting the negative side first and then unclipping the positive next.
For a more thorough clean, remove the battery completely. You might also want to cover the electrical parts of your engine with plastic to protect against contact with water. Cover the spark plugs, the coil packs, the distributor cap, all the filters, and the alternator.
Make sure you don’t just lay the cover on the parts that a gust of wind could blow off. Confirm that it’s all packed tight and secure with tape or any type of adhesive at the bottom so water doesn’t penetrate.
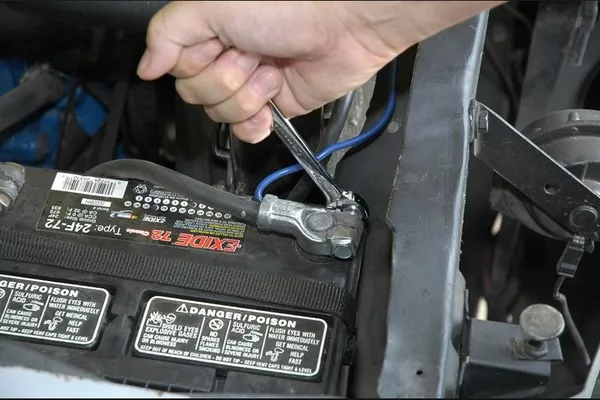
Disconnect the battery
Step 5: Start the cleaning process
Use your paintbrush and try to loosen any debris and dust that has accumulated on the surface of your engine. Clean the dirt up using a vacuum so it doesn’t spread to other areas of your engine.
Do this to the entire compartment, except the areas that you covered. Use different-sized brushes that you have to get into the small spaces and crevices. Remember to keep vacuuming the dirt and debris.
Step 6: Use your metal brush
A portion of your engine is made of aluminum. Since a regular paint brush won’t work on it, this is where your metal wire brush will come in handy. Sitting just on top of your engine is called the intake. This, along with other aluminum parts of the engine, is prone to getting stained and pitted.
Firmly rub your metal wire against these parts while avoiding contact with other non-aluminum parts. Other sensitive parts like hoses and belts can easily get damaged by metal wire brushes so try to keep it away from those.
How to clean your engine bay
>>> Worth reading: 4 Essential Care Tips for Maintaining Your Car Engine.
Step 7: Wash the engine bay
Use warm water to get the engine bay wet while avoiding the parts you covered with plastic. This should loosen any remaining dirt. Then take your degreaser and mix it with water.
Use one part cleaner and one part of water and put it in a spray bottle. Spray this all over the engine bay while focusing on the areas that build up more grime, like caps and screws.
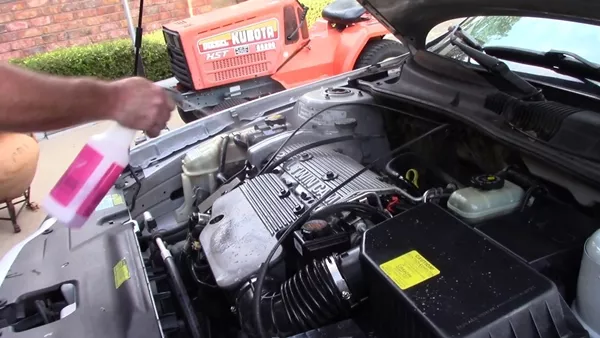
Use warm water to get the engine bay wet while avoiding the parts you covered with plastic
Then use the warm water to rinse the degreaser away. Don’t use cold or pressurized water or you may force it into places it shouldn’t be. If the engine still looks dirty to you, spray some more degreaser and let it sit for about 20 minutes before rinsing it again.
Step 8: Give your engine bay a wipe-down
Once you’re done, use your microfiber towel to get rid of excess water on your engine bay. Once it’s dry, you can remove the tape and plastic covers you used on the electric parts. You can reconnect the battery, and then you’re good to go.
Recent posts
- Get to know engine types and 4 DIY tips to diagnose unhealthy ones Jan 12, 2021
- 10 Must-know Car Engine Sensors Aug 09, 2022
- 10 most popular car engine parts that you should know Aug 09, 2022
- 5 simple tips to maximum your car engine's performance Aug 16, 2022
- Solutions to keep rodents out of your car engine Feb 02, 2021


