A vacuum hose is an elastic rubber connection from the manifold vacuum to different accessories and components of the vehicle. These hoses control most operations in your vehicle such as brakes and emissions components.
Interestingly, it is also a common source of engine performance problems. Thus, it is important to check the condition of these vacuum hoses because they can cause problems later on. There are two methods on how to check engine vacuum hoses. Read this article from Philkotse.com to find out.
1. Perform a visual and hands-on inspection
Step #1: Raise and secure the hood.
Step #2: Locate the vacuum hose.
Step #3: Check for tearing of the hose ends. These can affect the vacuum seal and will allow air to pass into the hose walls.
Step #4: Check the condition of the hose clamps. Twist it back and forth to check it doesn’t move freely. Tighten the clamp if it moves easily, or replace it.
Step #5: Inspect for any signs of swelling or bulges. Look for any abnormal spots in the hose. Bulging hoses can be caused by heat damage or a coolant leak.
Step #6: Check for cracks and scratches in the hoses. The cracks can be caused by ozone damage, while scratches are from rubbing of hoses to moving components of the engine. If you see any cracks, the hose should be replaced or repaired immediately.
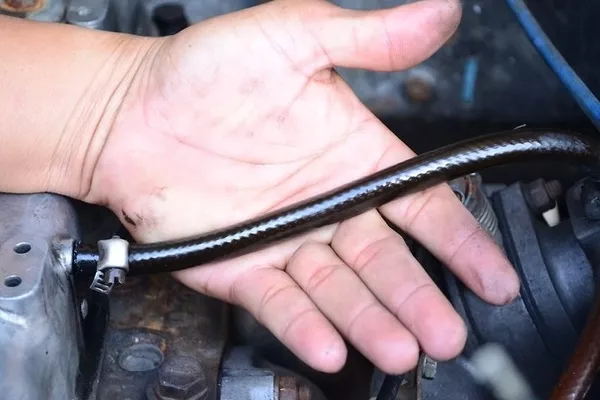
Check for tears at the ends of the hoses
>>> Read more: 10 most popular car engine parts that you should know.
2. Using a vacuum detector
Tools needed:
- Flashlight
- Vacuum gauge
Tip: You can use large gauges for easy reading and detecting minute movements.
Step #1: Raise and secure the hood.
Step #2: Locate the vacuum hose.
Step #3: Remove the vacuum hose from the components but make sure it remains connected to the engine vacuum.
Step #4: Connect the vacuum gauge to the hose. Ensure that the hose and gauge are properly sealed to prevent a false reading.
Step #5: Start the engine. If it is not already warmed up, let it run idle for a few minutes.
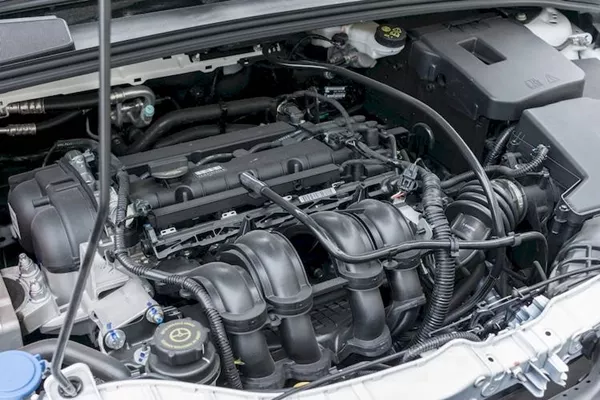
Ensure that the hose and gauge are properly sealed to avoid a false reading
3. Identify the vacuum
The gauge should read between 17 to 20 inches of vacuum. A lower reading indicates a leak or blockage in the hose. Visually check the entire hose for any problem.
A vacuum leak is a malfunction that needs to be corrected so that the engine will operate at its full efficiency. Dealing with the vacuum leak doesn’t mean you need to replace it immediately. There are times it only requires a simple repair which you can do.
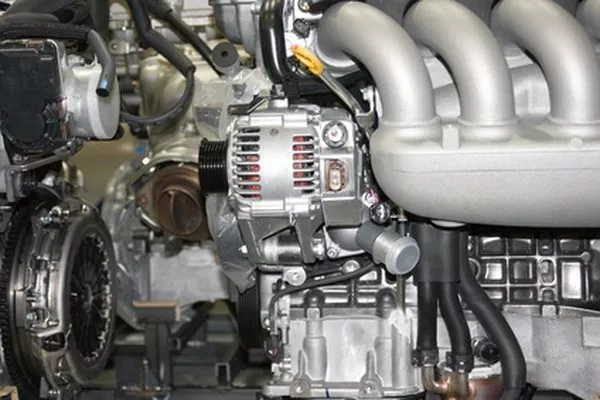
Visually check the entire hose for any problem
>>> Also check: 4 Essential Care Tips for Maintaining Your Car Engine.
4. Tips in repairing vacuum hoses
A damaged vacuum hose can be repaired by cutting off about half an inch at the end and reconnecting the hose. Moreover, take precautions when dealing with damage between the ends of a vacuum hose. If the hole to be repaired is only less than a half-inch, cut the damaged area and use proper tools to reconnect the two pieces.
Some vehicles have several vacuum hoses, so you need to work on repairing one vacuum hose at a time. You can use elbow connectors and tools to perform any kind of hose repair.
Always put a marking on the hoses and their respective fittings or connections to avoid confusion when reinstalling repaired or new hoses. And remember that you need to always refer to the vacuum diagram when reconnecting the hose to its correct fitting.
Secure the hose away from hot surfaces or moving components after doing a repair. When replacing a vacuum hose, always replace it with one of similar diameter and length.
Lastly, when it’s obvious that a fix cannot be made, replace the hoses immediately. Refer to the following steps when installing a new vacuum hose.
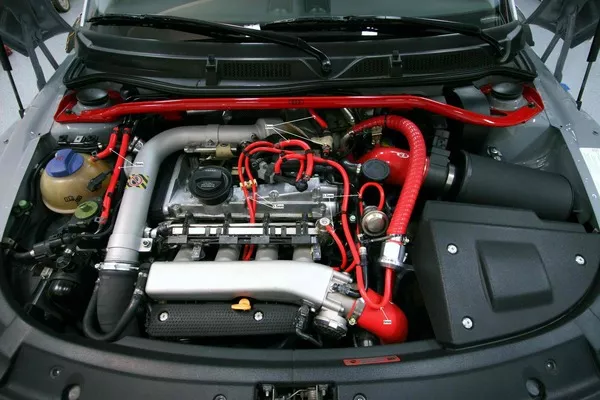
Some vehicles have several vacuum hoses so you need to work on repairing one vacuum hoses at a time
5. Installing a new vacuum hose
Tools Needed:
- Vacuum Hose
- Pliers
- Phillips screwdriver
- Flathead screwdriver
- Utility knife
- Penetrating oil (aerosol)
Procedure:
Tip: If you are replacing a lot of hoses at once, remove all the hoses and cut all the replacements then install it at once for faster job.
Step #1: Raise the hood of your vehicle and secure it.
Step #2: Find the location of the vacuum hose/s. You may need to remove an engine cover, depending on your vehicle.
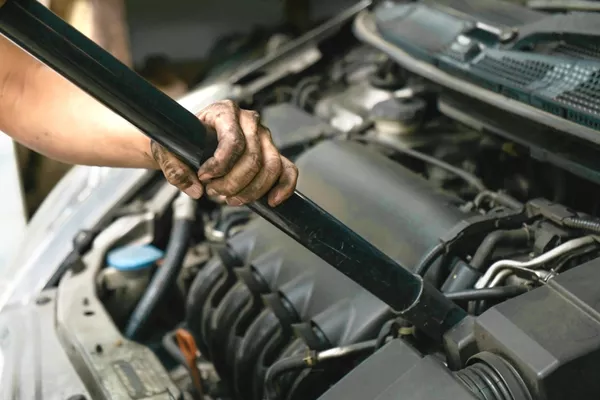
In order to replace the vacuum hose, you may need to remove an engine cover, depending on your vehicle
Step #3: Remove the hose clamps. There are different types of clamps used in vehicles. Vacuum hose clamps can be removed or loosened by a screw-type mechanism, the use of pliers, and some have quick disconnects.
The quick disconnect operates by pushing a tab on the fitting which releases the vacuum hose. On the other hand, other vacuum hoses don’t have clamps and rely only on the constriction of the vacuum hose.
Step #4: Remove the vacuum hose. It is now easy to remove the hose after removing the clamps. Grab the part which was clamped and twist it to loosen. The hose should now turn side to side easily. Pull on the hose while holding the other end. Remove the vacuum hose. If you can’t remove the hose, then split that end using a utility knife.
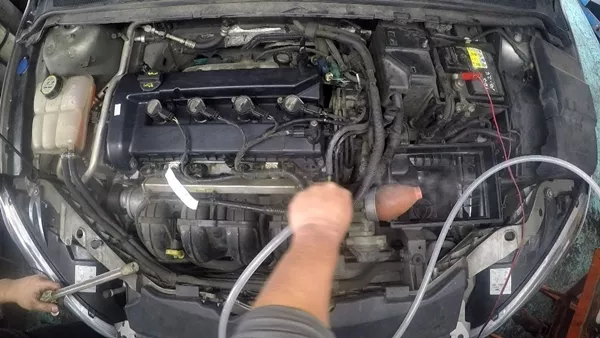
If you can’t remove the hose, then split that end using a utility knife
>>> Worth reading: Essential tools needed in a car tool kit for DIY car maintenance.
Step #5: Route the vacuum hose. It should look the same way you found it. It is very important to install the hose properly whether it is underneath a specific location or clamped down in other hoses. This prevents the chance of it rubbing into moving parts, hot parts, or other hoses.
Step #6: Put hose into the fitting. Apply penetrating oil first on the inner end of the hose before putting it into the fitting. This will help to make the installation easier.
How to remove the vacuum hose
Step #7: Clamp the vacuum hose. Put the correct hose clamps and tighten them. Do not tighten the clamps too much because you might squeeze the hose -- causing another leak.
Step #8: Verify the installation. Check the newly installed vacuum hose and make sure everything is in the proper place. You can refer to the vacuum diagram to verify that you have hooked everything right.
Step #9: Put back the engine cover if you removed it.
Step #10: Bring the hood down and secure.
When you are in doubt, be sure to consult your local trusted mechanic for assistance.
>>> Click to get more helpful tips and advice for car maintenance.
Recent posts
- Buying Engine Parts Online: Yay or Nay? Nov 30, 2022
- Get to know engine types and 4 DIY tips to diagnose unhealthy ones Jan 12, 2021
- 10 Must-know Car Engine Sensors Aug 09, 2022
- Spotting 8 Early Symptoms of Engine Problems Jul 05, 2018
- Causes and remedies for overheating automobile engines Mar 06, 2021


