All machines need to be taken care of, and your car is no exception; maintenance is essential to keeping your vehicle running smoothly for as long as possible.
Apart from the obvious items such as checking the tires, oil, and brakes, there are other components that also deserve your attention. Your radiator hoses, for instance.
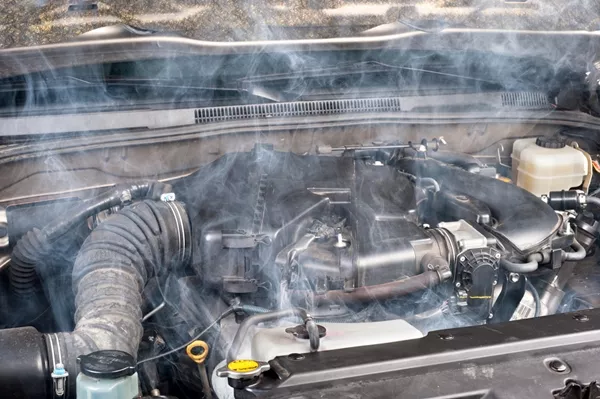
All machines need to be taken care of, and your car is no exception
Present in practically every vehicle with an internal combustion engine, the radiator keeps your engine within its normal operating temperature, specifically ranging from 90 to 105 degrees Celsius (195 to 220 degrees Fahrenheit). Coolant flows through the engine block, regulating the temperature by absorbing heat.
The liquid is then cooled as it passes through the radiator core, and is subsequently fed back into the engine to repeat the cycle. Coolant passes between the engine and the radiator by a series of hoses, which become weak or damaged as time passes by.
Faulty radiator hoses affect engine cooling, which can ultimately result in overheating and catastrophic engine damage. How do you make sure this doesn’t happen? This article from Philkotse.com gives you tips on how to check your radiator hoses.
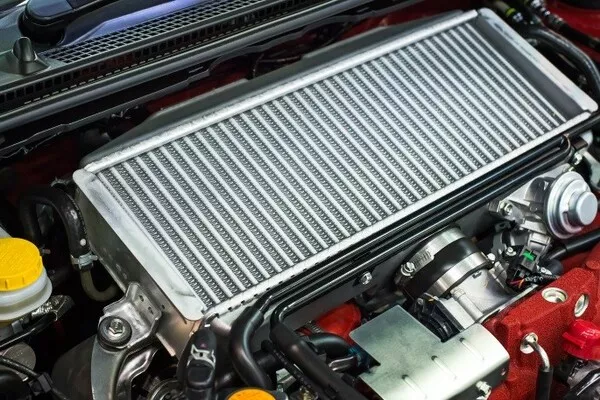
The radiator keeps your engine within its normal operating temperature
1. Check whether there are radiator hoses
Locate the radiator hoses
Your car uses two of these; the upper (or pressure) hose is where the hot coolant enters the radiator core from the engine block, flowing back into the engine through the lower (suction) hose.
The pressure hose is generally larger in diameter than the suction hose, which is why the latter tends to be more difficult to get to, requiring you to look under the car.
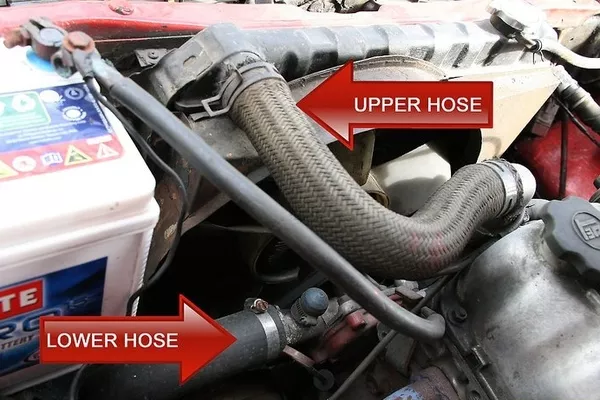
Find the location of the two radiator hoses
>>> Read more: Basic care tips for car radiator that every driver should know.
Perform a visual check
Inspect the entire length of each hose, looking for signs of wear or damage. The hoses should not be cracked or swollen, because either can be a sign of a problem.
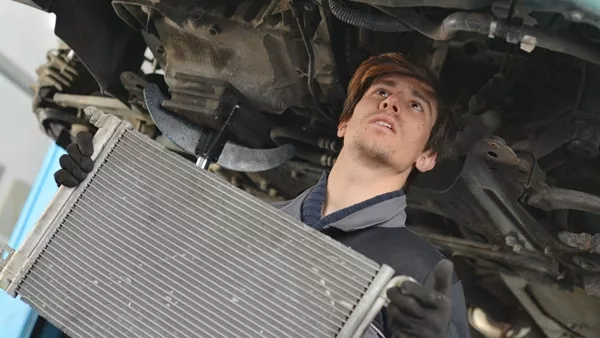
Perform a visual inspection to the two radiator hoses
Perform the squeeze test
Subject both hoses to the squeeze test, preferably after a drive when the engine is still warm. Squeeze each hose while checking for the areas where the hose bends. A hose in good condition should feel firm to the touch, neither too hard nor too soft.
However, if the hose is very hard, very soft, or spongy in texture, it might be in less-than-ideal shape. Try to find a spot on the hose which feels softer compared to the rest of the hose. If you find this spot, then the radiator hose needs to be replaced.
>>> Related: 3 symptoms of a bad radiator cap & replacement cost
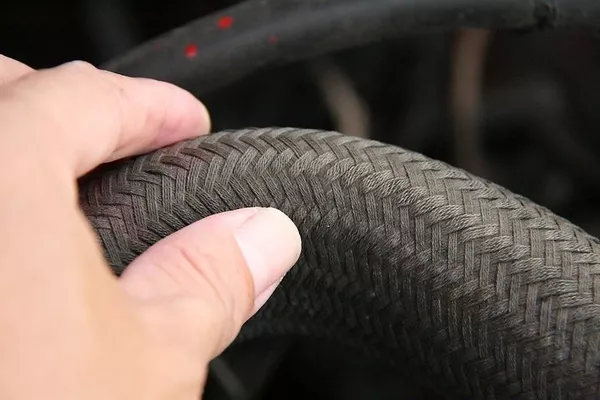
Perform the squeeze test on the radiator hose
Inspect the clamps
The clamps connecting your hoses to the radiator and engine could be one of three types: wire clamps, banded clamps, and gear clamps. Wire clamps are easily recognized by the absence of screws for tightening and can be adjusted by a pair of clamp pliers.
Meanwhile, gear clamps and banded clamps are usually made of stainless steel and are wrapped around one end of the hose. Gear clamps are sometimes called worm clamps while banded clamps are called screw clamps; these clamps can be adjusted with the aid of a screwdriver.
Make sure that these clamps can be sufficiently tightened to keep the hoses attached. If you suspect a faulty radiator hose after the inspection, replace it as soon as possible to avoid further damage the engine. Read on to know how to replace a faulty radiator hose.
>>> Also check: 6 Steps to Fix Car Radiator.
2. Steps to remove a faulty radiator hose
Step 1.
Secure the vehicle using chocks for the rear wheel, especially since you will need to jack the front of the vehicle to access the lower radiator hose.
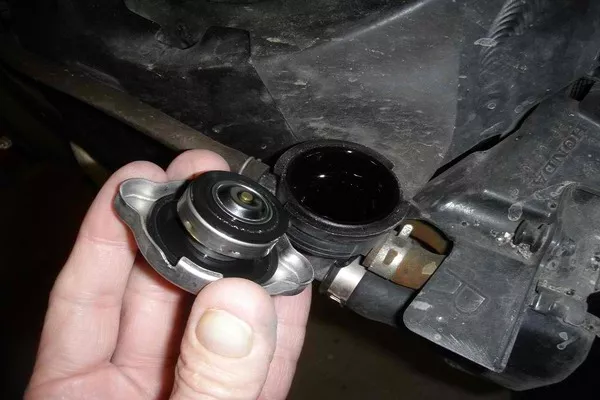
Remove the radiator cap after the engine has cooled down
Step 2.
Let the radiator cap cool down before removing it. Do not attempt to take out the cap when the radiator is still hot; the cap acts as a valve keeping the hot and pressurized coolant inside the radiator. Remove the cap prematurely, and you risk burn injuries.
Step 3.
Place a container directly underneath the radiator and drain the coolant, using the drain petcock or the clamp which fastens the lower radiator hose.
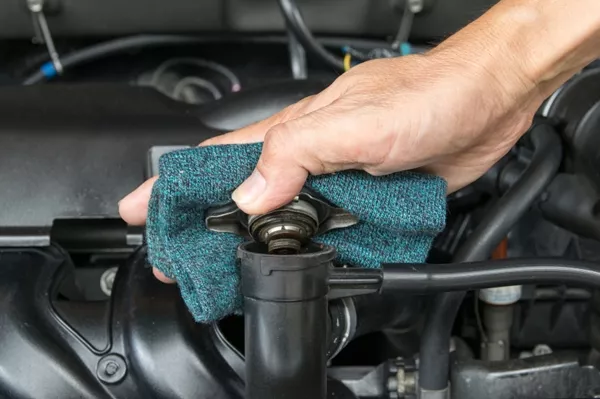
Do not attempt to take out the cap when the radiator is still hot
Step 4.
Loosen the hose clamps. These clamps are usually designed to use screw tension or spring tension. When loosening a screw tension clamp, use a screwdriver and pull it away afterward. Meanwhile, squeeze the spring tension clamp using a pair of pliers, then likewise pull it away after.
Step 5.
After removing the clamps, pull the hose off. If the hose remains attached to the radiator, use a cutting blade to remove it, taking care not to slit too deeply to avoid damaging the connection.
>>> Worth your attention: A guide with 4 DIY steps to deal with car radiator leak.
3. How to install the new hose
Step 1.
Put the clamps into both ends of the new radiator hose, leaving them untightened for the time being.
Step 2.
Attach the hoses to both the engine and the radiator. Position the clamps at approximately ¼ inch from the edge of the hose. Make sure the clamps are placed outside of the raised bead before tightening them down.
A complete guide on how to replace a car radiator
Step 3.
Pour coolant into the radiator. Ensure that the drain petcock has been closed and the lower radiator hose is properly installed before refilling. If you’re using pure coolant, mix it with 50% distilled water then pour the mixture into the radiator. With pre-mixed coolant, simply pour the contents of the bottle.
Step 4.
Bleed the radiator. This refers to the process of removing air pockets that could form in the upper part of the radiator, interfering with the flow of coolant between the radiator and the engine. Oftentimes the coolant will need to be drained and put back into the radiator several times as part of the bleeding process.
>>> You might want to read: The Safest Way on How to Put Water in a Car Radiator & Other Essential Facts.
Step 5.
Once you’re satisfied that no air pockets exist, refill both the radiator and the reservoir with coolant. Put the radiator cap back, then start the engine and inspect for anything unusual such as leaks.
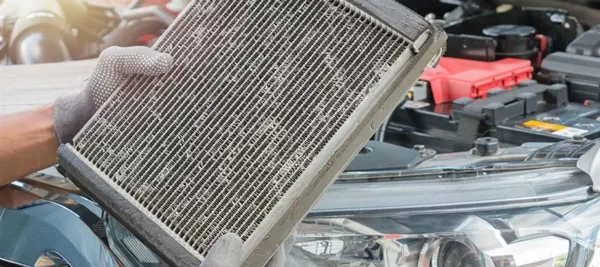
Remember to always include your radiator hoses as part of the car’s regular inspection
It is advisable to replace your radiator hoses every 65,000 kilometers, or you can refer to the manufacturer’s recommended interval in your vehicle's manual. Always include your radiator hoses as part of the car’s regular inspection.
You can ask the help of a local mechanic or experienced technicians in replacing your car’s radiator hoses. If you suspect leaks in your cooling system, have them diagnosed immediately to avoid unnecessary damage to your vehicle.
>>> Check out more car tips and advice on Philkotse.com
Recent posts
- 7 simple steps to have timing chain replaced by yourself Aug 16, 2022
- Top 10 improvements in car engine design Aug 09, 2022
- Causes of water-damaged engine and tips to protect your car Jul 11, 2019
- Spotting 8 Early Symptoms of Engine Problems Jul 05, 2018
- Distilled water vs Coolant: Which is the best product for your radiator? Mar 06, 2021


