Every car has a timing chain. It is the connection between the camshaft and the crankshaft. It’s a vital piece of equipment in the car. When it is working properly, it enables the valves to close and open at specific intervals in relation to the pistons’ position for the engine’s optimum operation. And just like any other car parts, changing a timing chain is required.
But you can do the job all by yourself if you have the right tools, some mechanical know-how, and a service manual. Philkotse.com will help you change the timing chain by this step-by-step guide. But you have to remember that it's a major job, and if not done properly, will result in serious consequences.
Step #1. Prepare the engine
When changing the timing chain, you will need to disassemble and reassemble different engine parts. That’s why you will need your owner’s manual as the guide in locating the timing chain of your car. You should also know the timing chain is different from the timing belt.
We will be changing the timing chain and not the timing belt. Verify if your car is equipped with a timing chain.

You will need your owner’s manual as the guide in locating the timing chain of your car
Before you start, you first need to clean the engine with the use of the right degreaser. A clean engine enables you to better see and inspect any worn and leak parts. It will also make the overall job, less messy. One thing to always remember is to never work or clean the engine while it is still hot.
Let it cool down before you begin. Take note that the oils and degreaser you're washing off the engine can pose environmental threats and might kill your grass. Make sure you do this in an area that has properly set up drains and filters the used chemical.
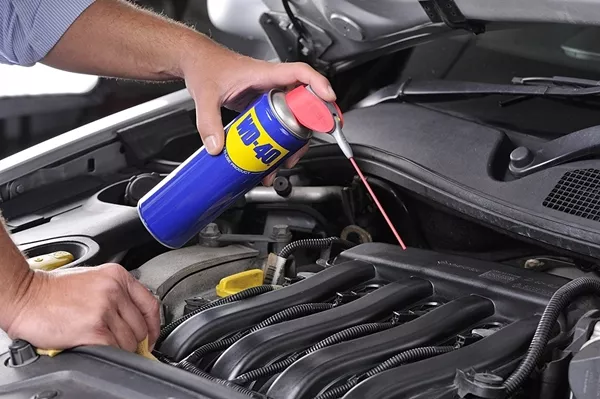
You first need to clean the engine with the use of the right degreaser
Also, determine the firing order of the vehicle. Rely on the owner’s manual to locate and identify the firing order It is vital because you’ll need to check the cylinder number one later. It is the one that fires first in the firing order. Also, keep in mind that you shouldn't work in the engine while it is plugged in the batteries. Disconnect the ground cable first then the positive terminal.
How to Replace Timing Chain in Your Car
Step #2. Disconnect the radiator
The next step is to disconnect the radiator by removing the radiator cap. Doing so will drain the coolant from the system. To drain the coolant, you should open the drain cock. It is often located near the radiator’s bottom. Commonly it is a pull cap or a plastic screw that you can release.
You should store the engine coolant in an old bottle of antifreeze (it is the most ideal). You can also store it in a plastic container with a cap if antifreeze bottle is not available.
Now, trace the hoses of the radiator back to the engine. Using the pliers, squeeze the hose clamp then side it back on the hose. Break it free by wiggling the hose then move it out of your way.
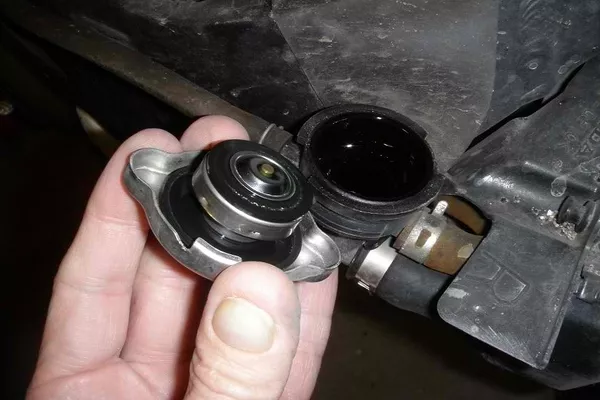
Disconnect the radiator by removing the radiator cap
>>> Read more: Basic care tips for car radiator that every driver should know.
Step #3. Remove the components of the drive belt
Use the owner’s manual to locate the routing diagram. Usually, it can be found underneath the car's hood. Then remove the tension belt. For the S-belts (serpentine belts) to be released, compress the spring-loaded tensioner.
To remove the V-belts or multi-design belt, adjust the position of 1 of the pulleys. The belts will easily slide off other pulleys once you released the tension.
If your car model has heater hoses connected to the water pump, use a screwdriver to release the hose clamps then remove the hose from the water pump. Then remove the water pump as well by removing the bolts. Next, remove the harmonic balancer or the crankshaft pulley.
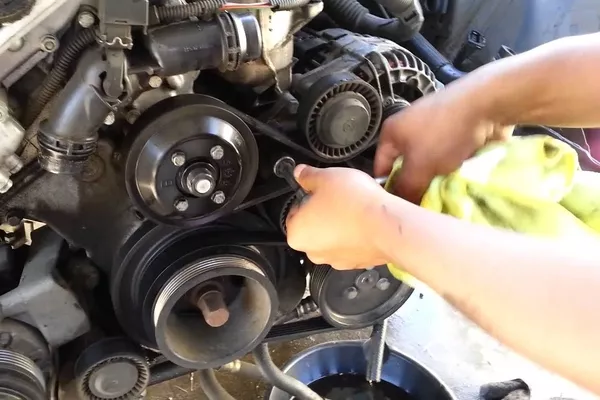
Use the owner’s manual to locate the routing diagram
Step #4. Remove the timing chain
When removing the timing chain, unbolt its cover from the engine block. Determine the locations of the camshaft and the crankshaft. Usually, these gears are attached by the timing chain in order for the piston’s position directly correlates to the opening of the exhaust and fuel valves.
This keeps the engine smoothly running. Marked these gears to know and remember their relative position.
Also, locate bright links or marks in the timing chain. these are called bright links because they are brighter compared to other links. Its purpose is to alight the engine.
Next, get the engine to top dead center. After that, you can now remove the timing chain. To do so, use a ratchet or wrench to loosen the tension gear, then slide off the chain from the gears.
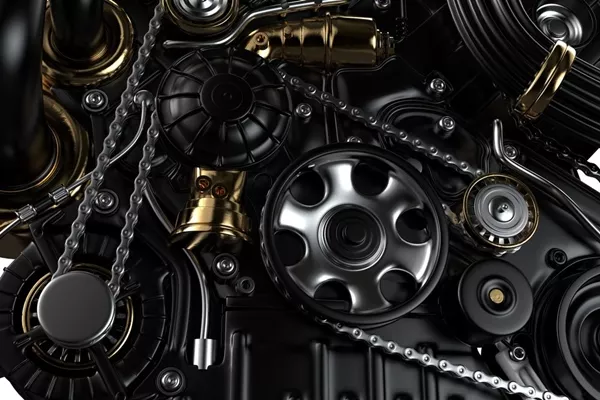
how to know if my timing chain is bad
>>> Also check: 5 simple tips to maximum your car engine's performance.
Step #5. Install new timing chain
Before installing the new chain, lubricate the gear first using a decent amount of gear oil. This will make sure the new gear and timing chain will perform at its optimum for the longest possible time. After that, you can now place the new timing chain. Make sure that you align the new chain exactly with the marks on the gears from the old chain.
It will enable you to locate the top dead center whenever you need to. Then tighten these chains. Refer to the owner’s manual for specifications because adjusting the camshaft and crankshaft gear varies from one car to another. Timing chain replacement cost can be expensive.
Step #6. Replace the crankshaft seal
To replace the crankshaft seal, use a punch and a hammer, tapping the new timing cover with the new crankshaft seal. Coat it with oil to ensure that it’s compressed in order for it to function properly. Then reinstall the cover of the timing chain.
Step #7. Reassemble the cooling system and the components of the drive belt
Reassemble the components of the drive belt and the cooling system. Start by bolting on the harmonic balancer. Always refer to the owner’s manual for specifications. Then proceed to reinstall the water pump.
Next, connect the heater hoses to the water pump. Put the radiator hoses back and fill it with the coolant. If the coolant is already dirty, then it’s time to fill it with a new one. Then rerun all the drive belts and tighten it.
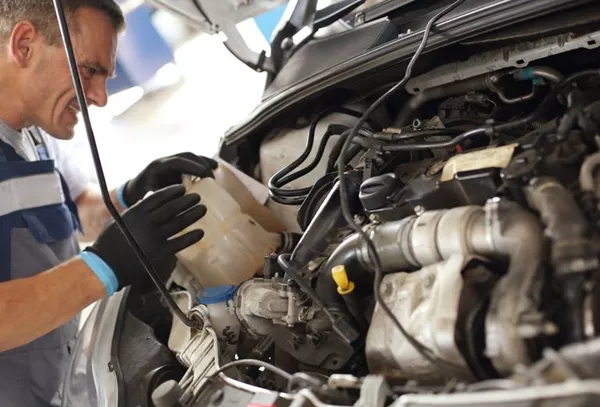
How to fix a timing chain.
You’re almost done. You can now reconnect the car battery. Try starting the engine, then check for any leaks or drips. If everything is working well and there are no leaks, then you have done it right. then it's now time to check the timing using a timing light.
Recent posts
- Effective Car Hacks Using the Ever Reliable WD-40 Jul 18, 2019
- Car maintenance: 5 simple steps to install camshaft of your car engine Aug 17, 2022
- Car buying tips: 5 simple steps to check the engine of a used car Nov 30, 2022
- Top 10 improvements in car engine design Aug 09, 2022
- 5 Innovations That Reduce Engine Vibrations Aug 16, 2022


