When it comes to car interiors, faux wood is the height of tackiness, while carbon fiber is expensive (as long as it’s not the pretentious aftermarket facsimile). One compromise used by automakers for the interior plastic is the more neutral piano black trim.
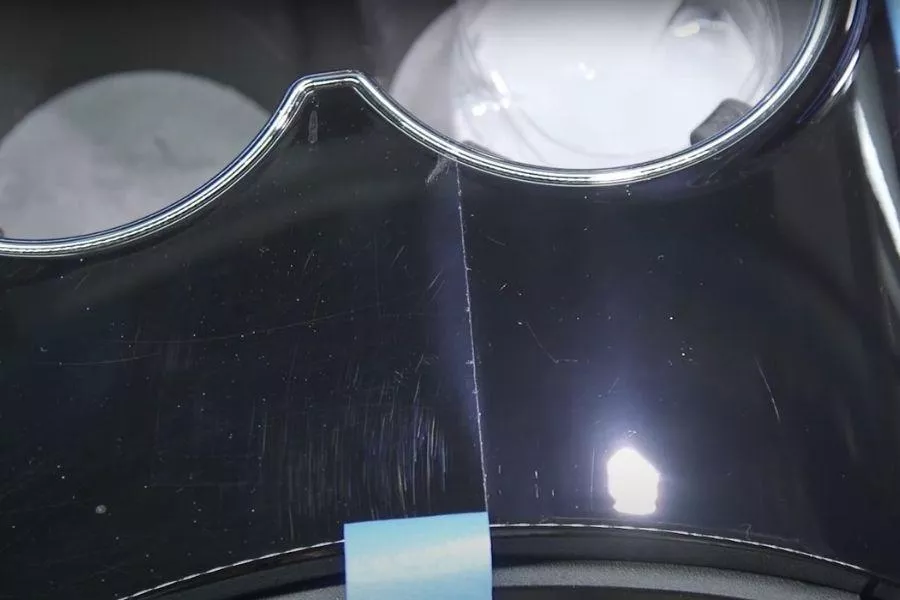
It can be frustrating to see a pristine section of the dashboard or cup holder marred in this way, especially if it’s on your daily driver. But there might be a way to remove the flaws; well, most of it anyway. Former Wall Street trader Larry Kosilla transitioned to auto detailing through his company Ammo Auto Care in New York City, and he enumerates the process for those who have had enough of seeing the scratches on piano black plastics.
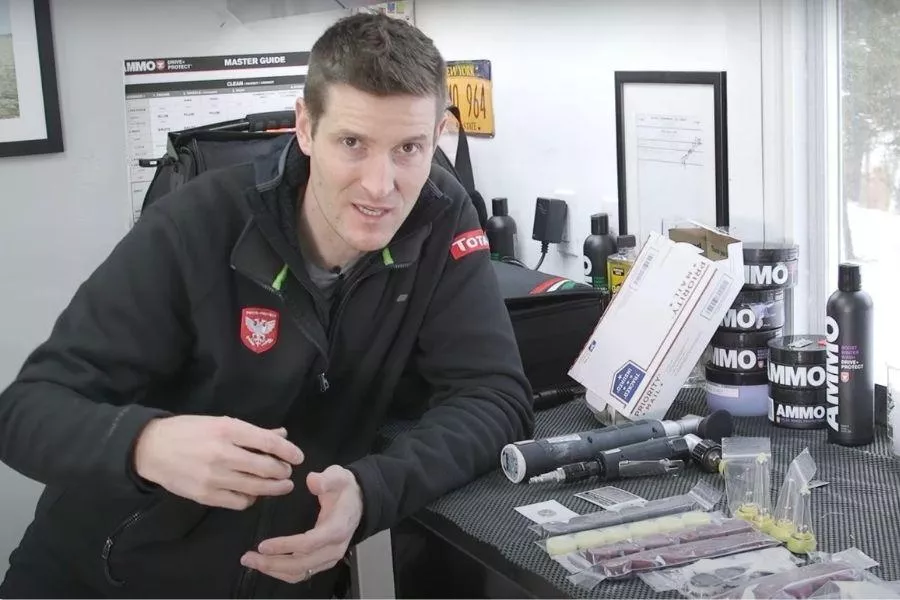
Ammo Auto Cars Inc. founder and managing director Larry Kosilla
Sufficient lighting in the vehicle’s interior is a must, the better to see all the dirt and other undesirables that need to be removed. To start off, the area to be repaired needs to be cleaned using a combination of compressed air, an interior brush, and pointed picks (to get into the gaps between the panels).
Once the initial cleaning is done, Kosilla used blue painter’s tape to seal off the surrounding interior plastic or leather panels. Dab a microfiber cloth into a mixture of equal parts water and isopropyl alcohol, then wipe the panel to remove dried spills, hand grease, and other grime.
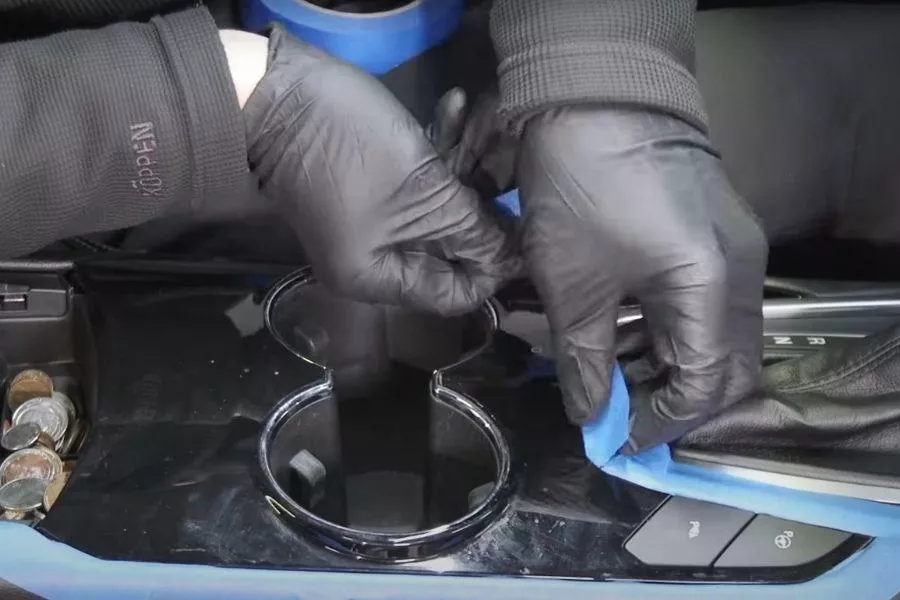
The surface needs to be cleaned and cordoned off from the surrounding material
Now that the surface has been prepared, the actual removal of the scratches can commence.
Step 1:
-
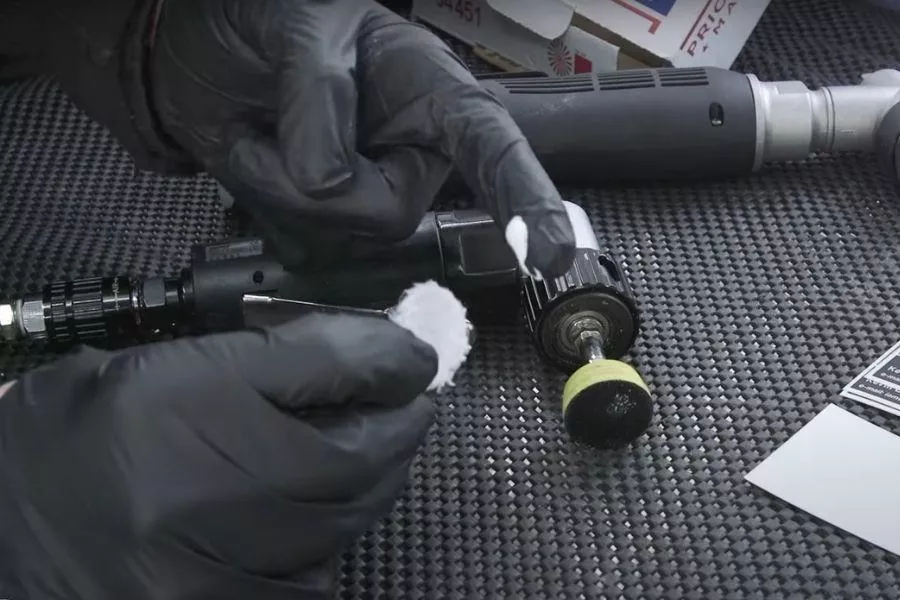
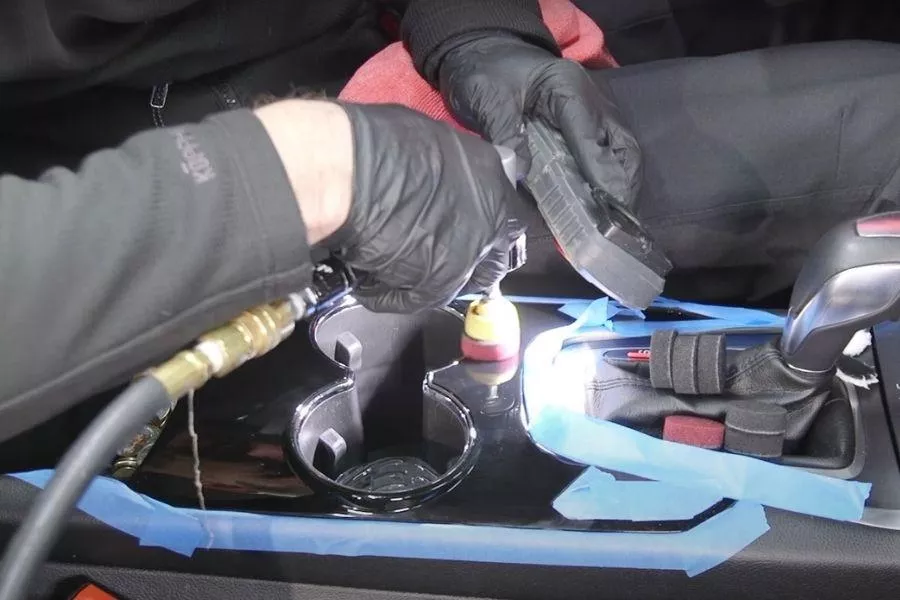
Using an electric or compressed air-powered hand polisher, prime a 1-inch microfiber cutting pad with your preferred compound, then blow it out with compressed air.
- Work the trim with small strokes for a few seconds.
- Blow the matted fibers clean using compressed air then re-prime the pad with the compound, blowing it out again to minimize the abrasive material.
- Apply strokes on a new area of the trim, repeating the process until complete.
The cutting pad should be primed with a small amount of compound
Step 2:
-
Prime a fresh 1-inch microfiber cutting pad with your preferred polish, blowing it out afterward with compressed air.
- Work the trim in very small strokes for several seconds.
- Use compressed air to blow the matted fibers clean, then re-apply the polish, using compressed air to remove most of the abrasives in the chemical.
- Repeat the strokes on a new area of the trim until the panel is completely polished.
Step 3:
-
Prime a fresh 1-inch red foam pad with your preferred polish, blowing it out afterward with compressed air.
- Work the trim in very small strokes for several seconds.
- Use compressed air to blow the matted fibers clean, then re-apply the polish, using compressed air to remove most of the abrasives in the chemical.
- Repeat the strokes on a new area of the trim until the panel is completely polished.
Polishing brings out the material's gloss
Step 4:
- Prime a 1-inch black foam pad with your preferred polish, blowing it out afterward with compressed air.
- Work the trim in very small strokes for several seconds.
- Use compressed air to blow the matted fibers clean, then re-apply the polish, using compressed air to remove most of the abrasives in the chemical.
- Repeat the strokes on a new area of the trim until the panel is completely polished.
The difference is noticeable and is a reward for your efforts
Of course, all this assumes that you have the right cleaning materials and tools at your disposal, as well as the time to undertake a rather tedious task. If you do it right, you’ll be rewarded with a flawless interior trim piece that should look good as it did in the showroom. But if you feel you’re not up to it, you can always bring your car to a trusted detailer.
More tips to help keep your car looking good at Philkotse.com.
Recent posts
- Choosing the best scratch remover for cars Jul 04, 2019
- 4 simple steps to do a proper car interior detailing Aug 09, 2022
- Dos and Don’ts of Washing a Car: Squeaky Clean over Scratchy Clean Feb 18, 2019
- How Can I Repair My Car’s Scratches? Dec 29, 2020
- 4 simple tips to keep your car interior clean and tidy Feb 02, 2021
