Every part of your vehicle has an important part to play. Otherwise, that wouldn’t be put there by the manufacturers in the first place. This means that if one particular part were to go wrong, you could end up having a big problem. This is why it’s mighty essential to always check your vehicle. You should also avoid disregarding signs that tell that something is wrong with it.
The earlier you notice that there are irregularities, the better. Fixing one particular damaged part will prevent the damage from spreading to other parts. This will also save you from accidents if the broken part is concerned with safety. If you delay even the slightest sign of malfunction, you may end up with a higher bill to pay in the long run. Let's find out with Philkotse.com.
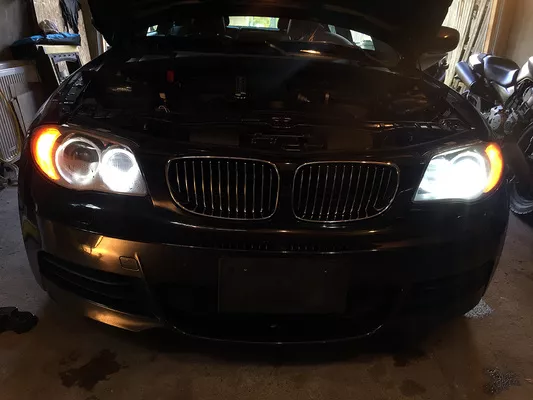
Fixing one particular damaged part will prevent the damage from spreading to other parts
Step 1. Pop your ride’s hood
Before you get to the headlight, you will first have to get access to it. To do this, find the hood release switch next to the driver’s switch. Tug this with your finger to unlock the hood. After tugging the switch, go to the hood and lift it up. You’re supposed to find a piece of metal rod folded down under the hood. This is supposed to hold your hood up while you’re working. Set the hood on this rod.
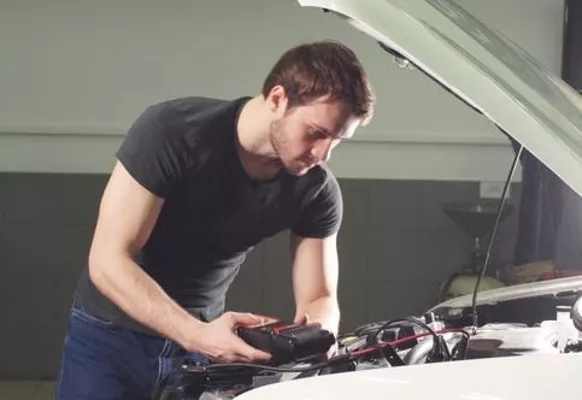
Find the hood release switch next to the driver’s switch
>>> Read more: Easy ways to make your headlights shine like new.
Step 2. Disconnect your vehicle’s battery
This is a vital step regardless of whatever it is you’re doing under the hood. You need to first disconnect the battery. Although electrical accidents in vehicles are rare, that doesn’t mean it can’t happen. It’s always better to be sure.
First, locate the battery. Then, use a socket wrench and loosen the nut on the battery’s negative terminal. Once you have the nut lose, pull the black cable to remove it from the battery. Put this at the side of the battery. Make sure this does not touch the terminal or the car. The positive terminal can be left as it is.
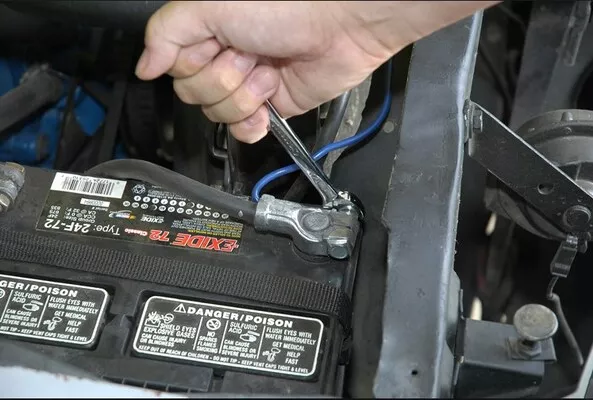
You need to first disconnect the battery
Step 3. Remove your car’s trims
If your car is a contemporary model, it will most likely have extra plastic films or “trims”. These are usually for design purposes but they cover the headlights so you will have to remove them. These trims are commonly very easy to remove. They are held in place with plastic clips that you will have to unlatch. Be careful when removing them because the plastic may be thin and brittle.
If you break the clips off, you can usually get a replacement. These are available at auto-supplies stores and are fairly affordable.
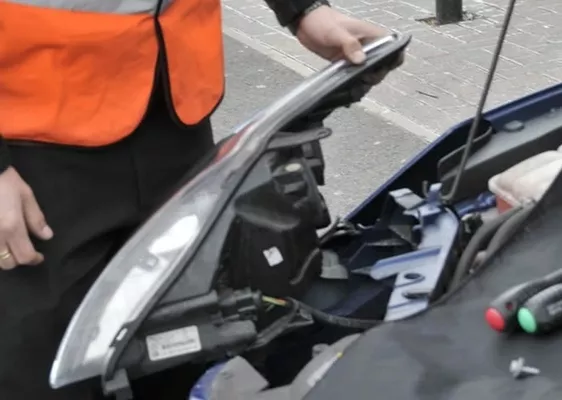
If your car is a contemporary model, it will most likely have extra plastic films or “trims”
Step 4. Unplug the headlight’s wire pigtail
The headlight’s wire pigtail is the plug that carries multi-colored wires. You can easily unlatch this by pressing on the small plastic release on the wire. Remember to keep the pressure on the clip as you disconnect it. Be careful not to tug the pigtail wire or you may break it. After you unplug it, look at the wires inside the plug. Try to notice if it has burn marks or as a burnt odor. If it does, there may be a problem with your car’s electrical system.
>>> You might concern: Choosing the best headlight for your car: 5 common kinds for drivers.
Step 5. Reach for the old headlight
Once you gained access to your headlight, twist it and tug it backward. The headlight should be twisted in a counter-clockwise direction to release it safely. If you can’t seem to remove the bulb, don’t force it. You may end up damaging your vehicle or hurt yourself. Instead, take a step back and refer to your vehicle’s manual. It is the best reference in case you don’t know what to do.
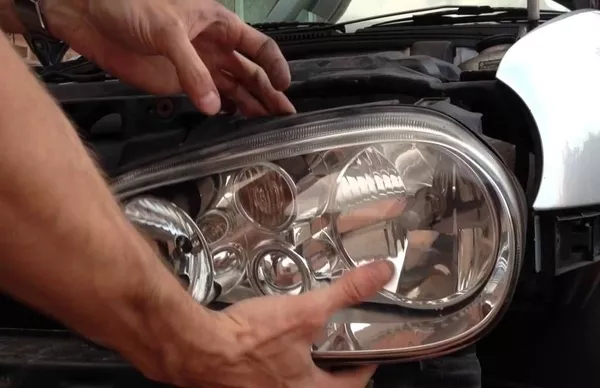
Once you gained access to your headlight, twist it and tug it backward
Step 6. Get new headlights bulb
Now that your headlight is empty, it’s time to buy a replacement. You can opt to buy two bulbs and replace both headlights even though only one is broken. This will make sure that your headlights are uniformed.
When buying a light bulb, inform the attendant about what model, make and year your car is. This will make sure that the bulb you receive is 100 percent compatible with your car.
>>> FYI: Why You Need To Replace Headlight Bulbs In Pairs.
Step 7. Take the bulb out of the box
Carefully remove the light bulb out of the box without making contact with your hands. The oil produced by your skin can damage modern types of light bulbs. That’s why it’s the best to top to wear safety gloves while doing this.
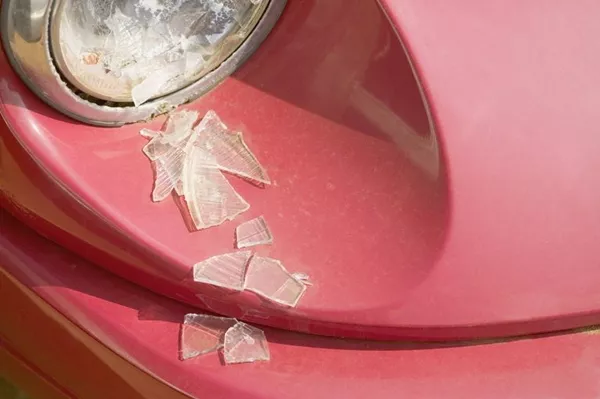
The broken headlights can be extremely dangerous
Step 8. Wipe the bulb with alcohol
If you happen to accidentally touch the light bulb, you can clean it with rubbing alcohol. Do not pour the alcohol directly onto the bulb. Take a clean rag or cotton. Dampen this with the rubbing alcohol. Now, gently wipe the bulb to remove the oil from your fingers. This will prolong the service life of the bulb.
If you don’t have a clean pair of gloves, cover your hands with a rag. This will let you touch the bulb without having to touch it directly with your hands. Remember to let your light bulb dry first before doing the next steps.
Step 9. Put the new light bulb in place
Slide the new light bulb where you removed the old one. After that, twist the bulb in a clockwise direction to keep it in place. Be very careful not to drop the bulb or the plastic casing. You will usually need to turn the new bulb a quarter way around to secure it in place.
>>> Very helpful for you: Complete guide for car headlight maintenance.
Step 10. Do the steps in reverse
Once you got the new light bulb in place, you just have to put everything else back. If you’re confused, you can just refer back to this article.
Recent posts
- Car lights and the importance of checking them regularly Nov 30, 2022
- Safe driving: Headlight tips when it comes to rainy season Aug 16, 2022
- Safe driving: Top 10 tips to avoid headlight glare at night Sep 11, 2019
- 9 steps to choose and install fog lights Aug 09, 2022
- 4 car exterior features need to protect in the hot summer Aug 09, 2022


