It can be a real eyesore to see your beloved vehicle with little holes burned into the seat. It’s a good thing you don’t have to spend a few bucks to get it remediated by someone else. You can do the repair yourself with materials that can be found right at home! How? Read the article from Philkotse.com below.
1. For Cloth Car Seat
Step 1. Collecting fibers
The first step will require that you take out some of the fibers from other parts of the car to fill in the part that got burned by the cigarette. The certain amount of fibers that you need will depend on how big the burnt area is.
You will need to take the fibers from a part of your car that isn’t easily noticed. If not, you may end up fixing your car seat but leave another area looking displeasing to the eye.
You can take the fibers from the carpet located under the plastic panels inside your car. To reveal the carpet, you should consider checking it first. Inspect the carpet and check if the weather stripping on the panel is covering the part where it meets the door. If that is the case, yank the weather stripping slightly and make sure you don’t pull it out too much.
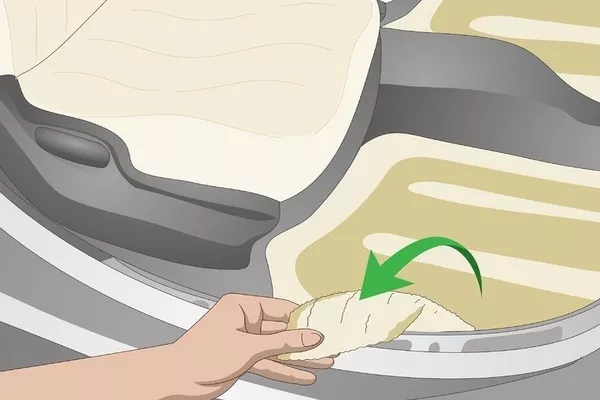
You can also try locating the fastener clips. These are usually found somewhere between the door and the panel. It’s usually near the parts wherein two panels meet. You can use your bare fingers or maybe a panel pop tool (if you have one) to pry off the panel from the fastener clips.
This is where you can find the reinforced plastic. If there are no fastener clips, you can try prying the panel off from the bottom but be careful. You may end up permanently bending the plastic.
Step 2. Take the fibers you need
Take a sharp pair of scissors, a Swiss knife or a thin, sharp razor blade. Use your preferred tool to cut off just enough of the fibers necessary to cover the whole burnt area. Do not apply too much pressure or you may tear the fabric and create a whole new problem for yourself. You can also consider taking just a bit more fiber than you actually need, just in case you measured wrong.
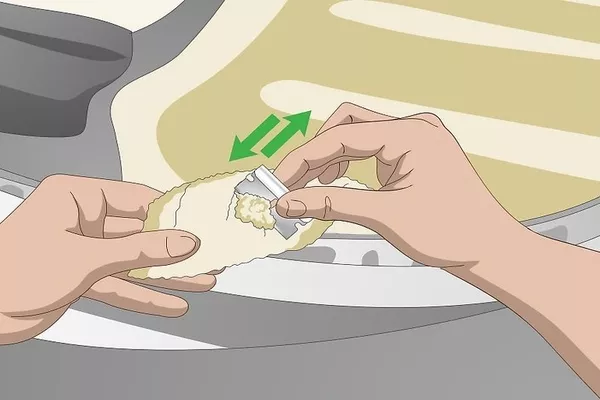
Use your preferred tool to cut off just enough of the fibers necessary to cover the whole burnt area
Step 3. Put your panel back neatly
Once you have enough amount of fibers, you should put the panel back neatly like how it was before. Use the fastener clips to snap the panels back where it belongs. You should also restore the weather stripping if you pulled it back. To restore it, guide the strip back to its original position while applying pressure with your fingers.
>>> Related post: Lesser-known harmful effects of smoking in cars.
Step 4. Take out your favorite brand of super glue
If the cigarette happened to stay on the car seat for quite some time, chances are that it made a wide or deep hole. To remediate this, take your preferred brand of super glue. Make sure it’s the clear or the white-colored paste that’s sold in tubes. Try not to use synthetic rubber contact cement adhesives that are stored in bottles.
You will need heaps of effort to get this adhesive into the burnt area without making a mess.
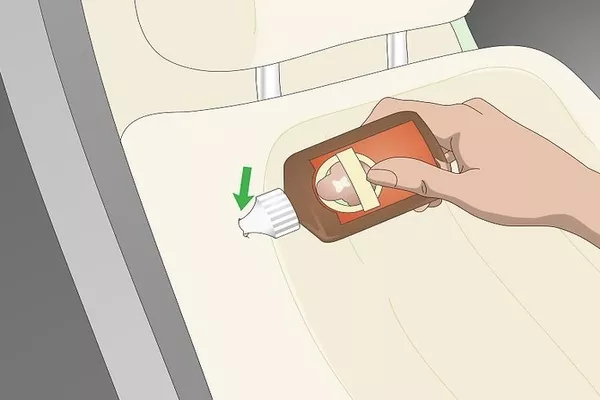
Take your preferred brand of super glue
Once you have your glue, twist the cap and pour some glue into the burnt area. Start at the bottom of the hole and then fill it with your glue. Then you can put your fabric on top and let it dry. If the hole isn’t deep, you can proceed to step 5.
Step 5. Using your super glue for the shallow cigarette-burnt hole
Adjust the nose of the glue so it doesn’t spew out too much. Then, drop a small amount of adhesive on the hole without spilling to other areas.
Step 6. Applying the fibers
While the glue you put earlier is still wet, you can start putting on the fibers that you collected earlier. Pat the layer so there’s barely any space for air inside. You can add another layer of glue and then some more fibers, followed by more patting. Keep applying layers until the burnt area is even with the rest of the car seat. Allow it to dry.
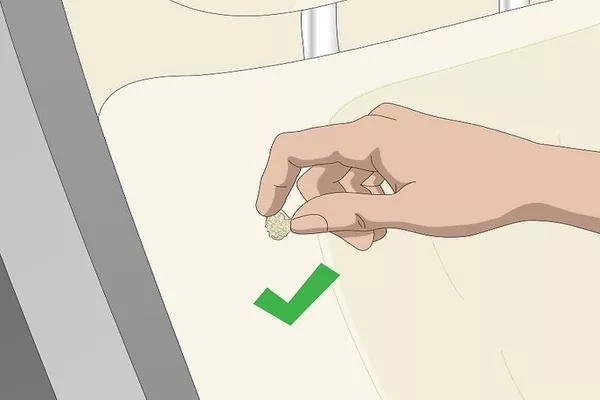
Start putting on the fibers that you collected earlier
>>> Read more: Essential tips to choose car seat cover in the Philippines.
2. For Leather/Vinyl Seats
Step 1. Cut the hole
Take a scalpel or any single bladed, small, sharp utensil. Then, use it to cut the burnt piece of the seat. You will be making the hole larger by cutting the burnt areas but try and keep the damage to a minimum. Cut out only the obvious parts where it’s visibly burnt.
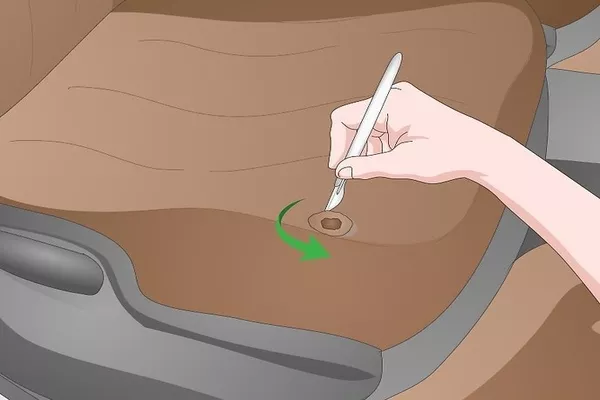
Use a sharp utensil to cut the burnt piece of the seat
Step 2. Prepare a cloth patch
A cloth patch can be any piece of cloth from any garment that you don’t need anymore. Cut out a piece that can fit perfectly inside the hole. Once you have your cloth patch, insert it into the hole and make sure that it’s submerged and laid out properly.
Use tweezers or a small, elongated blunt object to flatten the patch and make sure that there is minimal puckering. This will solve as the thin layer that holds the filling that you will put in the hole later.
Step 3. Apply some glue
Take your trusted glue variant and apply it on the edges of the hole. If the hole is really small, you can use a toothpick so you don’t make a mess. This will glue your patch to the surface of the hole. Allow this to set before proceeding with the next steps.
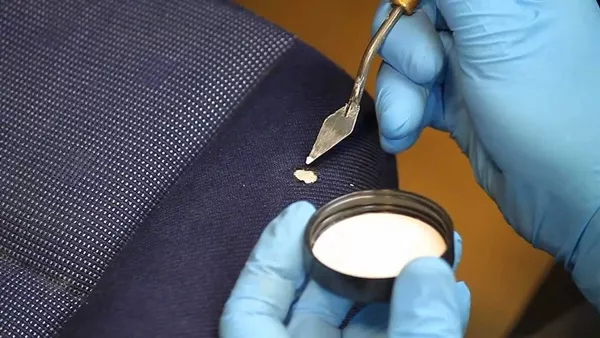
Take your trusted glue variant and apply it on the edges of the hole
Step 4. Fill in the hole
Use some flexible glue or commercial hardening liquid filler and squeeze some into the hole. Allow this to completely dry and repeat until you fill the hole completely. You can use a hair dryer to hasten the drying process but make sure you blow the air across the glue and not towards it.
Step 5. Finish the touches
Once the filler has dried, gently sand the layer until you achieve a similar texture to the rest of the car seat. Do not apply too much pressure while sanding or you may damage the areas around the hole.
If the whole repaired area dips, add another layer and let dry before sanding again.
Finally, use some leather pigment to wipe the sanded area so it can have the same color as the rest of the seat.
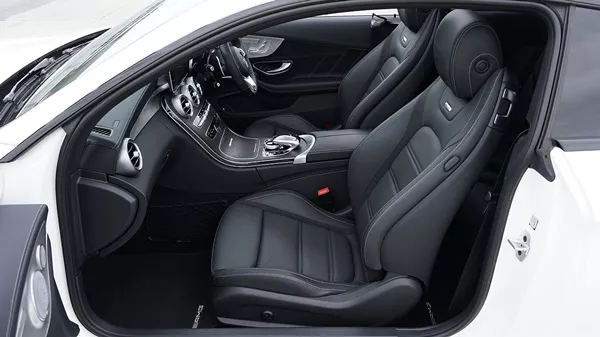
Be careful with your car seats because it can affect the car's appearance and be costly when being replaced
Recent posts
- Steps to remove grease and oil from car interior Aug 16, 2022
- Choosing Car Seat Material: Which kind of material is the best? Dec 28, 2020
- Making Peace with Your Car Seats Feb 21, 2019
- 4 simple tips to keep your car interior clean and tidy Feb 02, 2021


