As one of a car’s hardest-working components, your radiator isn’t asking too much from you, only requiring flushing every 64,000 to 95,000 kilometers. While is already cost-efficient in terms of bringing the radiator to the mechanic, flushing the radiator by yourself would save you even more, with these tips from Philkotse.com.
Since the radiator is one of the parts that heat up quickly whenever you use your vehicle, we suggest doing this in the morning before using the car. Otherwise, you would need to wait until the engine has cooled down or else you may end up with burn injuries.
Never splash water on an engine that’s just been turned off after a long drive, as the sudden shift in temperature can cause the metal components to crack and result in serious damage. Instead, leave the car under a shaded area for an hour or so. Then, put your hand just over the hood to check for signs of hot steam.
How to flush car radiator - A detailed instruction
Once you’ve confirmed that the hood is cool enough to the touch, pop the cover to access the engine bay. As always, we encourage wearing safety gear as a precaution, such as thick gloves, goggles and proper clothing that will not get snagged on the engine’s moving parts.
Step 1. Raise the car
Set a pair of jacks under the car’s front end, raising it at a sufficient height above the ground. Don’t forget to engage the parking brake to lock the rear wheels and prevent the car from moving while you work.
Then, slide a pan or a pail right under the radiator, making sure that the container is large enough for 2 gallons or 8 liters of liquid. If the coolant is still new, you can use a large container with a spout so you can easily put the coolant back in when you’re done.
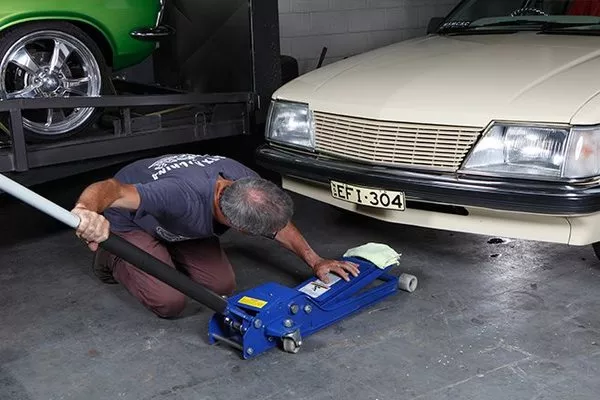
Set the jack at the front of your car so it’s right under the metal frame of your vehicle
>>> Read more: A guide with 4 DIY steps to deal with the car radiator leak.
Step 2. Locate your car’s radiator
The radiator is a thin and narrow tank made of metal with tubes and cooling fins, located right behind the auxiliary fan. Check its tubing for signs of crusting and rust, which means that it will need to be taken to a mechanic for repairs.
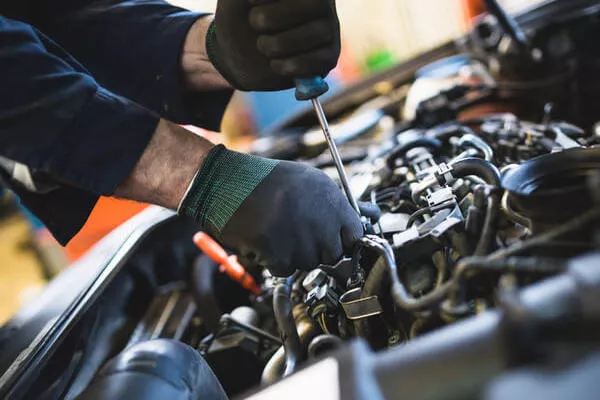
The radiator is a thin and narrow tank made of metal with tubes and cooling fins
Step 3. Remove the radiator cap
At the top of the radiator is a small disc-shaped cap that serves both as a cover and pressure valve. Twist it in a counter-clockwise direction to open, then keep it in a secure place, since the engine can’t run without the cap keeping the coolant from drying up.
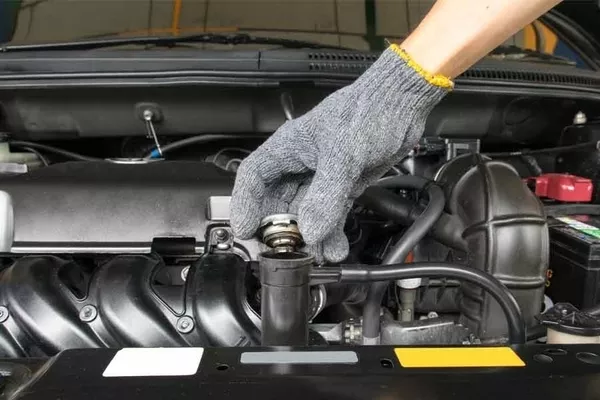
The pressure cap you should be looking for is a big cap that is shaped like a disc
>>> Also read: 6 steps to fix car radiator.
Step 5. Release the drain plug
The radiator’s drain plug is a socket or valve located somewhere under the bumper on the driver’s side of the vehicle. Once you find it, you’re going to need a screwdriver or a socket wrench to remove it properly. Remember to have the pan or bucket underneath this area to catch coolant you’re about to drain.
We suggest you reuse your coolant to save money but changing it if the color is too dark is also recommended. After you open the valve, just let the contents ooze out until the radiator has been drained.
If your pan or pail gets filled quickly, you can close the valve and get a new container. Once all the coolant has been drained out, close the valve again.
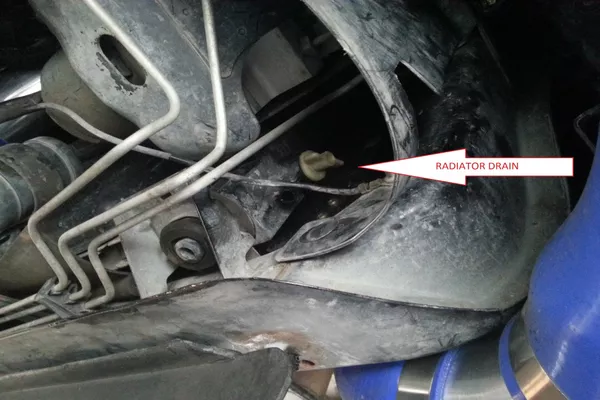
The drain plug of your car’s radiator should be somewhere under the bumper on the driver’s side of the vehicle
If you wish to reuse the old coolant you drained, just make sure that you catch it with a clean container. When putting it back in, you will need to use a small filter such as an old t-shirt to remove smaller particles. If this proves to be too much trouble, just use fresh coolant.
>>> For your information: Basic care tips for car radiator that every driver should know.
Step 6. Cleaning out your radiator
Now that you successfully drained your radiator, cleaning is the next step. Pour one whole bottle of cleaner into the radiator, followed by 3.8 liters of distilled water. You can use a funnel to minimize the mess.
Next, turn the engine on to let the cleaner and water mixture remove remaining coolant that’s stuck in the engine assembly. Be sure to do this in a well-ventilated area or open space since you will need to rev the engine for about 5 minutes.
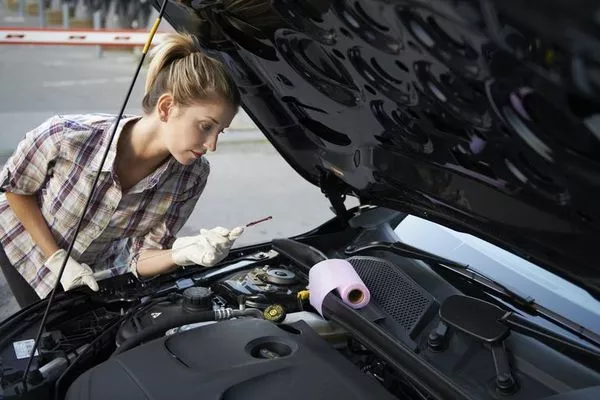
Now that you successfully drained your radiator, cleaning is the next step
If the radiator is dirty, remove it from the engine bay and scrub it with a nylon brush in soapy water. Brush the radiator’s exterior thoroughly while making sure you don’t let water seep into the coolant tank.
>>> Related: 3 symptoms of a bad radiator cap & replacement cost
Step 7. Final touches
Take an empty drip pan and put it under the same spot under the valve. Then, remove the valve or plug and let the water and cleaner mixture flow out. Flush regular tap water down your radiator, letting it flow through the valve.
If you see clear water coming out, wash down the radiator one last time with distilled water, close the valve and refill it with coolant.
Recent posts
- 8 steps to DIY clean car engine bay Aug 17, 2022
- What to do if your car overheats: 10 must-know things for Pinoy drivers Mar 06, 2021
- The Safest Way on How to Put Water in a Car Radiator & Other Essential Facts Mar 06, 2021
- Spotting 8 Early Symptoms of Engine Problems Jul 05, 2018
- Top 4 essential fluids in your car Mar 09, 2021


