Headlamps are integral parts of any vehicle. If these lights are broken, driving through nights will be extremely dangerous. However, you can totally replace them by yourself if you have some spare bulbs in car.
Once you have identified which headlamp is damaged, take the following steps:
Step 1: Specify the position of the lamp holder
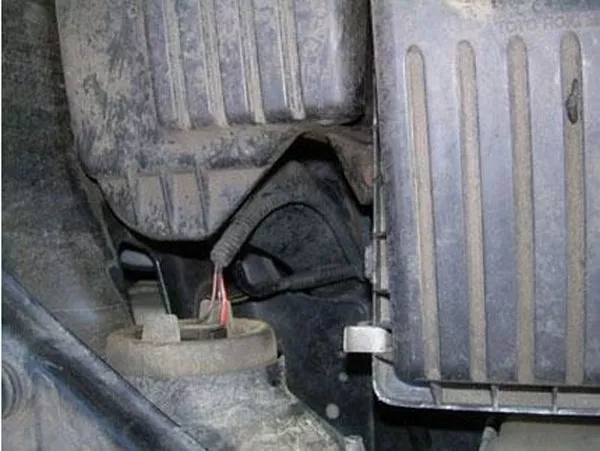
When you've opened the cap and fixed it securely, look behind the broken headlights to find the position of the lamp holder by following three power lines. Below are 3 power wires from the lamp holder. The lamp holder is usually cylindrical.

The lamp holder is usually cylindrical
How to Replace a Headlight Bulb (Tips and Tricks)
>>> Worth to note: A short guide to LED car headlights: Basic parts, types, price & more
Step 2: Remove the head of the headlight wire
The lamp holder is connected to 3 conductors. These are power supplies for the headlight. The lamp holder is permanently held by a plastic or metal latch. Some car models have the lamp holder with screw element.
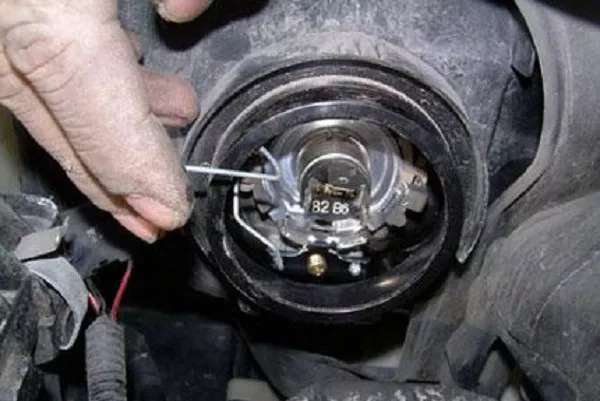
For the type of plastic latch, there is a trigger on the top of the latch. You can use your fingers to press the trigger down to drag the lamp out easily. For the type of metal latch, you can just pull the metal latch out. Try not to drop it into the engine compartment or onto the ground as it is really hard to find, especially when it's dark. For a lamp holder with screw, you just need to gently turn the lamp counter-clockwise to remove.

Remove the head of the headlight wire with your fingers
Step 3: Remove the old headlamp
In the next step, keep the lamp holder tight, and get the old headlamp out. There are some cases that you have to turn it gently to remove the old bulb.
>>> Also read: Easy ways to make your headlights shine like new
Step 4: Replace with the new one
When replacing the new bulb, please note that it is not advisable to touch the bulb by your hand, as the grease can cling to the bulb, resulting in a black mark on the light. It's best to get a clean pad or thin paper for holding.
When changing to a new headlamp, hold the lamp holder firmly and attach it to the back of the headlamp. To make sure the bulb is in the right position, you can check whether the the screw has fitted or not, at the same time do not let the small rubber buffer get out.
Step 5: Check the last time
After you have installed the new bulb, reconnect the power cord at the back and insert the lamp protection cap. After that, you need to check if the new light is on by turning on the headlamp switch several times.

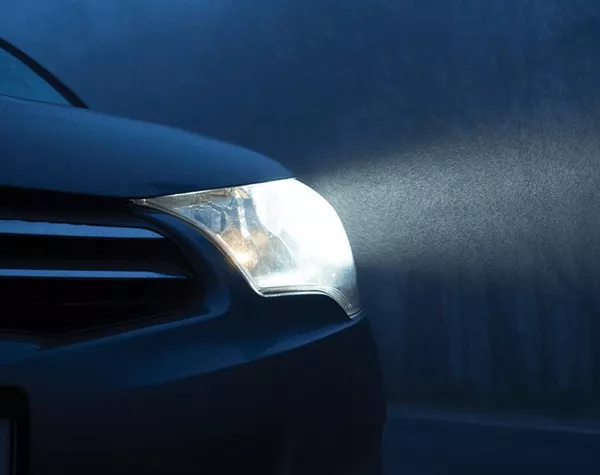
Check if the headlamps work after the replacement.
Note: This replacement process is only true for light-emitting Halogen lamps that are protected in light boxes. Cluster headlights cannot be changed in this way.
Recent posts
- 10 Handy steps to fix a broken car headlight Oct 18, 2019
- Car lights and the importance of checking them regularly Nov 30, 2022
- Choosing the best headlight for your car: 5 common kinds for drivers Aug 04, 2020
- Easy ways to make your headlights shine like new Jan 06, 2020


